Retro computing with a touch of modern and the home for all things, retroCombs (aka Steven Combs).
Disclosure Statement: When you click on links to various merchants on this site and make a purchase, this can result in this site earning a commission. Affiliate programs and affiliations include, but are not limited to Amazon, the eBay Partner Network, and/or others.

HOWTO: Install the Arduino IDE on Peppermint OS 4
by Steven B. Combs, Ph.D.

Two things happened during the holiday break. Loki and I reacquired our fascination with the Arduino and I also upgraded the operating system on my old Acer Aspire One from Chrome OS to Peppermint OS 4. In an earlier post, I shared how to install the Arduino software on a netbook with Ubuntu Netbook remix 9.04. I thought these earlier instructions would assist me with an install on Peppermint OS 4. That was not the case. Not even the first step was correct.
This post will provide an update to that original post. Users of other Linux distributions should also find these instructions valuable and if you are using a Debian variant, they should work perfectly. After you hit the link below, you will find instructions for installing and using the Arduino software on Peppermint OS 4.
The Arduino Integrated Development Environment (IDE) requires Java. Peppermint OS 4 does not include Java as part of the default installation. Rather than using the official Oracle Java install, many Linux users recommend using the icedtea-plugin due to ease of install and regularity of updates. I will use this variation of Java.
-
Open a Terminal window and enter the following:
sudo apt-get install icedtea-plugin↩ -
Enter your root password and enter.
-
Press
Yto confirm the installation. The install can take some time depending on your Internet connectivity as well as the speed of your computer. That’s it. Java should now be available on your computer. -
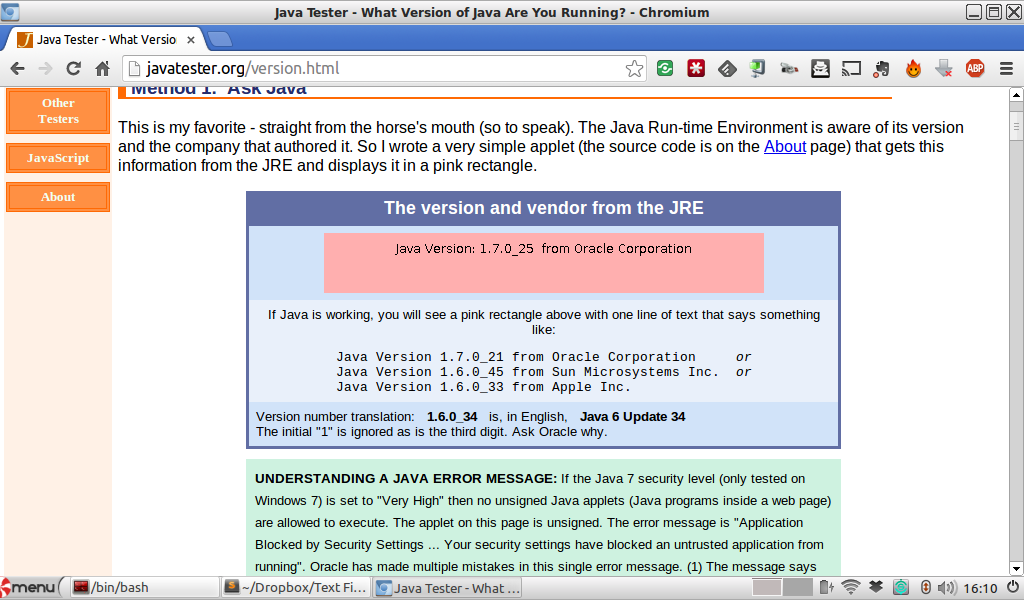
Verify the install at:
After you load the page in the default Peppermint OS 4 Chromimum browser, allow the Java plugin access to the page. You should then see a verification as shown in the image below.
Now that we have the Java dependency complete, let’s install the Arduino IDE. This is VERY easy if you have ever installed software on a Linux box.
-
Using the same Terminal window you used above, enter the following:
sudo apt-get install arduino↩ -
Enter your root password at the prompt and hit enter.
-
Press
Yto accept the package installs. The install can take some time depending on your Internet connectivity as well as the speed of your computer. -
Once complete, you will find the Arduino software icon in the Electronics Program Menu.
Let’s try it out our new Arduino IDE install.
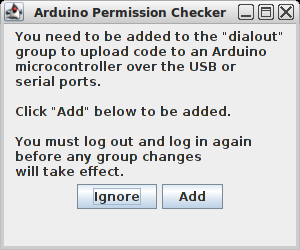
- Click the Arduino item in the Electronics menu. The Arduino IDE will not load the first time and the prompt below will appear.
-
Click the Add button to add your account to the “dialout” group. This security step is required and gives your account rights to utilize the serial connections to upload code to an Arduino. Side note, this is another reason I love both Linux and Mac – additional security.
-
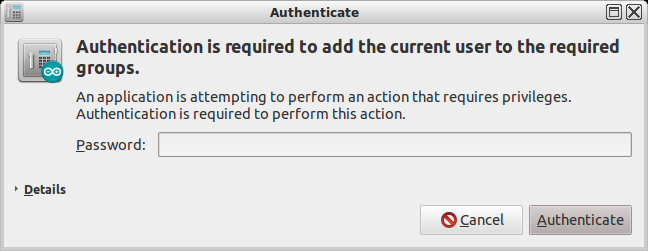
The Peppermint OS will request authentication to add your account to the group. Enter your password and click Authenticate as shown in the image below.
-
Although not prompted to complete this step, reboot. If you don’t do this and try and upload code, you may find yourself very frustrated.
-
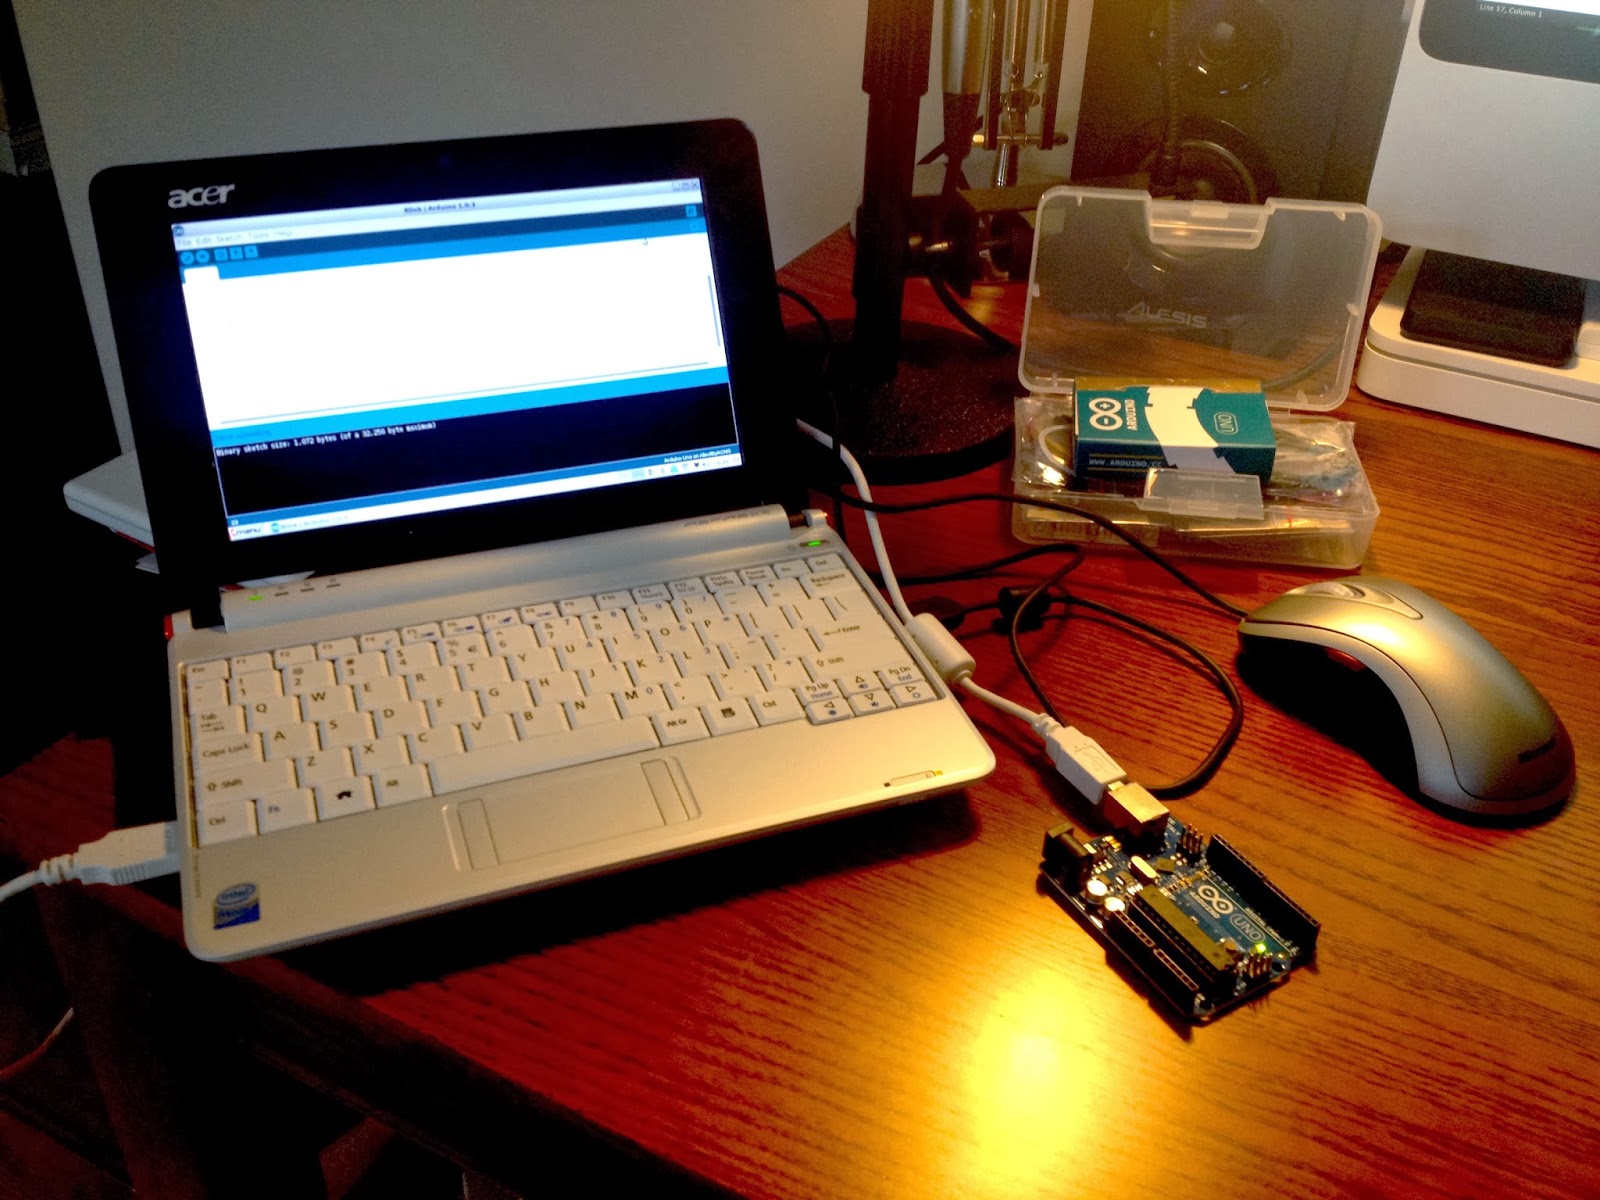
After a reboot, connect your Arduino to your Peppermint OS 4 enabled computer. My setup is shown in the image below.
-
Select the Arduino item in the Electronics menu to load the Arduino IDE.
-
Select the Arduino model from the Tools / Board / Select Model Type menu.
-
Select the device connection from the Tools / Serial Port / /dev/??? menu. Substitute ??? with whatever serial port is displayed.
NOTE: The latest version of the Arduino IDE for Linux automatically configures the correct port once it finds an attached device.
-
Load the sample LED sketch from the File / Examples / 01.Basics / Blink menu. An LED blinking program will load.
-
Click the Upload button as shown in the image below.

The Arduino IDE will compile the program (check for errors and convert to machine code) and then upload the code to the Arduino. Once upload is complete, the Arduino will blink the on-board LED every second.
Success! The Arduino IDE is installed and configured properly. Now get out there and create some cool new thing. If compelled, share your creation in the comments below.
That’s all there is to it. Linux use and acceptability has come a long way in the past few years and given the ease of this process, I can highly recommend a Linux box (or an old Acer Aspire netbook) as an Arduino development tool.