Retro computing with a touch of modern and the home for all things, retroCombs (aka Steven Combs).
Disclosure Statement: When you click on links to various merchants on this site and make a purchase, this can result in this site earning a commission. Affiliate programs and affiliations include, but are not limited to Amazon, the eBay Partner Network, and/or others.

retroCombs: FAST LOAD - Install DirMaster on Linux
by Steven B. Combs, Ph.D.
There are many modern retro-computing applications available that run (see what I did there?) on modern computers to support our hobby. Longtime retroCombs readers and watcherknow I like to take a modern spin on retro-computing and integrate new technology and apps with the old.
If you are a Commodore computer fan, one piece of software I recommend is DirMaster. DirMaster lets you view, create, and edit Commodore disk images (.d64, .d81, etc.) on a Windows PC.
I’m not going to cover the capabilities of DirMaster, but I will demonstrate how Linux users can install this software using the Wine windows compatibility layer; because that’s the only way I would ever allow windows applications in my home or office!
NOTE: Interested a DirMaster tutorial? Leave a comment below this post or on the YouTube video channel. While on the YouTube page, remember to hit LIKE and SUBSCRIBE!
My instructions are for Arch based distributions (Manjaro for me) but the basics work for any Linux distro where Wine is available, including Macs running 10.14 or earlier (Wine does not work with 10.15 at the time of this writing). I present this process in two ways; a YouTube retroCombs Fast Load video and in the companion blog post below. First the video:
YouTube Video: retroCombs: FAST LOAD - Install DirMaster on Linux
In the video below, demonstrate how to install the DirMaster Windows application on Manjaro Linux:
Now that you’ve seen the video, if you want to try this yourself, step-by-step, read the companion blog instructions below.
Install Wine
The first step is to install the Wine software. “Wine is Not an Emulator” (Wine) is a windows compatibility layer that runs in Linux. Most modern and sophisticated applications/games have trouble running in Wine, however, DirMaster is not one of those complicated applications and is easy to install and runs perfectly under Wine.
- Load Terminal.
-
Update the system:
sudo pacman -Syuand enter your admin password at the prompt. -
Install the latest version of Wine and helpful extra packages:
sudo pacman -S wine wine-mono wine_gecko playonlinuxChoose option
1if the message below appears:resolving dependencies... :: There are 2 providers available for netcat: :: Repository extra 1) gnu-netcat :: Repository community 2) openbsd-netcat Enter a number (default=1): 1Choose option
ywhen the message below appears::: Proceed with installation? [Y/n]
Wine is installed. See how easy that was?
Download DirMaster
Before the Wine install, download the DirMaster Windows Installer file.
-
Visit the site below:
- Download the latest “zipped” version of DirMaster which was v3.1.5 at the time of this blog post.
- Extract the file using your preferred method.
Install DirMaster in Wine
- Launch the PlayOnLinux application.
- Choose the
Installoption in the toolbar and the PlayOnLinux install menu dialog will appear. With this dialog, you can search for Windows applications to install; however, DirMaster is not one of them. This is why we downloaded the file previously. - Click the
Install a non-listed programoption in the lower left-hand corner. The PlayOnLinux Wizard dialog box appears. Scary text appears. Ignore it all. - Click the
Nextbutton. The Manual Installation dialog will appears. - Click the
Nextbutton. Another PlayOnLinux Wizard dialog box will appear. - Select the
Install a program in a new virtual driveoption. - Click the
Nextbutton. A dialog box appears asking for the name of the virtual drive. -
Type
Commodorein the text edit box. This can be anything, but Commodore just feels right.TIP: You can use this virtual drive to install other reto-related Windows applications.
- Click the
Nextbutton. A dialog box appears asking for additional options. We don’t need any of them. - Click the
Nextbutton. A dialog box appears asking for either a 32 or 64 bit Windows installation. - Select the
64 bits windows installationoption. - Click the
Nextbutton. Wine will configure the virtual drive. This can take some time so be patient. Once complete, a Select the install file to run dialog box will appear. - Click the
Browsebutton. - Navigate to the folder that contains the
DirMasterSetup.exefile. - Select the
DirMasterSetup.exefile. - Click the
Openbutton. A verification dialog box appears. - Click the
Nextbutton. - The Wine Select Destination Location dialog box appears. Keep the default.
- Click the
Nextbutton. The Select Start Menu Folder dialog box will appear. Keep the default. - Click the
Nextbutton. The Additional Shortcuts dialog box appears. - Select both the
Create a desktop shortcutand theInstall Windows Explorer Previewoptions. -
Click the
Nextbutton. The Ready to Install dialog box will appear. Keep the default.Did I mention all these dialog boxes and next buttons are why I left Windows behind years ago? I’m having some serious blue screen of death flashbacks!
- Click the
Installbutton. DirMaster will install. - Deselect the
Launch DirMastercheckbox. - Select the
Finishbutton.
Create a Shortcut
The application is installed, but it is a pain to load PlayOnLinux each time we want to run DirMaster. Let’s create a desktop shortcut to make it behave more like a native Linux application.
-
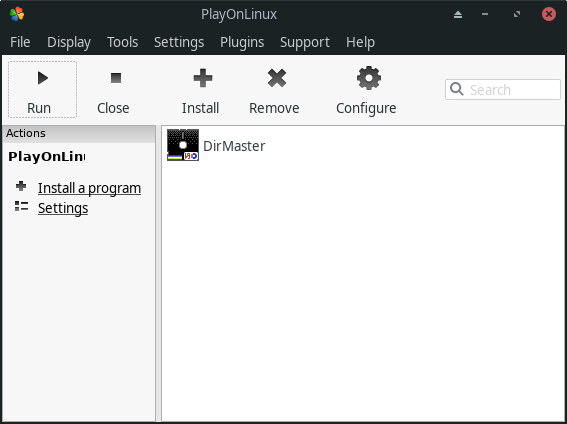
If it is not open, launch the PlayOnLinux application to see the window below:
-
Click
DirMasterin the installed programs window to reveal additional options for the installed DirMaster application as shown in the window below: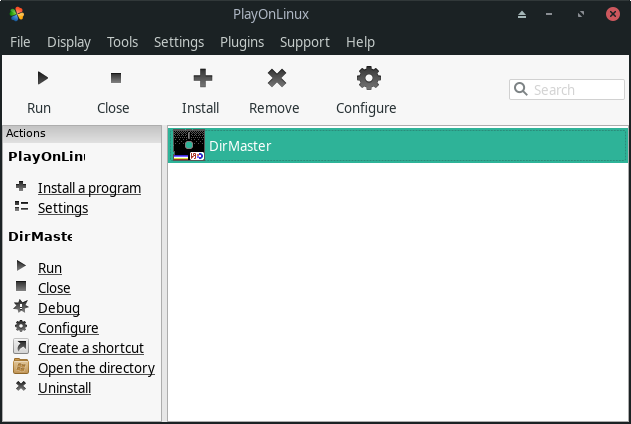
-
Click the
Create a shortcutoption in the lower-left hand corner to display a confirmation window that a DirMaster application shortcut has been placed on the desktop and in the user’s home Desktop folder as shown in the image below: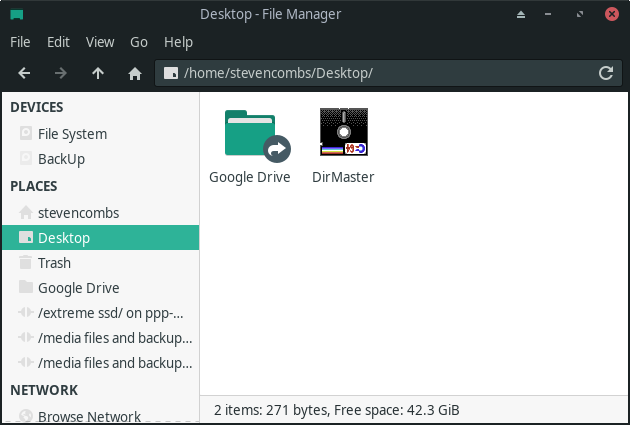
-
Click
Nextto close the confirmation dialog box. Depending on your Linux windows manager, you may also find a bright shiny new icon in your application launcher.HINT: With the desktop launcher, you are only a right-click and properties dialog box away from all the info you need to add this item to your application menu if it was not done automatically.
Launch DirMaster
With DirMaster installed in a virtual drive and a shortcut on your desktop, launching the application couldn’t be any easier.
-
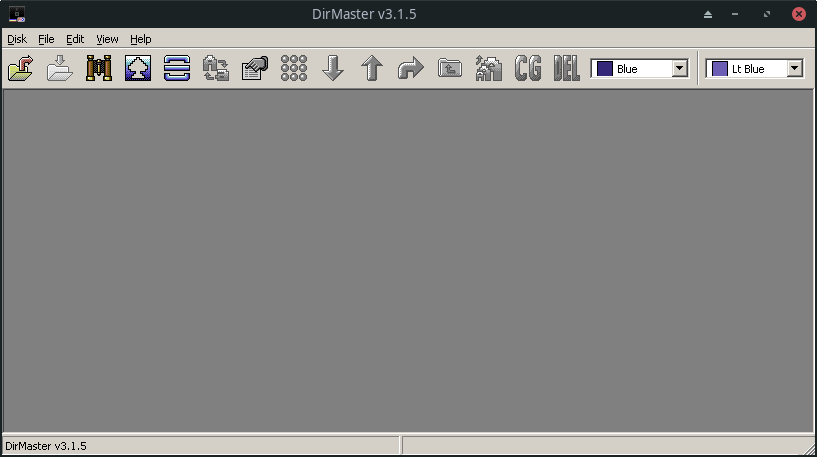
Double click the DirMaster icon on the desktop to launch the application as shown in the image below:
-
Create or open a disk image to get started as shown in the image below:
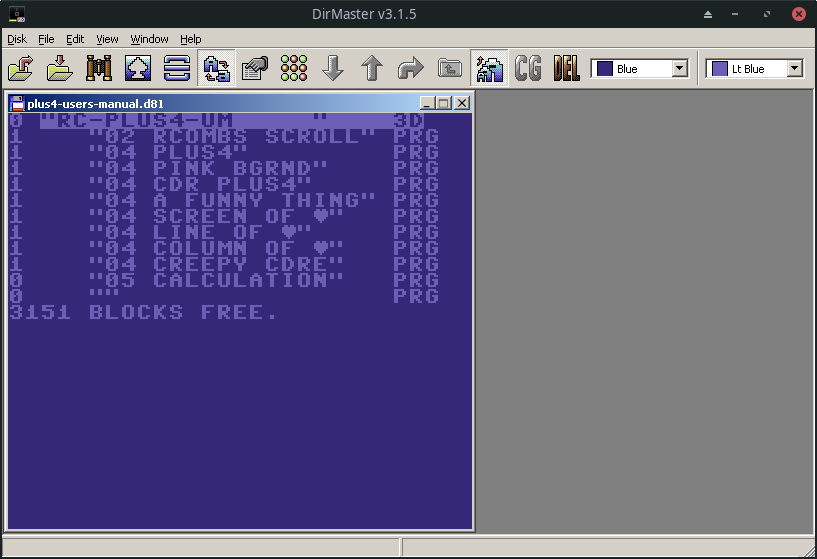
TIP: If you’d like a disk image to play with, download my Plus/4 Users Manual disk image. It’s about half way down the page. Look for the retroCombs floppy disk.
What’s next?
Using DirMaster is not difficult; however, it does take time to learn all things you can do to manage your Commodore disk images. Style64’s provides official DirMaster documentation. This a great place to start. If there’s interest, you can let me know by dropping comments below. If enough of you ask, there may be a DirMaster retroCombs FAST LOAD or two in our future.