Retro computing with a touch of modern and the home for all things, retroCombs (aka Steven Combs).
Disclosure Statement: When you click on links to various merchants on this site and make a purchase, this can result in this site earning a commission. Affiliate programs and affiliations include, but are not limited to Amazon, the eBay Partner Network, and/or others.

HOWTO: Turn on OS X Internet Sharing
by Steven B. Combs, Ph.D.
I often use the Internet sharing feature on a Mac to either create/extend a network from an Ethernet connection via Wi-Fi or, as has been the case lately, extend a Wi-Fi connection using an Ethernet connection to a non-Wi-Fi device that needs Internet/network access. I use this setup regularly to connect a Raspberry Pi to my home network.
Internet sharing doesn’t work out of the box. You need to know the secret, and very simple, sauce. Given that I use this ubiquitous Mac feature regularly, a post was in order. Let’s get started.
Equipment Needed:
- Mac with Wi-Fi capabilities
- Internet connection
- Open Ethernet port (this also works with a USB Ethernet dongle)
- Standard Ethernet (RJ45) cable
- Network enabled device with a free Ethernet port (might I suggest a Raspberry Pi?)
Step-by-step process:
- Ensure the Mac is currently connected to a network via Wi-Fi
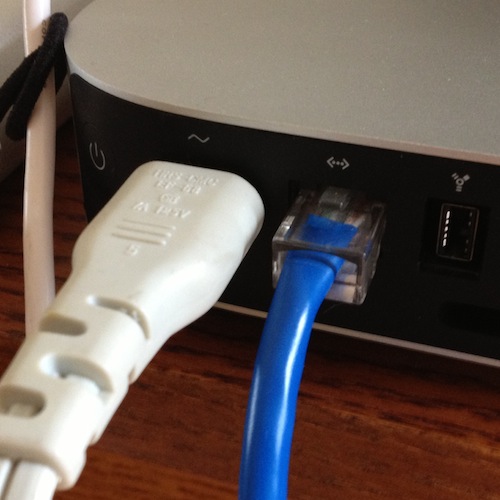
- Connect an Ethernet cable to the Ethernet port on the back of Mac
- Connect the other end of the of the Ethernet cable to the other Ethernet device
- On the Mac, select / Preferences… from the Finder menu - the System Preferences window will appear as shown in the image below
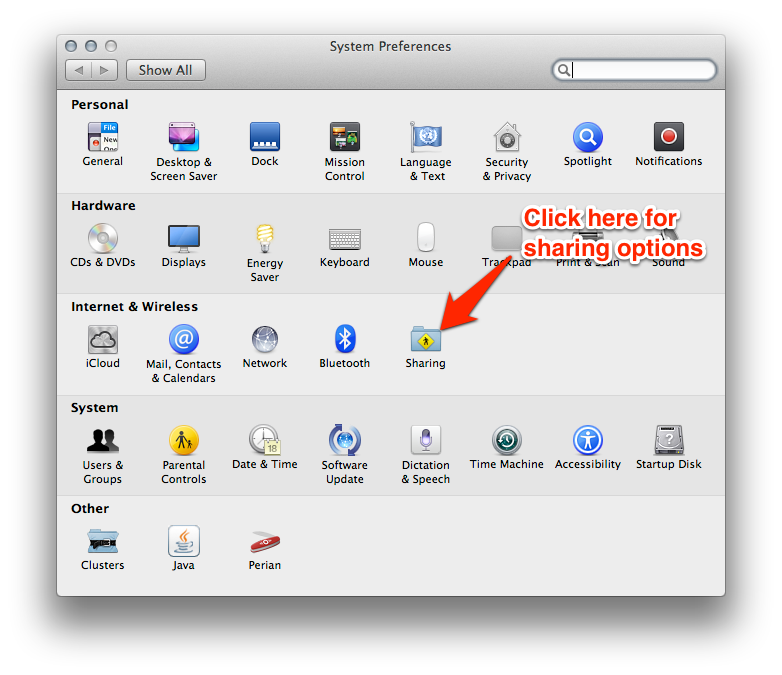
- Select the Sharing option as shown in the image above - the Sharing preferences pane will display as shown in the image below

- Use the Share Your Connection from: pull-down menu on the right of this preference pane and select Wi-Fi
- Select Ethernet from the To the computers using: area
- Click the Internet Sharing checkbox to activate the settings - the selection area should be ghosted as shown in the image above
You should now have an Internet/network connection running through the Ethernet cable that provides connectivity to the device on the other end of the cable. The Mac will assign an IP address to the device. If you find you made a settings mistake, you will need to deselect the Internet Sharing checkbox to regain access to the settings.
See, that was easy and as you probably noticed while following along, you can reverse the flow and create your own Wi-Fi network, without a router, by sharing the Ethernet connection. Let me know if you find this useful.