Retro computing with a touch of modern and the home for all things, retroCombs (aka Steven Combs).
Disclosure Statement: When you click on links to various merchants on this site and make a purchase, this can result in this site earning a commission. Affiliate programs and affiliations include, but are not limited to Amazon, the eBay Partner Network, and/or others.

HOWTO: Level a Creality Ender 3 Surface Bed and Print a Commodore VIC-20 Key Plunger
by Steven B. Combs, Ph.D.
Since I finally have my process working consistently, it is time to share how I level the bed on my Creality Ender-3 (#ad) 3D printer with Creality Upgraded 3D Printer Platform Heated Bed Build Surface Glass Plate (#ad) upgrade. If you are curious about the glass build surface upgrade, check out this blog post.
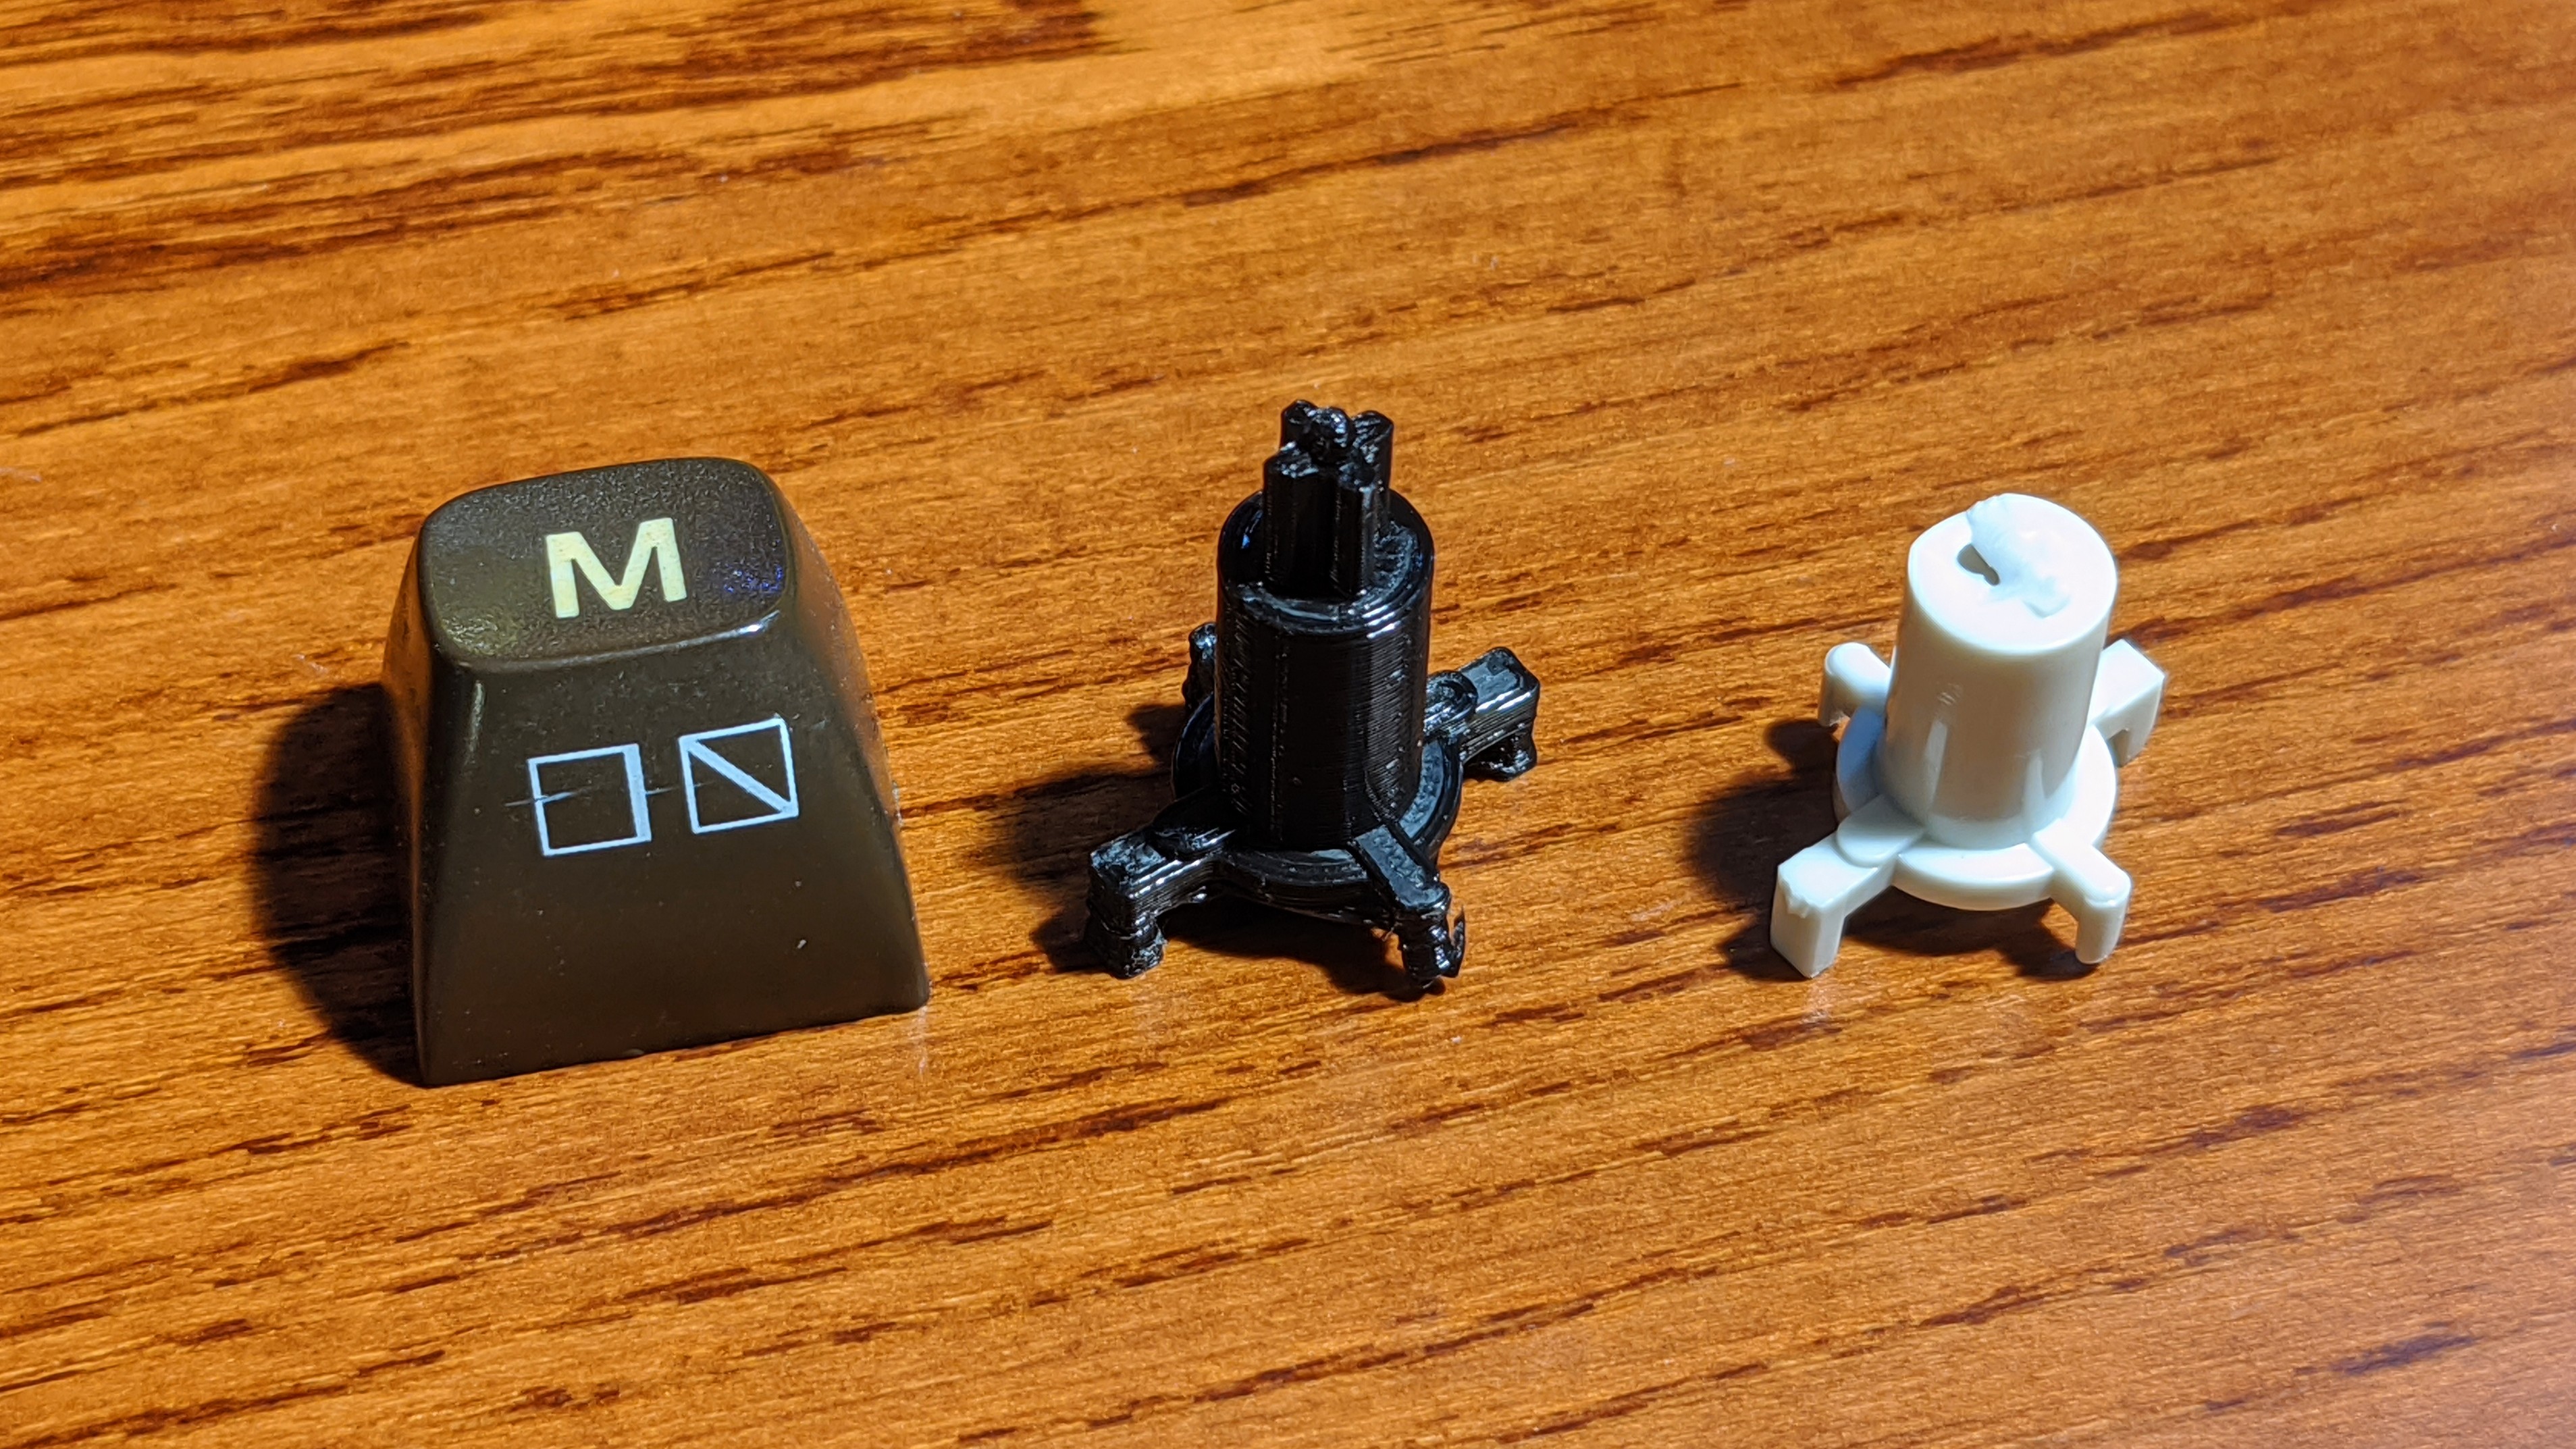
This post shares both a YouTube video that demonstrates my process as well as written instructions below. To test out the bed leveling, I print a keyboard plunger for a Commodore VIC-20. The plunger will replace an original that is broken. Check out the video to see if I was successful (or see the image down below for the spoiler):
NOTE: This post is part of a series on 3D Printers. More posts to come.
YouTube Video: HOWTO: Level a Creality Ender 3 Surface Bed and Print a Commodore VIC-20 Key Plunger
The Problem
Once I level the bed, I am going to test the surface by printing a key plunger for a Commodore VIC-20 computer. If you don’t know what this is, it really doesn’t matter with regard to leveling the print surface. If you do know what this is, greetings from a fellow retro-computing enthusiast.
This is a perfect part to test the leveling on the Ender 3 because it is small and only connects to the print surface at two points (disregard my four point comments in the video) and those two points are small areas. If the bed isn’t level and the heat set just properly, the print will fail miserably, and usually dramatically, with a mess of PLA.

You can grab the VIC-20 key plunger STL file on Thingiverse. Thanks to Manuel Straub, mannesahne, for creating this part.
Level the Creality Ender 3 Print Bed
Here are the steps I use to level the bed on my Creality Ender 3. This is a mashup of several techniques I found online in my attempt to make the process quick and easy.
- Use the putty knife that comes with the Creality Ender 3 to lightly remove any left over PLA from previous prints. This process works for the [Creality Upgraded 3D Printer Platform Heated Bed Build Surface Glass Plate][https://amzn.to/31gy9R4] but I cannot recommend it for other surfaces.
- Clean the glass bed with Pre-Moistened Lens Cleaning Wipes. I prefer Zeiss or Welby brands.
- Turn on the 3D printer power.
- Move the print head to the X,Y, and Z home position. In my video, I use Octoprint to move the surface. You can use the default controls on the Ender 3.
- Raise the print head up 10 cm along the Z axis.
- Move the print head to X:70 and Y:70.
- Place a piece of paper under the print head.
- Move the print head to the Z home position.
- While holding the paper in a single hand, try and push and pull the paper between the print head and the bed.
- If you can easily move the paper, rotate the spring wheel under the bed clockwise slowly, while moving the piece of paper back and forth, until the piece of paper stops moving.
- If you can’t easily move the paper, rotate the spring wheel under the bed counter-clockwise until you can easily move the paper back and forth. Repeat step 10.
- Repeat steps 7-11 at the following positions: (X:70,Y:170), (X:170,Y:170), (X:170,Y:70).
- Test X:70,Y:70 one more time.
- Move to X:120,Y:120 (or roughly the center) and test the final location.
If you find at step 13 you are out of level again, run through the steps all over. Over time, the bed springs (on the 3D printer, not the bed you sleep in) will settle and you will not have to level the bed as frequently. You are now ready to print. That’s all there is to it.
I hope this post is helpful to Creality Ender 3 users new and old. It’s a great printer and with some additional parts, finesse, and understanding, you can print some wonderfully useful items. Time for me to go. I have a Commodore VIC-20 keyboard to fix!
Drop a comment and let me know if this post was helpful or if you have further questions.