Retro computing with a touch of modern and the home for all things, retroCombs (aka Steven Combs).
Disclosure Statement: When you click on links to various merchants on this site and make a purchase, this can result in this site earning a commission. Affiliate programs and affiliations include, but are not limited to Amazon, the eBay Partner Network, and/or others.

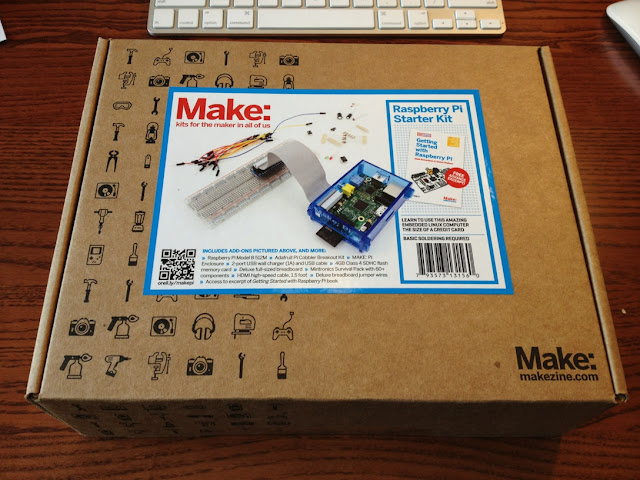
OPENING THE BOX: Maker Shed Raspberry Pi Starter Kit
by Steven B. Combs, Ph.D.
On the 14th of March 2013, which just so happened to be Pi Day, I decided to take the plunge, unleash my Dave Ramsey enforced “blow money budget” and purchase a Raspberry Pi microcontroller. I didn’t settle for just just the $35 model B. Oh no, that would be too easy, too inexpensive and too boring. After a bit of research, I decided to settle on the Maker Shed Raspberry Pi Starter Kit.
I chose the Maker Shed version for several reasons:
- I’m a Make: magazine subscriber (have them all since numero uno)
- I’ve added several Make: books to my library
- I’ve purchased several Maker Shed Arduino kits
- I’ve purchased several Maker Shed Electronics Components kits
- This kit includes the “Getting Started with Raspberry Pi” book
- This kit includes various cables and a power supply needed to get started
- The kit includes many additional electronic components to allow me to experiment with physical computing and Arduino like capabilities
- I just like Make: and what they do!
I’m fascinated that this little “computer on a board” is designed to bring back the novelty of the classic computer days – the days when you saved a few hundred bucks, ordered or purchased from your local retailer, opened the box, plugged the computer into the wall, attached a television, turned them both on and then watched the cursor blink on the screen while you considered the many programs you could create. I could go into a long nostalgic story here, but will save that for a later blog post. Let’s get back to the task at hand.
The wait for this box was two weeks. Add three more days because I simply didn’t have the time to open it (work has a way of killing your free time). Like a kid in a candy store this morning, I broke out the utility knife and got started. Along the way, I decided to take several pictures of the unboxing.
No this isn’t the same level of excitement you see in unboxing blog posts of new Apple products, but you know, in many ways, it was more fulfilling. When you open an Apple product, you know you will begin using it immediately. Unboxing the Raspberry Pi Starter Kit returned me to a day I haven’t had in some time. Now that I have this thing. What can I make it do? The ideas are flowing and I can’t wait to get started.
Unboxing images and commentary
Commentary is beneath each image.
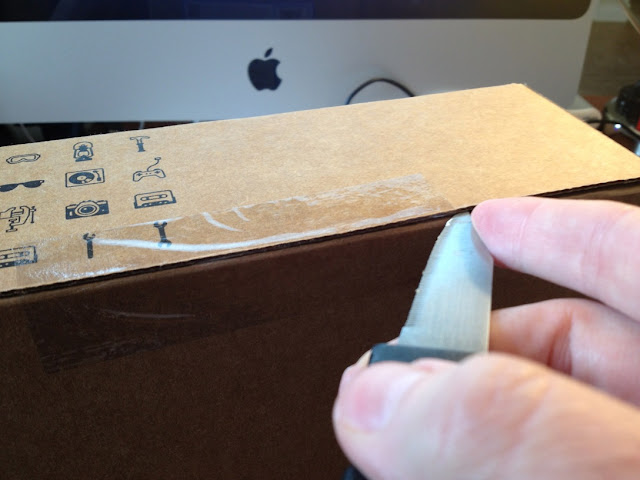
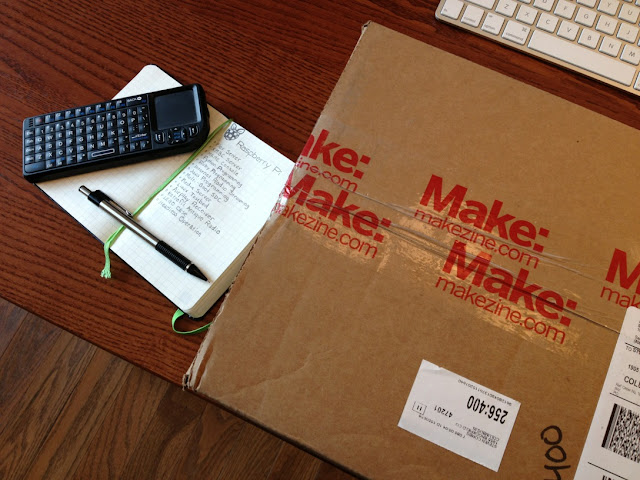 Time to cut this thing open.
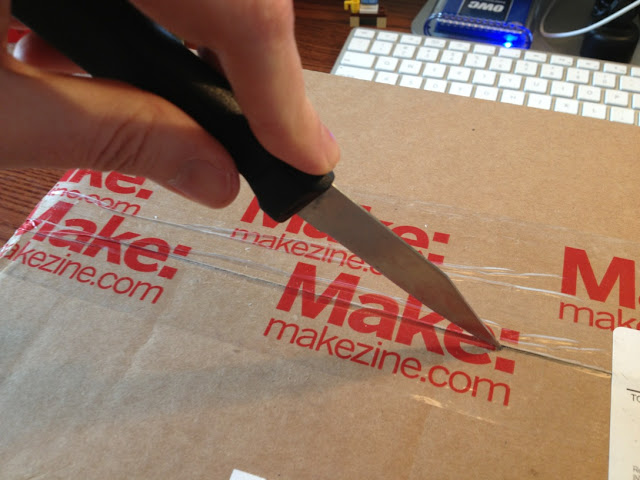 Got my handy dandy box cutter ready to slice that Make: tape.
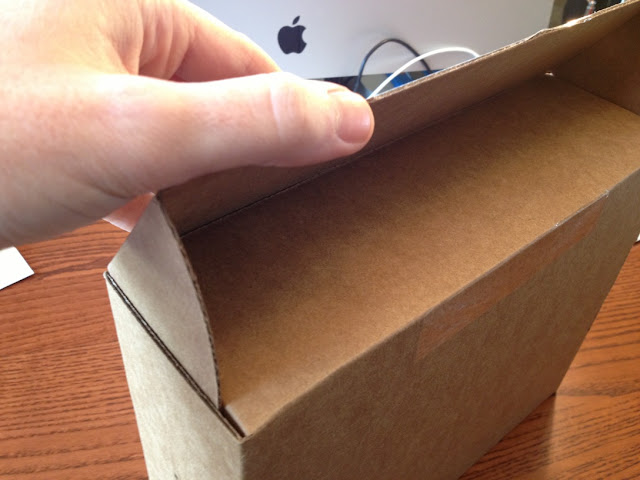
 Inside we find the invoice and ANOTHER box. More waiting.
 Here’s the smaller box complete with colorful label and resealable lid. A great box to store your gear after inspection.
 Rats, tape. Have to cut it one more time to get to the good stuff.
 Here’s that resealable flap I mentioned earlier. I’m tellin’ ya, keep this box. Sure it’s not Apple level box excitement we are talking, but it is very usable.
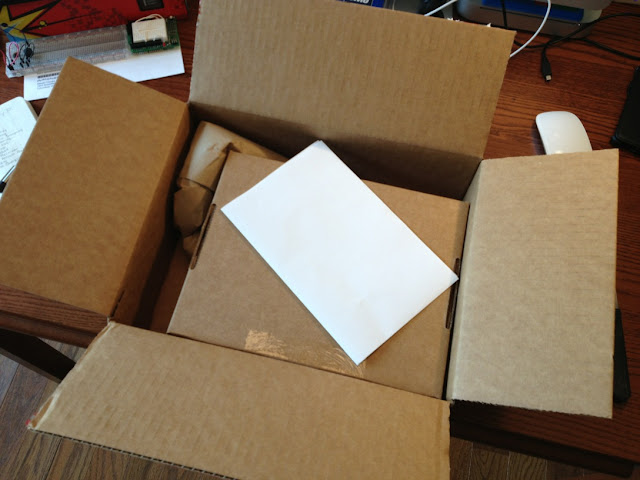
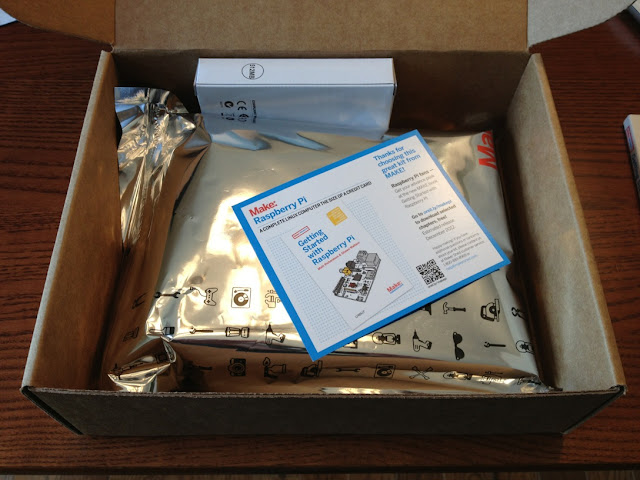
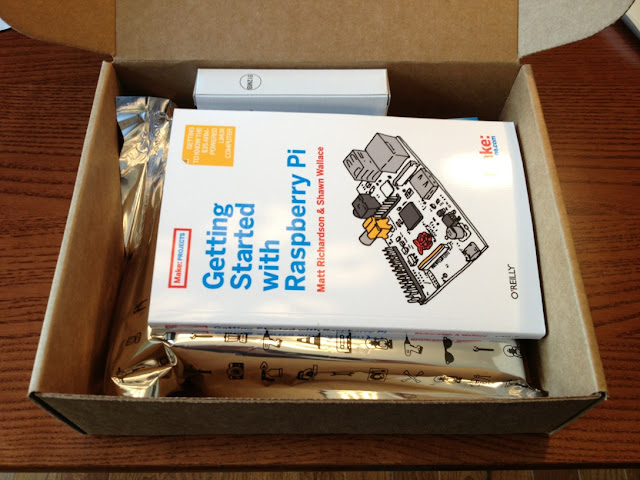 After I lift the lid, we find three things: a white box, a static free zip lock bag and on top the “Getting Started with Raspberry Pi” book. When I purchased this kit, I also received an automatic download for the ebook version. I’ve been mowing through it while I waited on the physical copy to arrive with the kit.
 I’ve removed the book to find yet another plug for the book. They really want to sell that book. Let’s see what’s in that white box.
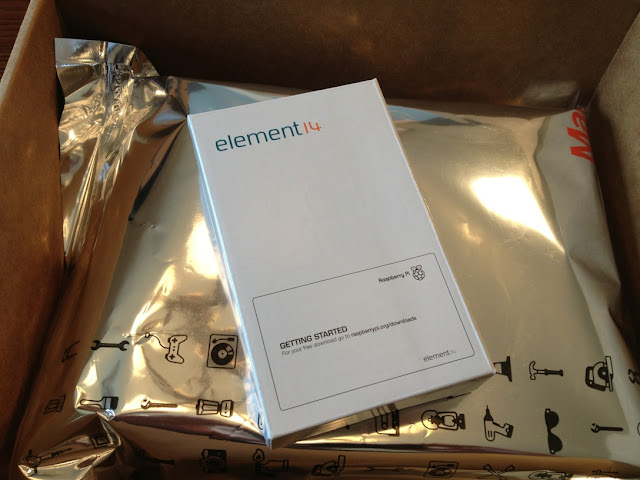 What we have here is an Element 14 provided Raspberry Pi. Let’s see what’s in this smaller box.
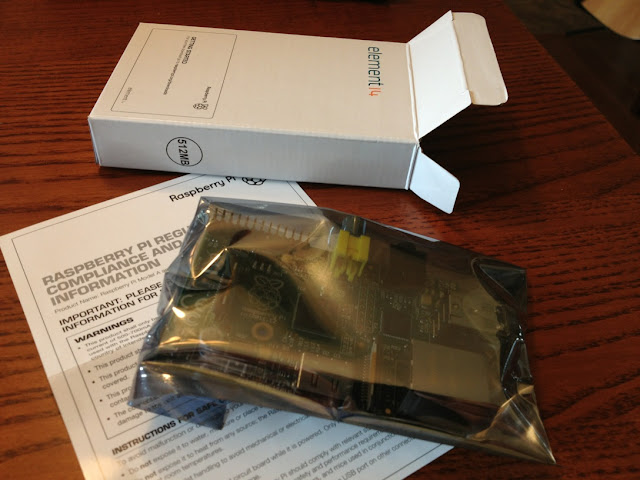 And there you have it. The brains of the kit – the Raspberry Pi. Don’t forget to the read the compliance sheet (yawn). I’ll leave the Raspberry Pi in the static free bag until I’m ready to use it. Don’t worry, you are sure to get a better look in later posts.
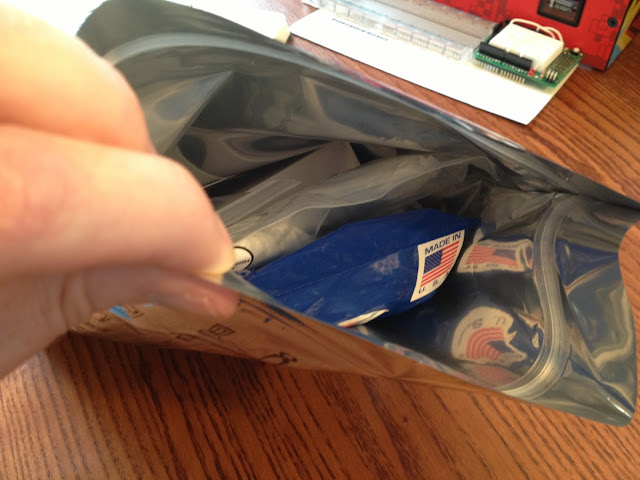
 All we have now is this NASA inspired static free bag. Time to open it up.
 It has a zip lock on it, so I will keep that around for storage of sensitive components.
 That blue bag looks intriguing. Let’s check that one out first.
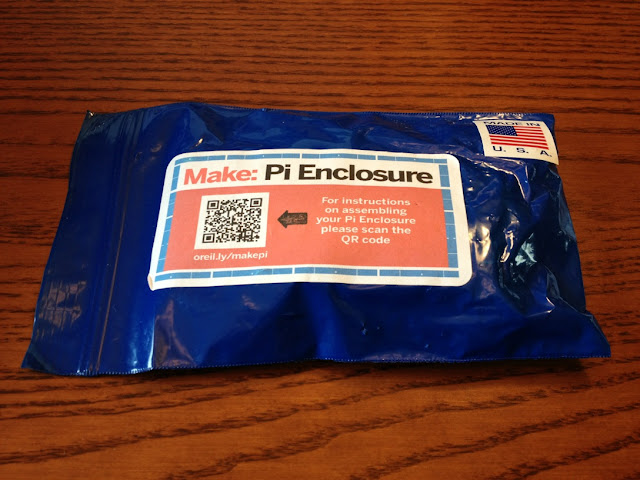 Ah yes, the Make: Pi Enclosure. This was another plus that I knew would be beneficial a bit later down the road. I also have an idea for a LEGO case. I didn’t open this zip lock bag just yet. I may save that for another blog post.
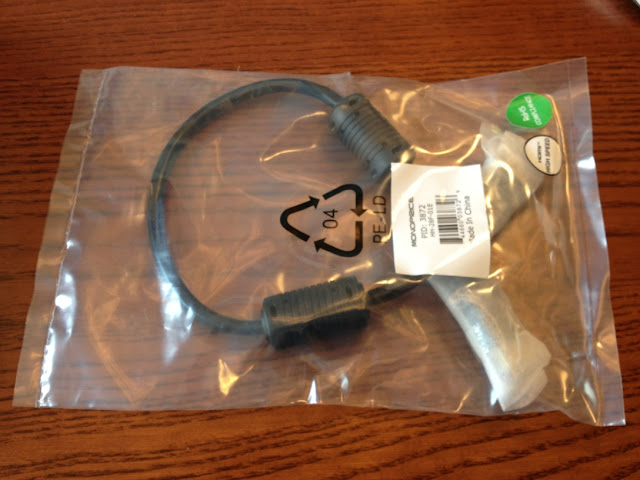 HDMI Cable from Monoprice. Just like the old days of classic computing, you attach the Raspberry Pi to any HDMI enabled display you have laying around the house. The Raspberry Pi also includes an analog RCA output as well. So if you still have that color TV you connected your Commodore VIC 20 to, you can use it!
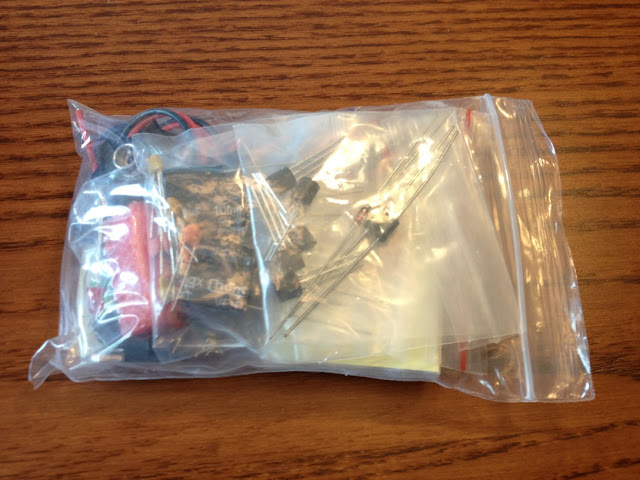 Here we have a sack of electronic components for our physical computing projects. Lots of good stuff in there…
 …as you can see in this image. A smaller breadboard, some resistors, varistors, capacitors, 9V adapter, IC chips and a few switches. A nice selection that I will sort and add to my Make: Electronic Components kits.
 There are four ports on this AC adapter and no instructions. It will be interesting to see if this thing can actually power/charge four devices. The plug swivels into the base. It actually has a very nice design.
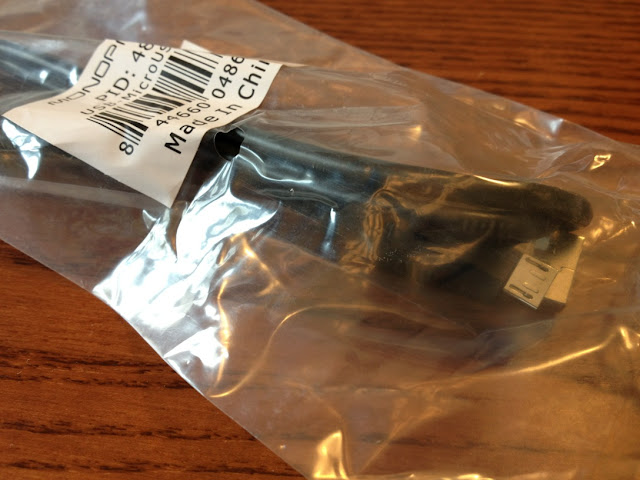 And here’s a USB cable for charging or interfacing.
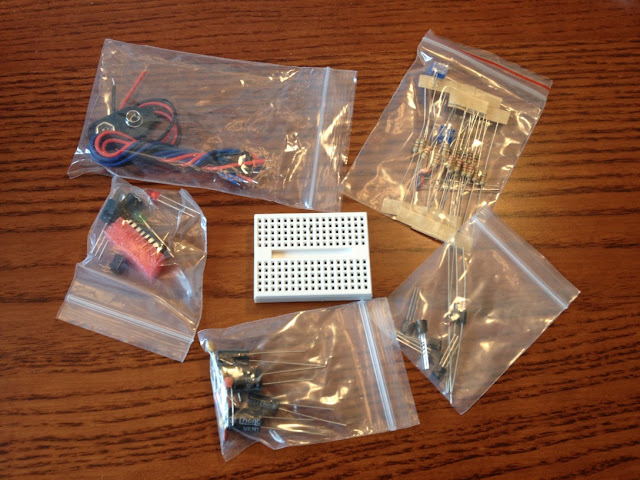
 This was another perk of this particular kit. It includes a Pi Cobbler Kit. The Pi Cobbler makes it easier to attach other devices to the Raspberry Pi. When assembled, it connects from the Raspberry Pi to a breadboard. You then connect devices to the breadboard, where you have more connectors and more space.
 And here’s the breadboard we need to go with our Pi Cobbler Kit. I have several, but an additional one won’t hurt.
 Wires. Lots of of ‘em. I can add these to others I own. They are pre-tipped, in various sizes and ready to use. Great for prototyping.
 For those not aware, the Raspberry Pi does not have external storage for the operating system (OS). It uses SD cards as the “hard drive.” In this case, a 4GB card is included by Maker Shed. 4GB will work for a single OS, but I will want to multi-boot my Raspberry Pi at some point, so I will probably grab a larger capacity later on.
Installing an OS on an external card is a process in itself and one that I have documented for a USB drive. With a USB SD card reader, you can use these same instructions.
 A final image of the entire kit.
There you have it; the innards of the Maker Shed Raspberry Pi Starter Kit. At $130, some will find this a bit pricey. You may be able to put your own kit together for less; however, you will receive it from various sources and probably wouldn’t receive all the components at the same time. Some will not need the additional components and will forgo the added expense. I can understand that.
I like the kit and even though I did spend a bit more to get into a Raspberry Pi, I do think the entire package is worth the cost if you want to experience all Raspberry Pi capabilities and/or are new to physical computing.