Retro computing with a touch of modern and the home for all things, retroCombs (aka Steven Combs).
Disclosure Statement: When you click on links to various merchants on this site and make a purchase, this can result in this site earning a commission. Affiliate programs and affiliations include, but are not limited to Amazon, the eBay Partner Network, and/or others.

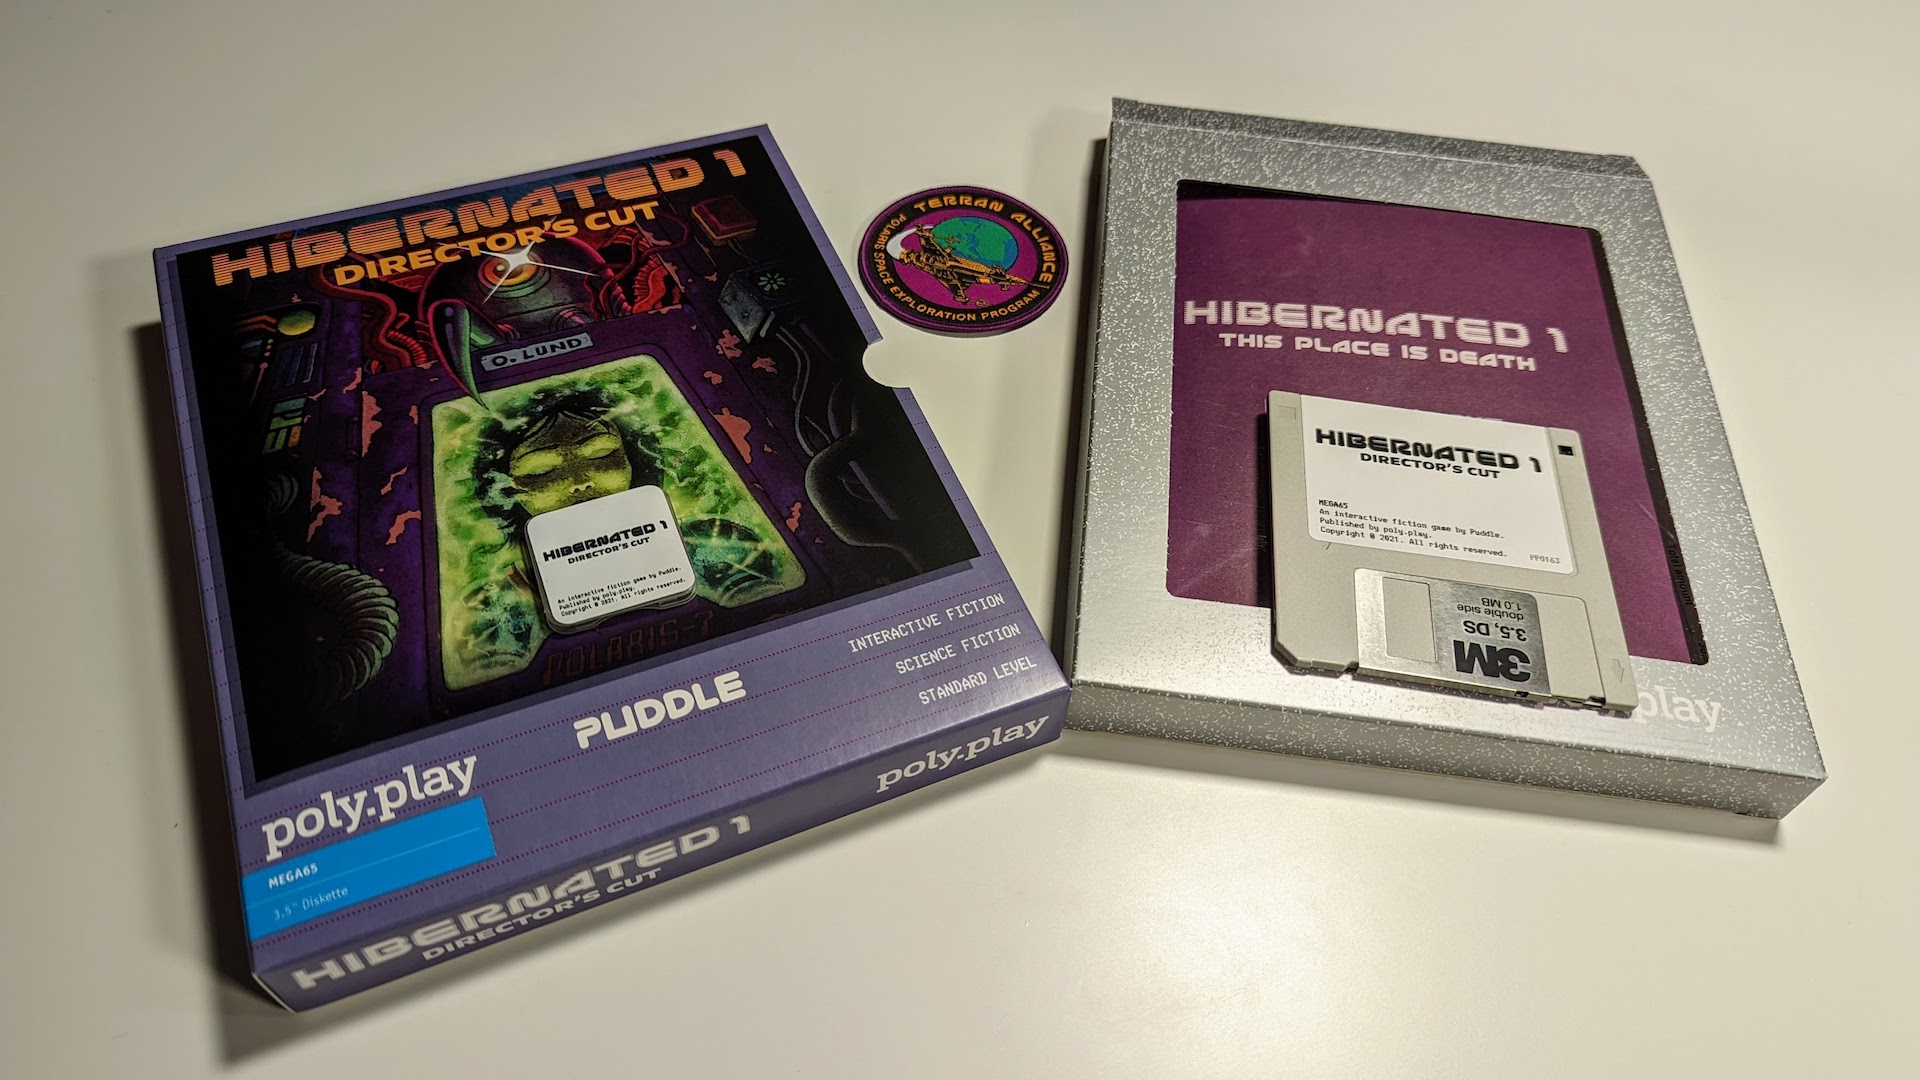
Copy a MEGA65 .D81 disk image to a 3.5” floppy disk
by Steven B. Combs, Ph.D.
This short blog post is a supplement to a MEGA65 video I posted on 2022-08-19. The video shows how to update the Hibernated 1 The Director’s Cut 3.5” Floppy upon release of a new version that enhances game play or fixes bugs. It’s fine to load the .d81 disk image and play from the SD card on the MEGA65, but sometimes you need the floppy disk clicking to get that true retro computing experience on the MEGA65.
While I spend more time in the video showing how to copy a MEGA65 disk image to the internal 3.5” floppy, this blog post will provide a short written description of the process for quick reference. Let’s get started.
Support the Blog and Channel
Check out the supporters page to learn about my amazing supporters and how you can join our community.
Companion YouTube Video
Title: Managing MEGA65 Media | Update 3.5” Floppy Files from a .D81
Video Errata
None as of 2022-08-19.
Links Mentioned in this Episode
Below are the links I mention in this blog post and companion video. All Amazon links are affiliate links. I’d like to thank everyone for your support of the blog and the YouTube channel when you start your purchases here!
Steps to Copy an SD Card Disk Image to a 3.5” Floppy Disk
Below are the succinct steps:
- Insert a 3.5” floppy disk into the MEGA65 floppy drive bay. The disk does not need to be formatted.
- Use the
MOUNTcommand to mount the 3.5” floppy disk to unit/drive 8 (the default) - Insert an SD Card into the MEGA65 that contains the disk image you want to copy to the 3.5” floppy disk.
- Use the
DIR U12command to list the contents of the SD Card on the MEGA65. - Use the
MOUNT <FILENAME>,U9command to mount a disk image from the SD Card to unit/drive 9. - Use the
BACKUP U9 TO U8command to copy the SD card disk image contents to the 3.5” floppy disk. This process will take a long time and there’s no visual sign. Be patient. - Verify the contents on the 3.5” floppy disk using the
DIRcommand.
You can now enjoy a more authentic experience by running software from a 3.5” floppy disk. This is one perk of MEGA65 ownership; the ability to choose between virtual and physical media. Expect the software to run slower from the floppy disk, but relish in the old school sounds!
Join the Fun
Don’t miss the retro-computing fun. SUBSCRIBE to my YouTube channel and check out my other posts.
Help make this content better! Leave your comments, corrections, additions, and thoughts in the comments below. You can email me at retrocombs@icloud.com. Thanks for reading and if you are inclined, please let others know about the blog using the hashtag #retroCombs.
🕹️ retroCombs, OUT!