Retro computing with a touch of modern and the home for all things, retroCombs (aka Steven Combs).
Disclosure Statement: When you click on links to various merchants on this site and make a purchase, this can result in this site earning a commission. Affiliate programs and affiliations include, but are not limited to Amazon, the eBay Partner Network, and/or others.

HOWTO: Project Fi bricks meet Pocket C.H.I.P.
by Steven B. Combs, Ph.D.
In November of 2015, Project Fi (Google’s mobile phone service), sent out Happy Holidays kits to their users. Inside the kit were Project Fi building bricks. Many folks online inaccurately called them LEGO bricks. These bricks are definitely not manufactured by LEGO. They have “fi” on the stud and the quality is not up to LEGO manufacturing standards.

Thanks to the folks over at Next Thing Co. for making this build a feature of their August 11, 2016 blog post. If you are coming over from their post, WELCOME! Also be sure to check out a few of my other C.H.I.P. related posts. Many more to come.
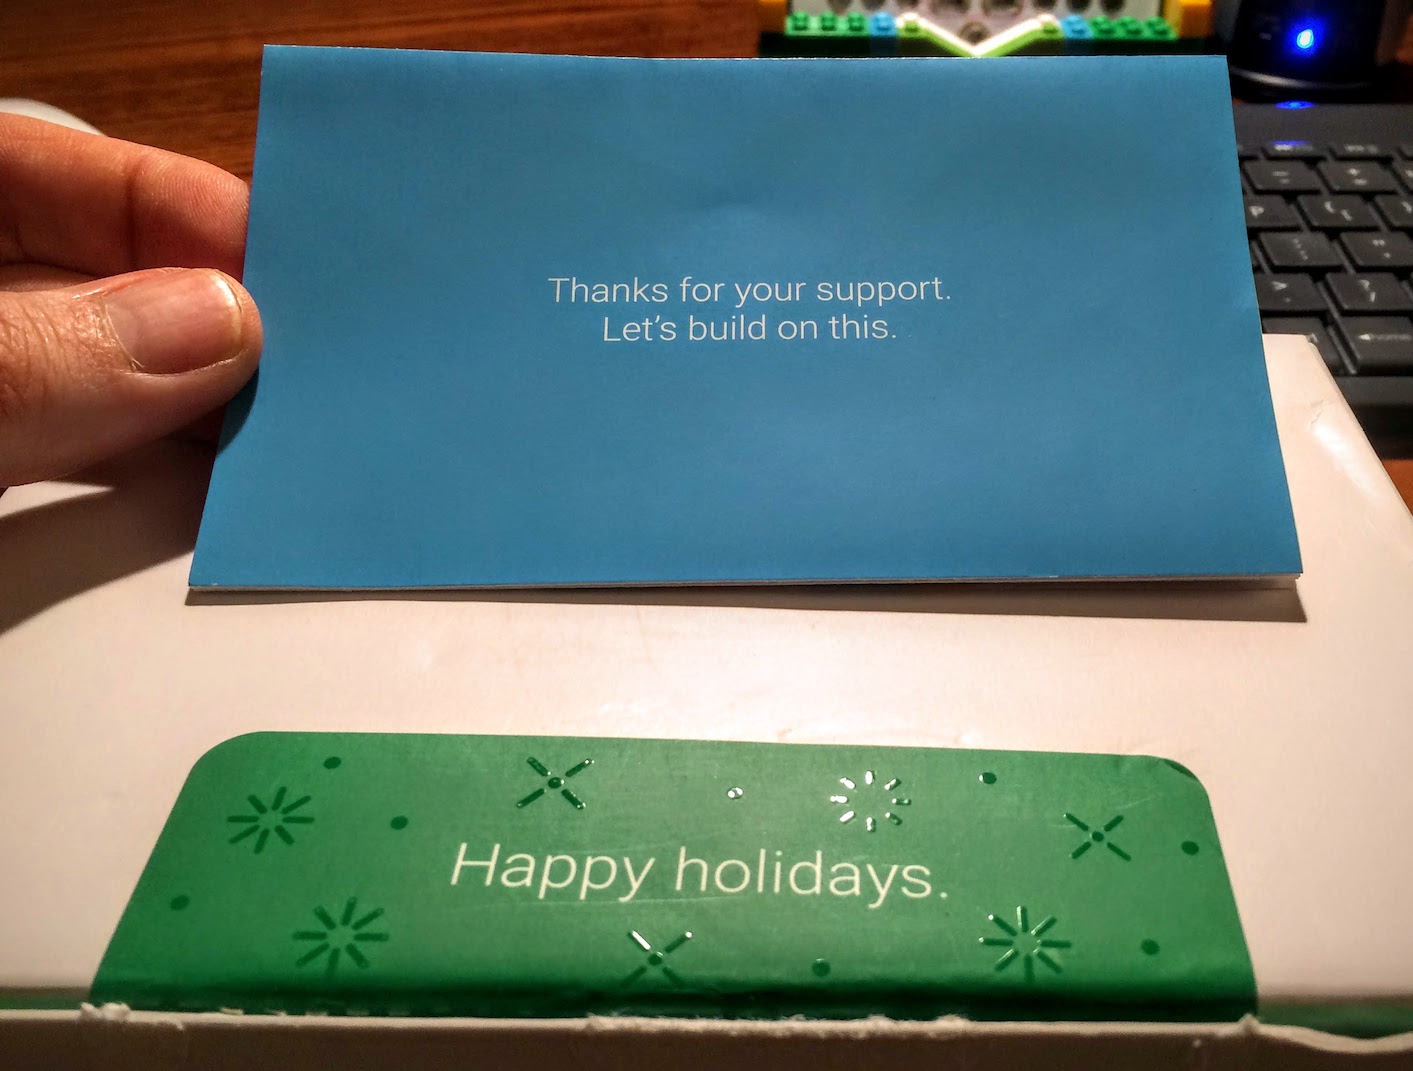
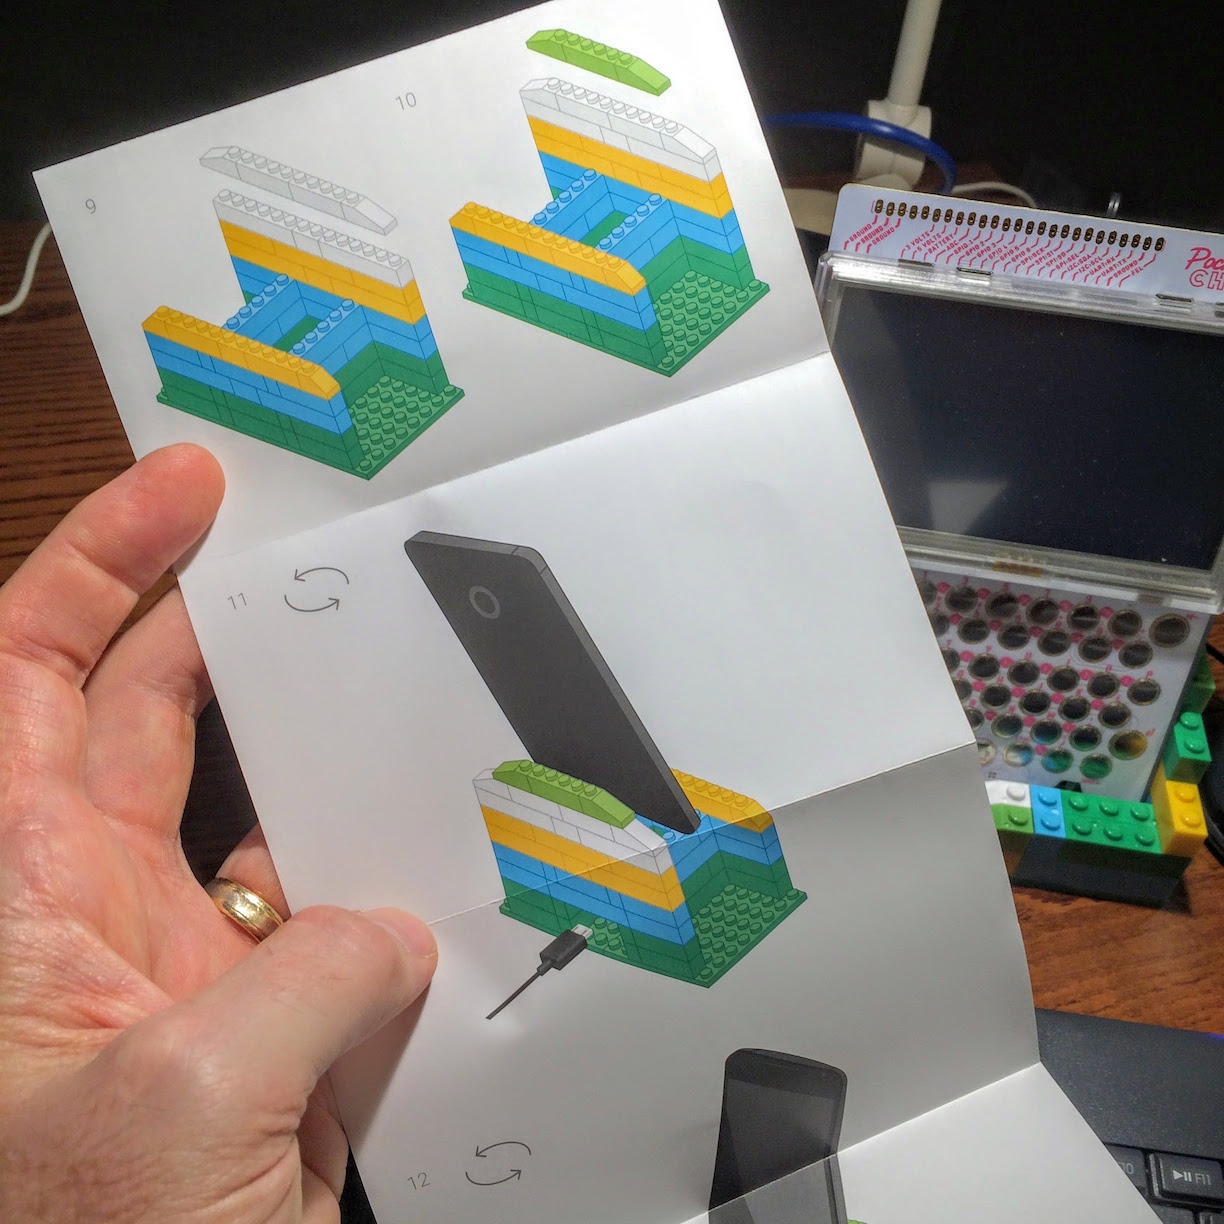
The Happy Holidays kit is a followup to the Project Fi welcome kits that were sent out to early adopters of Project Fi. Using bricks in the Happy Holidays kit, you build a stand for a Nexus 6 phone, the only phone available on Project Fi at that time. You can see Google’s design in the image below.
I could never bring myself to break open the pack. I didn’t need a stand for my Nexus 6 so the kit remained on my shelf until today. I was sitting at my desk and trying out a Logitech K400 plus keyboard with my Pocket C.H.I.P. Normally, I place a pencil in one of the provided holes to support the Pocket C.H.I.P. in a vertical position. I couldn’t find a pencil. Instead, I stumbled upon the Project Fi Happy Holidays kit. I wondered if I could quickly build a stand for my Pocket C.H.I.P.
For the first time, I broke open the bag of bricks and began building. To my surprise, I was able to quickly create a stand for my Pocket C.H.I.P. that was both functional and good looking. Well, as good looking as the bricks and colors provided allow. I now present what I call the Pocket C.H.I.P. Building Brick Dock. Even if you do not have the Project Fi kit, this bock can easily be built using LEGO bricks.
Below you will find an image gallery with descriptions beneath each image. If you have any questions or comments, feel free to leave them at the end of the post.
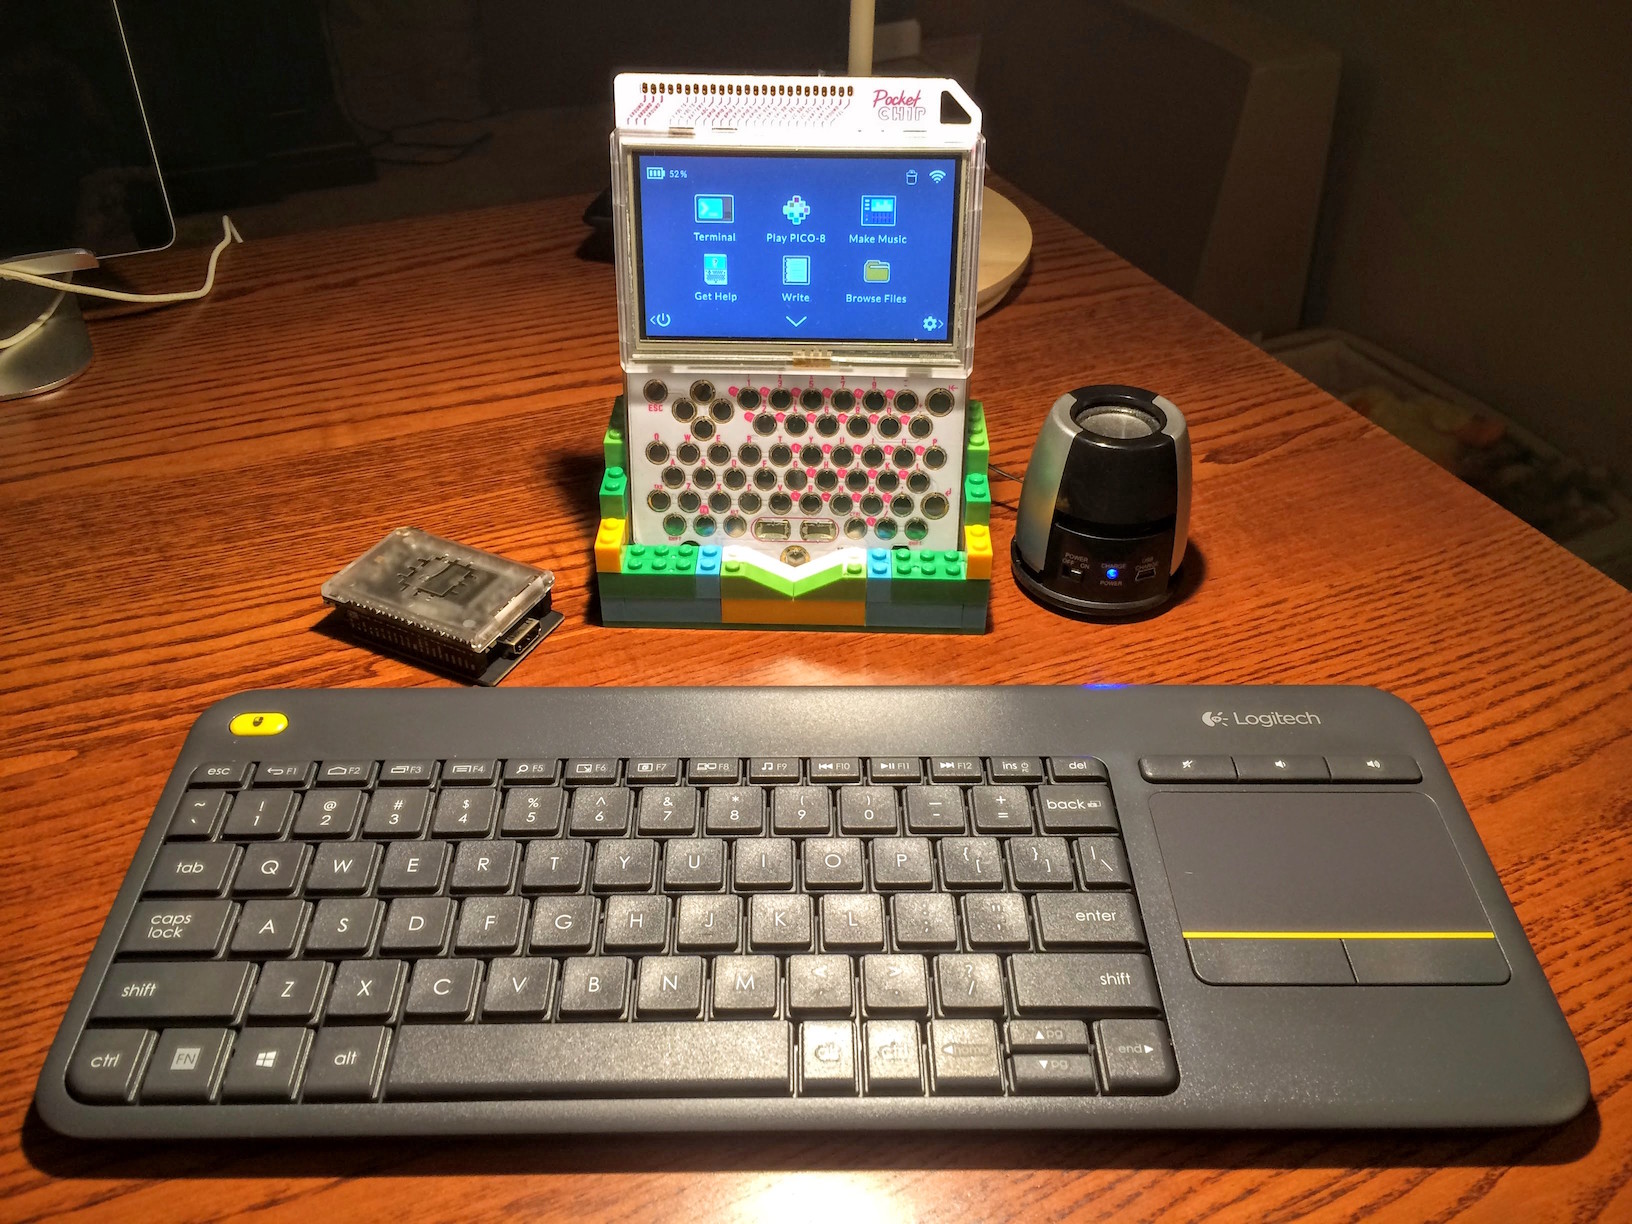 The Pocket C.H.I.P. Building Brick Dock complete with a Logitech Keyboard and a Music Bullet portable speaker. Yes, that is a C.H.I.P. to the left.
 Front view with Pocket C.H.I.P. firmly in place and balanced nicely so it does not tip forward or backward.
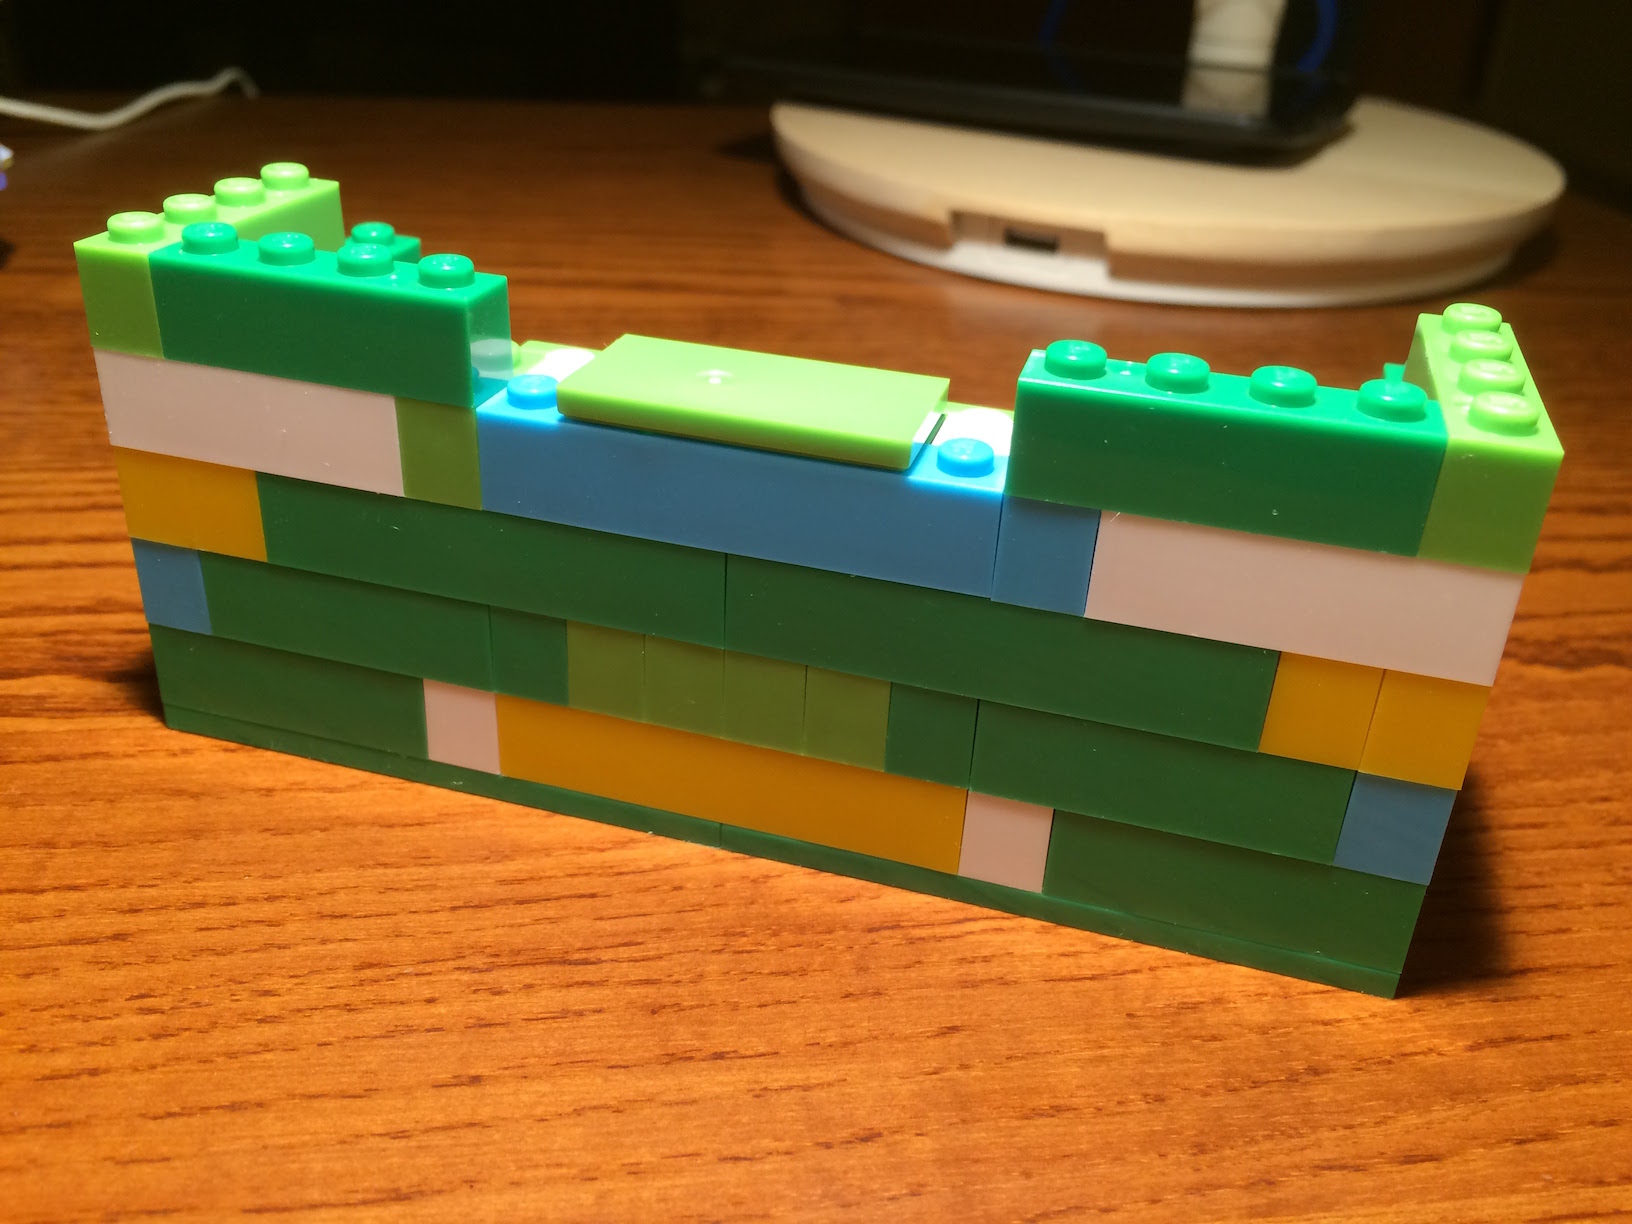
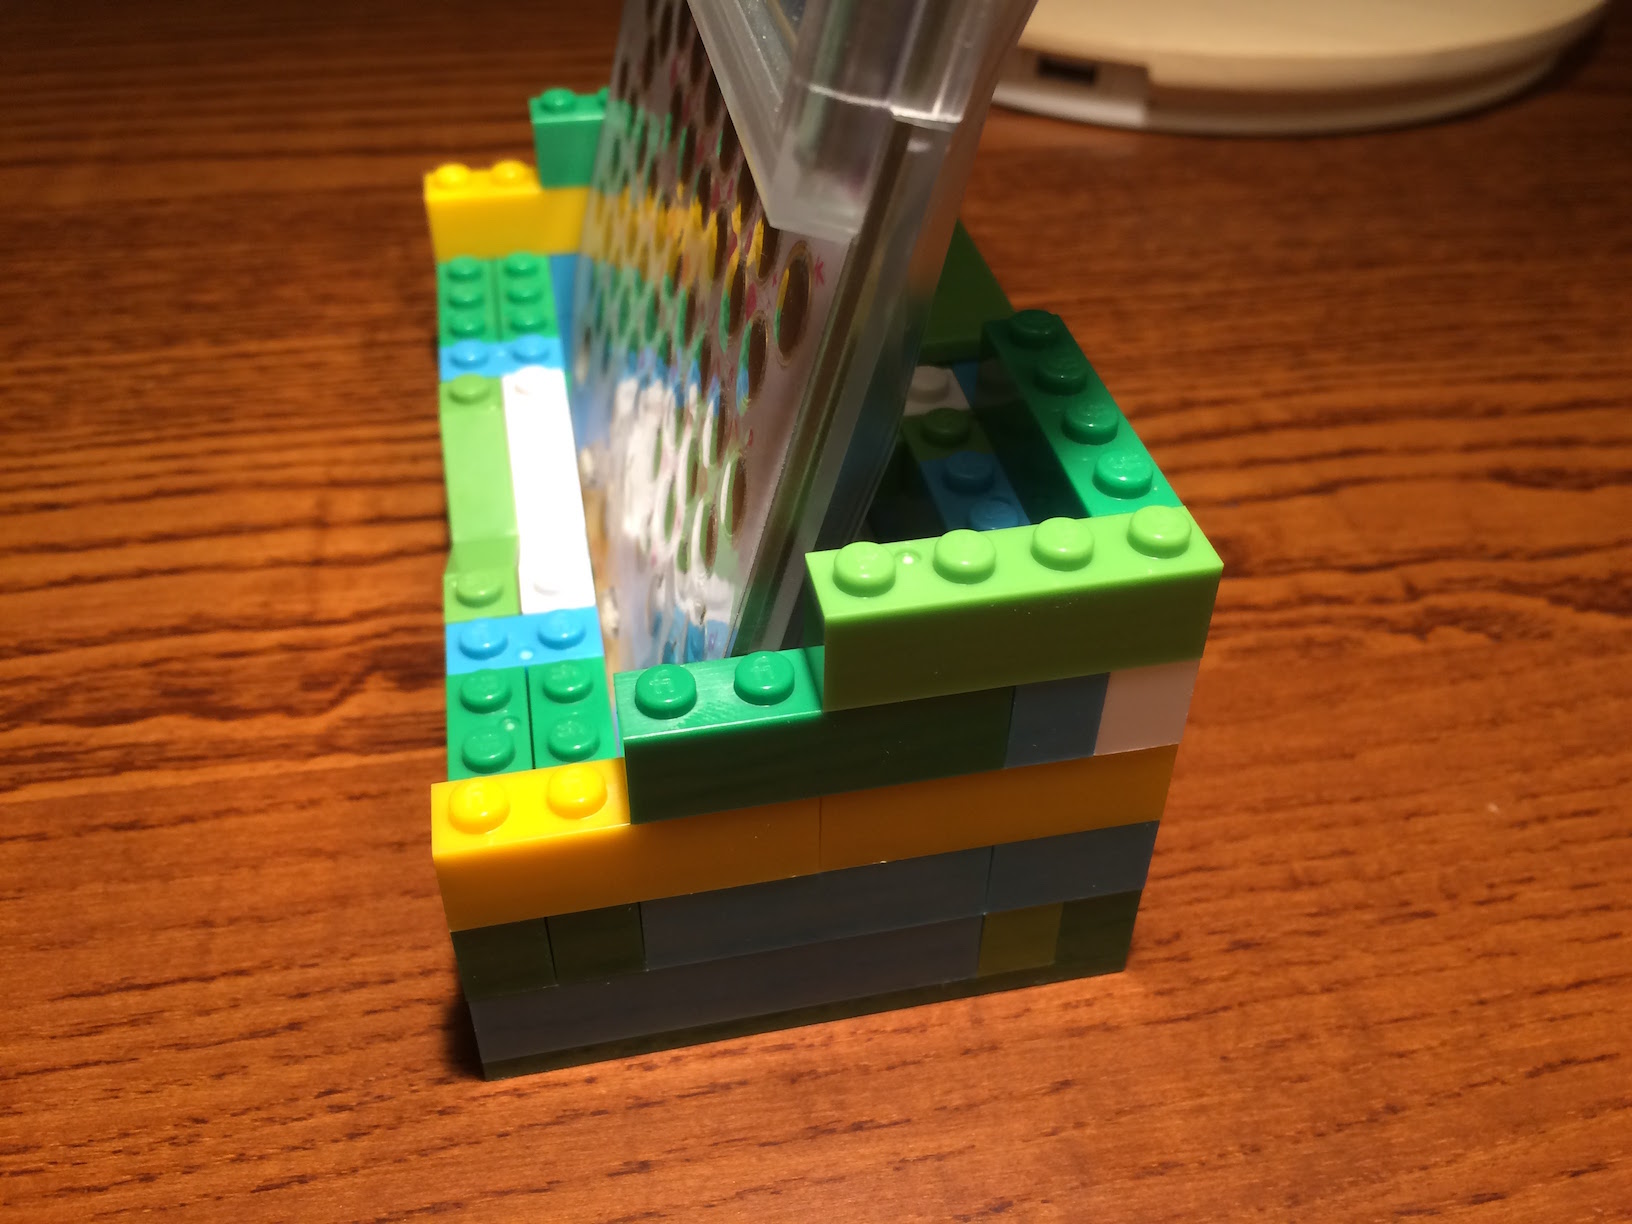 Side view of my stair-step design. The Project Fi brick selections do not provide many design options.
 In this image you can see the back of the dock as well as “fi” on the top of each stud. Color variations in the bricks provide a bit of visual interest.
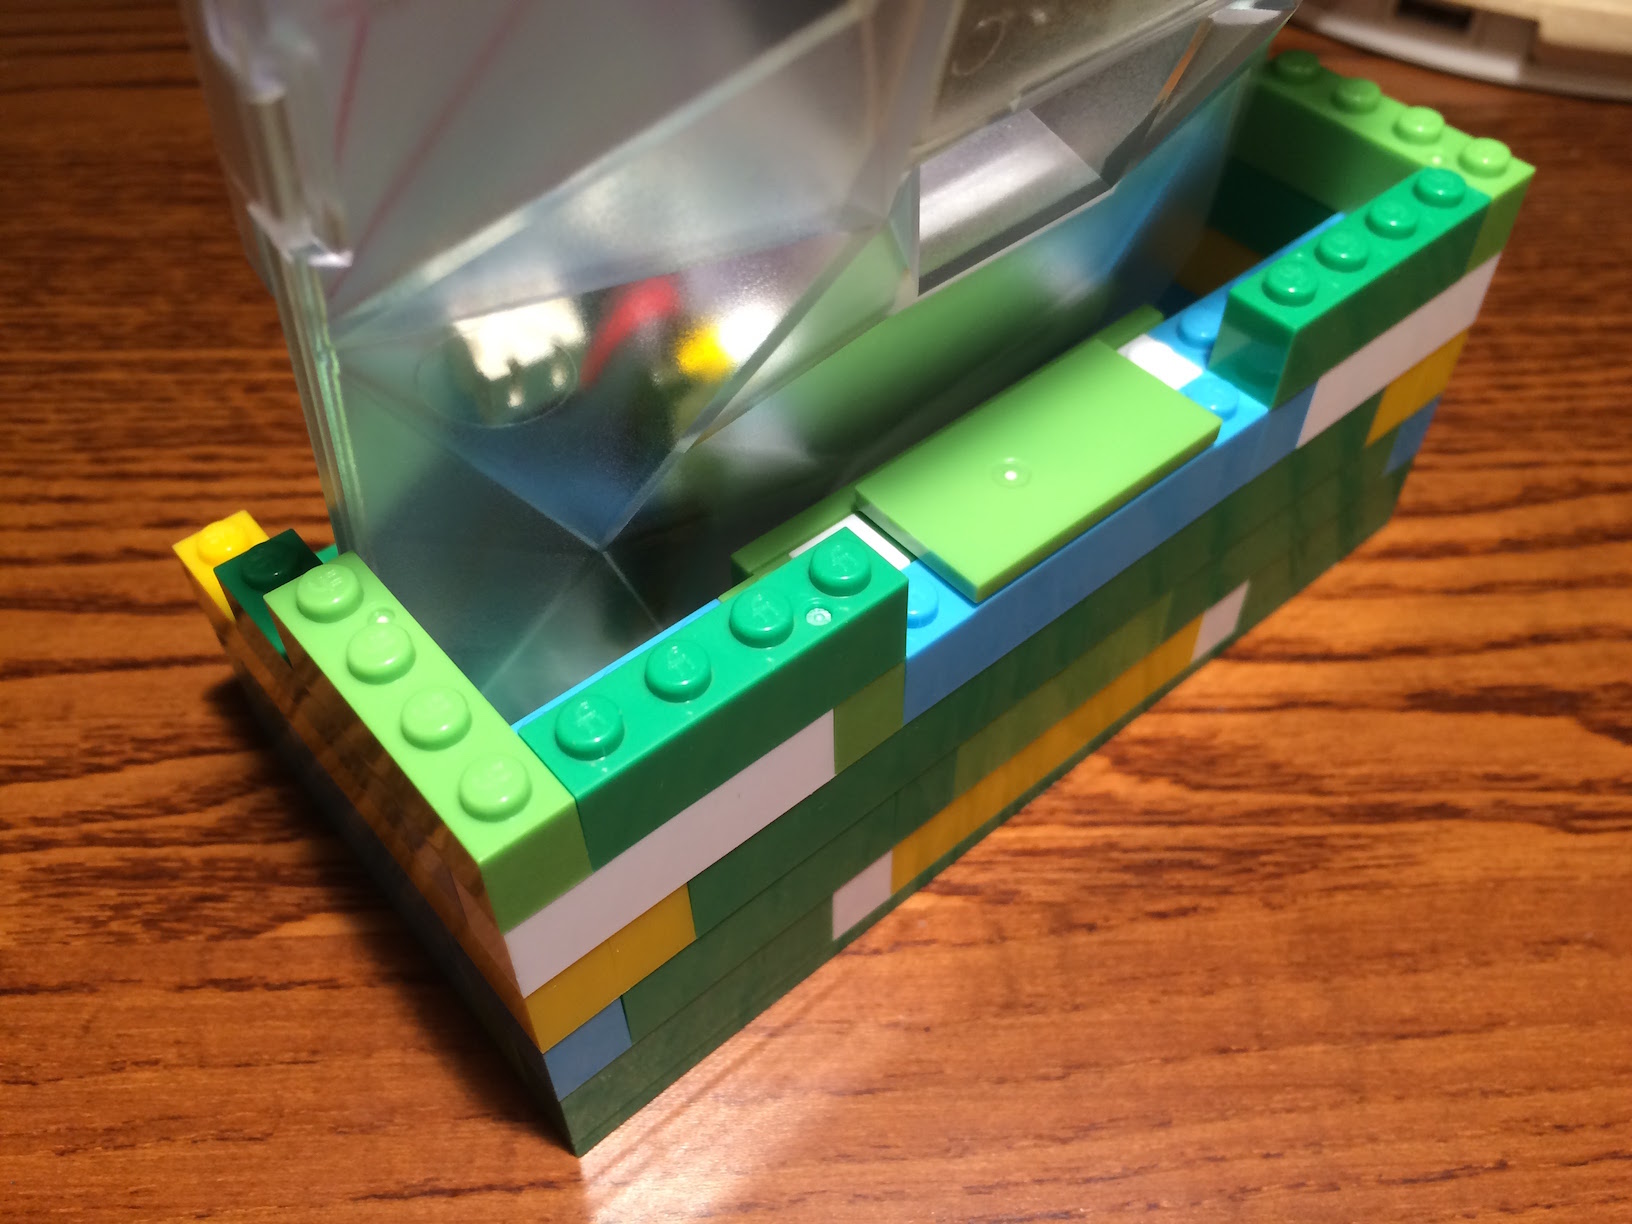
 Leaning the Pocket C.H.I.P. forward a bit, you can see how I use angled bricks and a flat plat with the S.N.O.T. (studs not on top) technique to create a flat resting service for the back of the Pocket C.H.I.P.
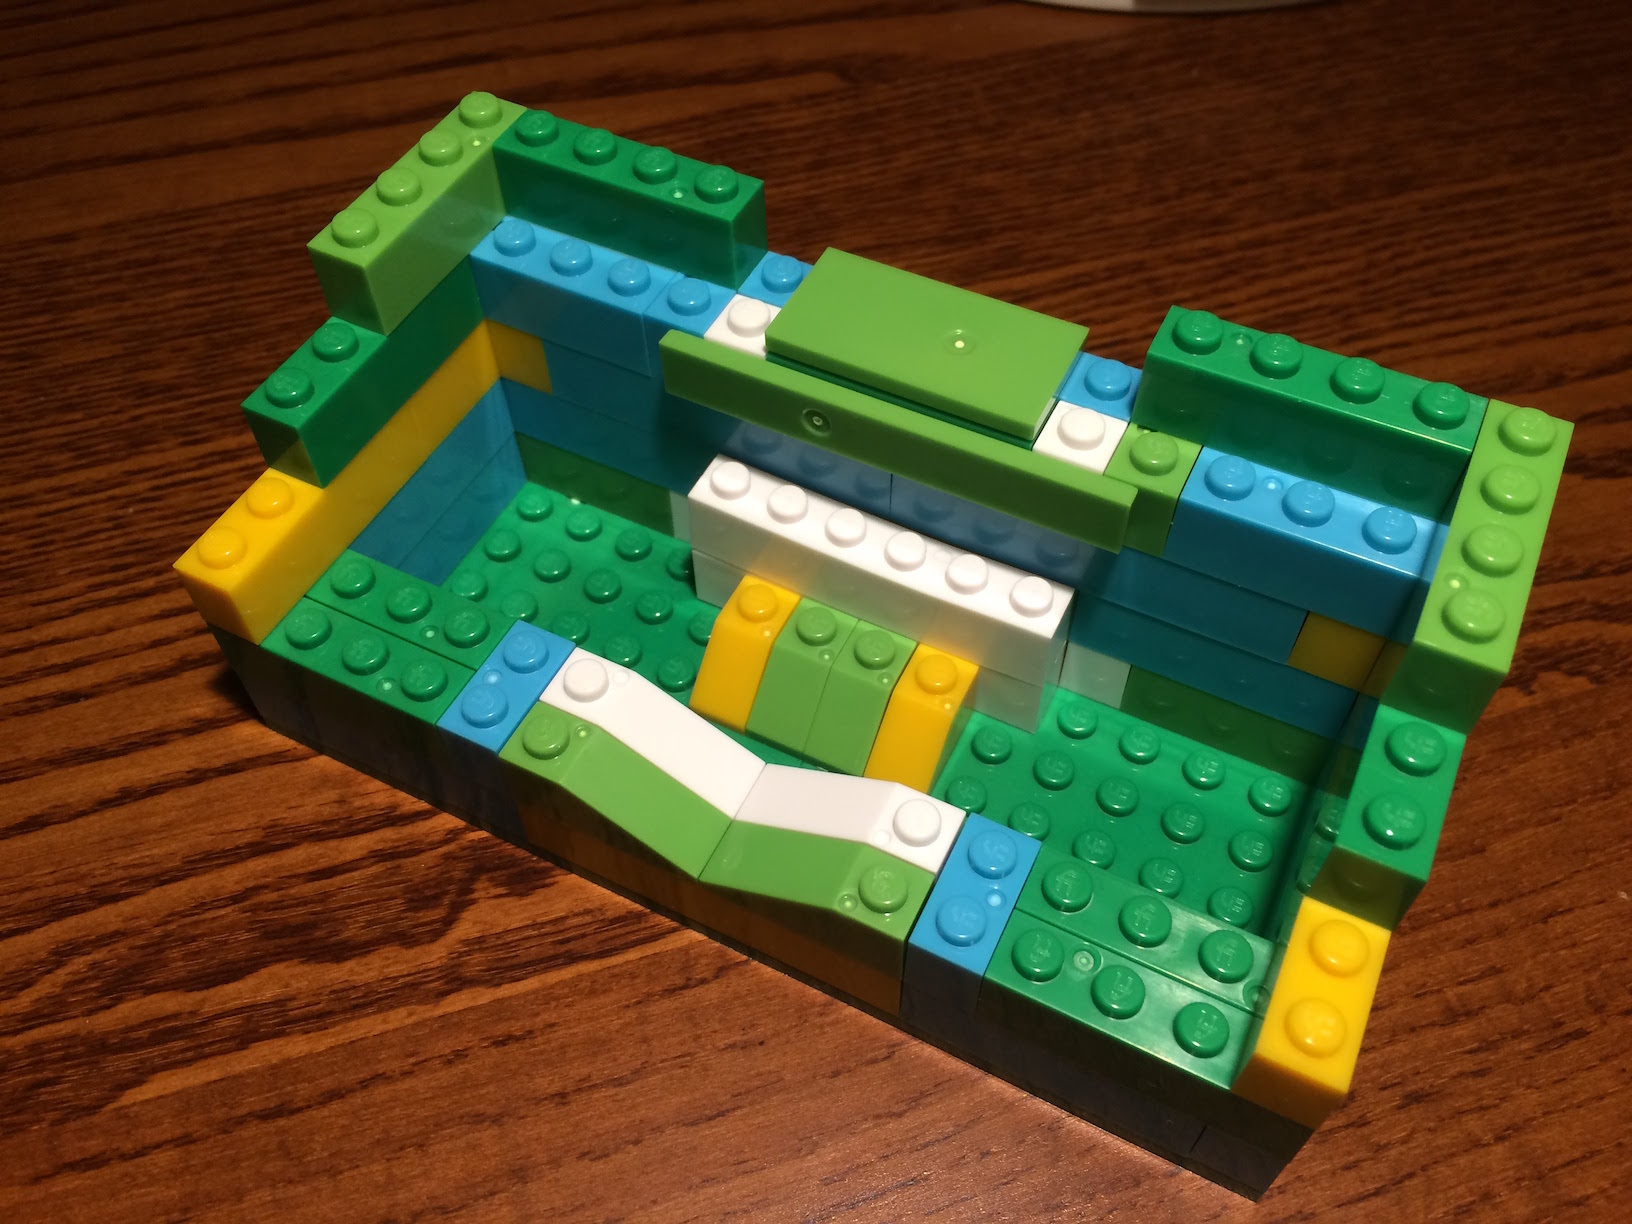 Isometric view of the entire dock design.
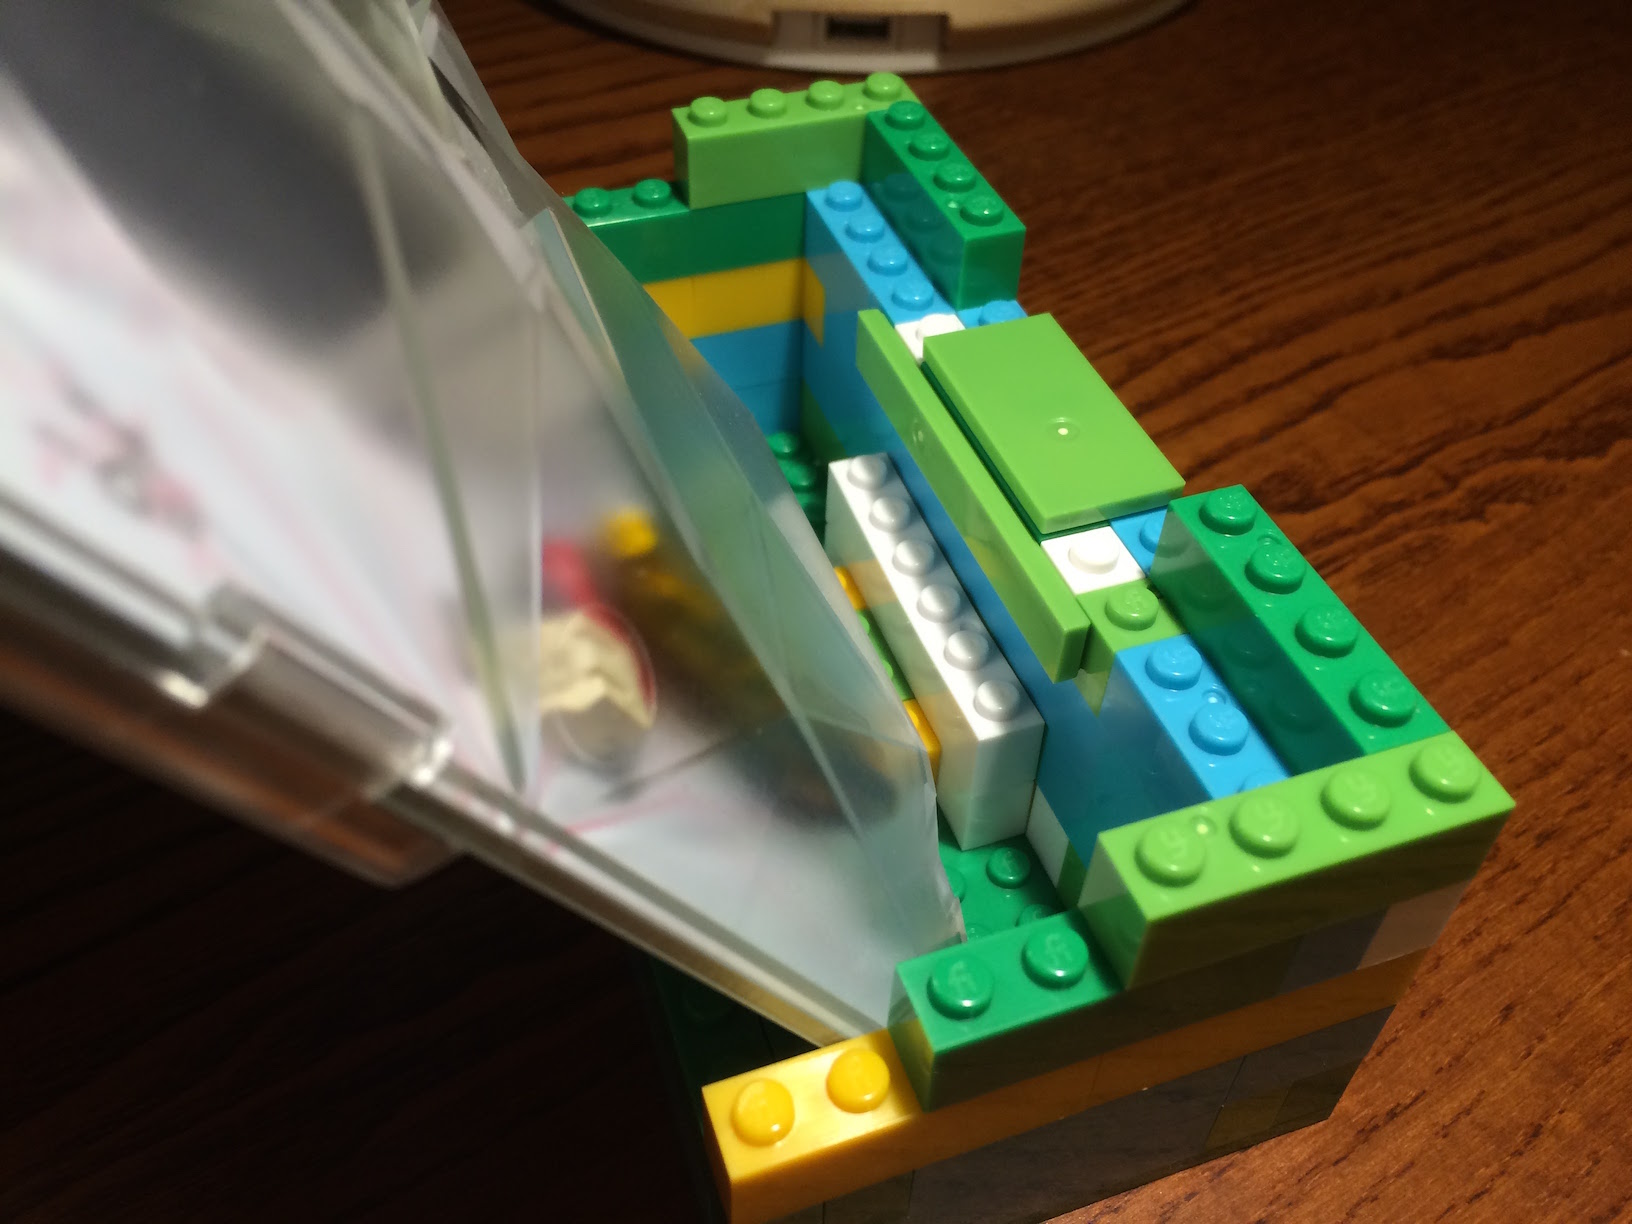
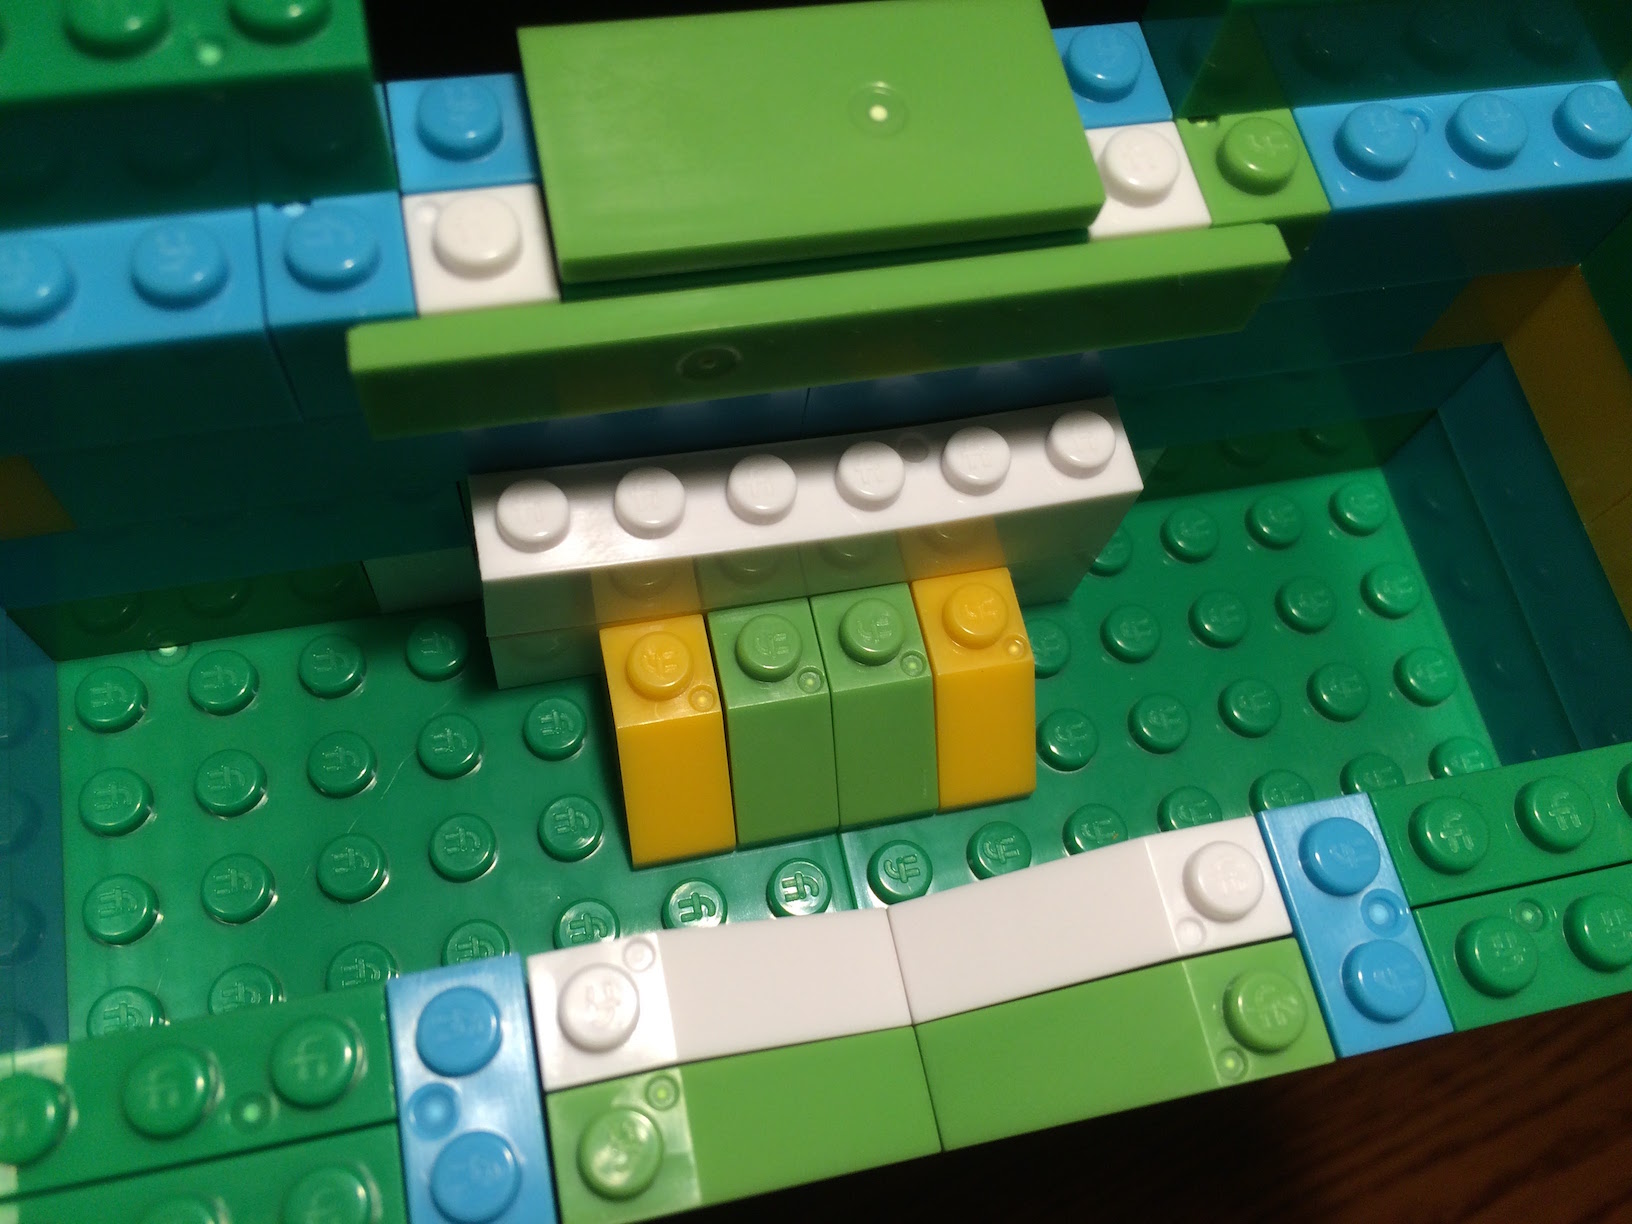 Detail view of the angled resting surface and interior.
 Back view of the dock.
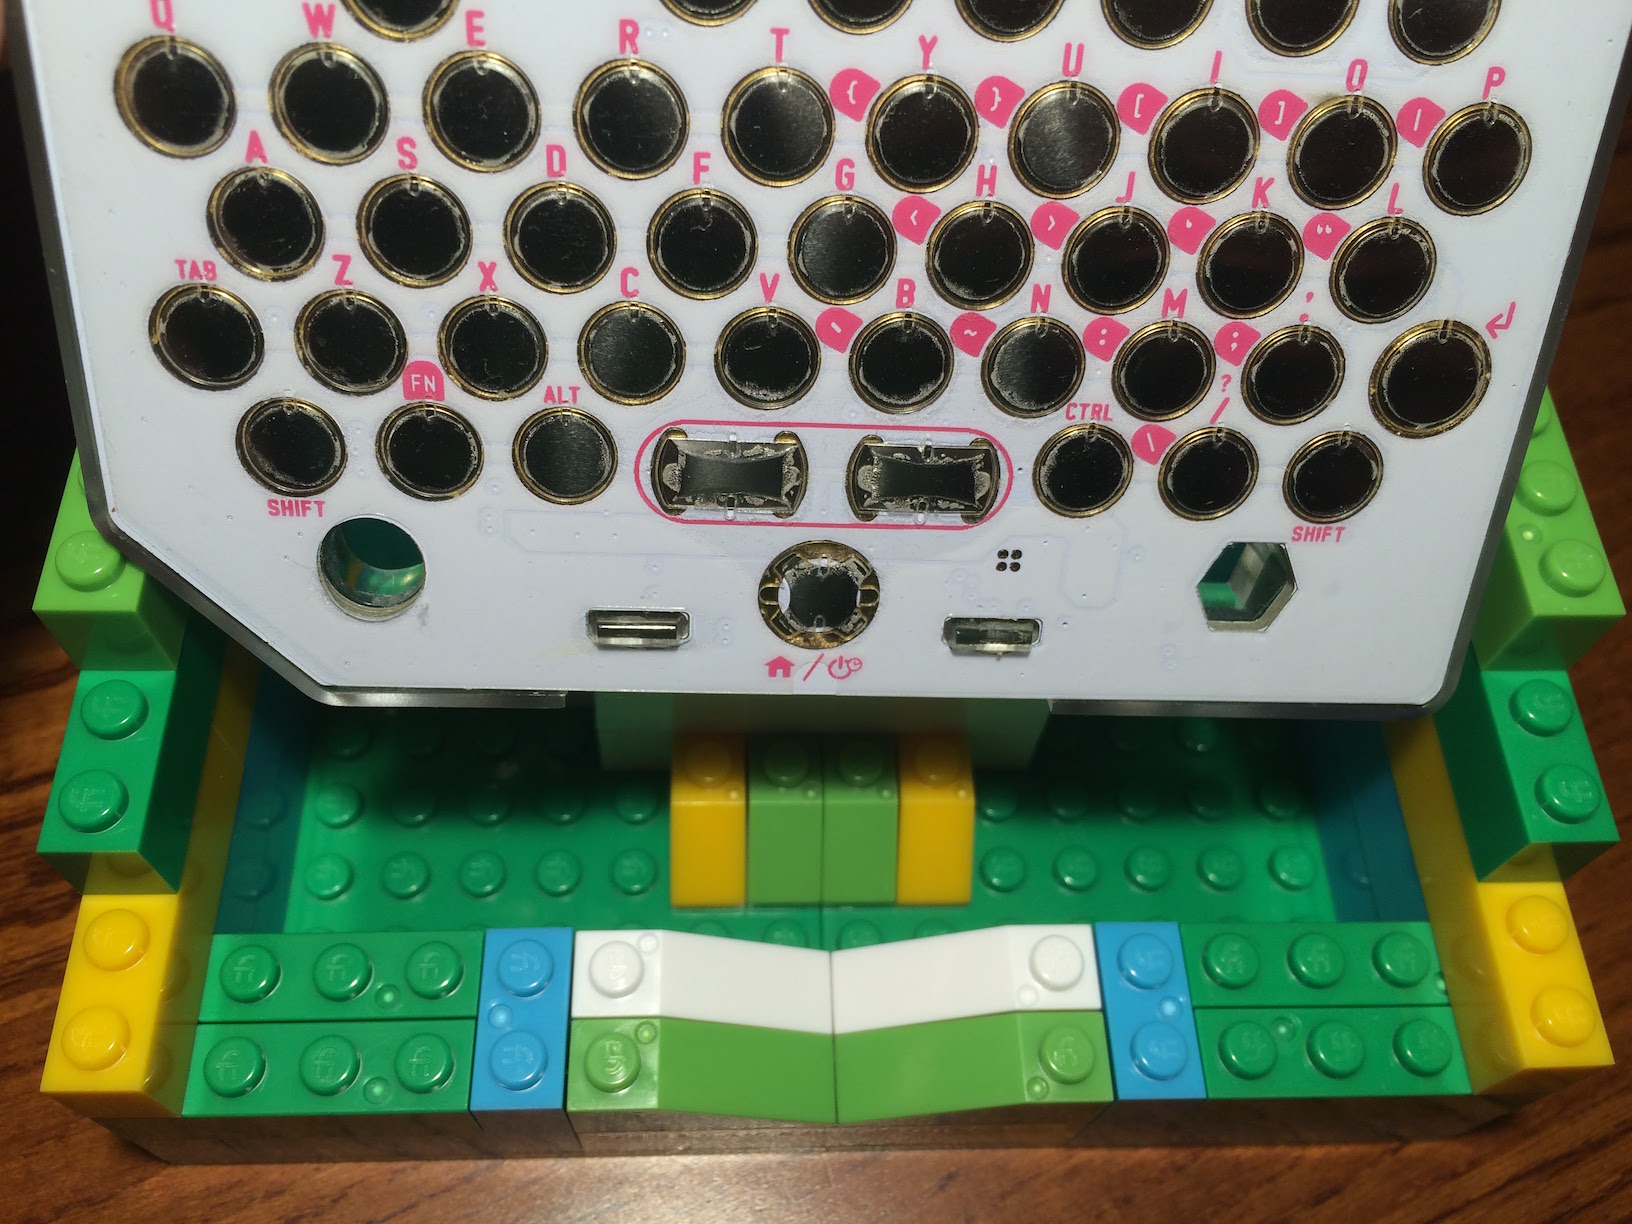 I slide the Pocket C.H.I.P. into the dock. It is surprising how close the width tolerance of the Pocket C.H.I.P. was to my design. It really does fit like a glove. This made me wonder if the folks at Next Thing Co. are LEGO fans and actually made the width specifically for this type application.
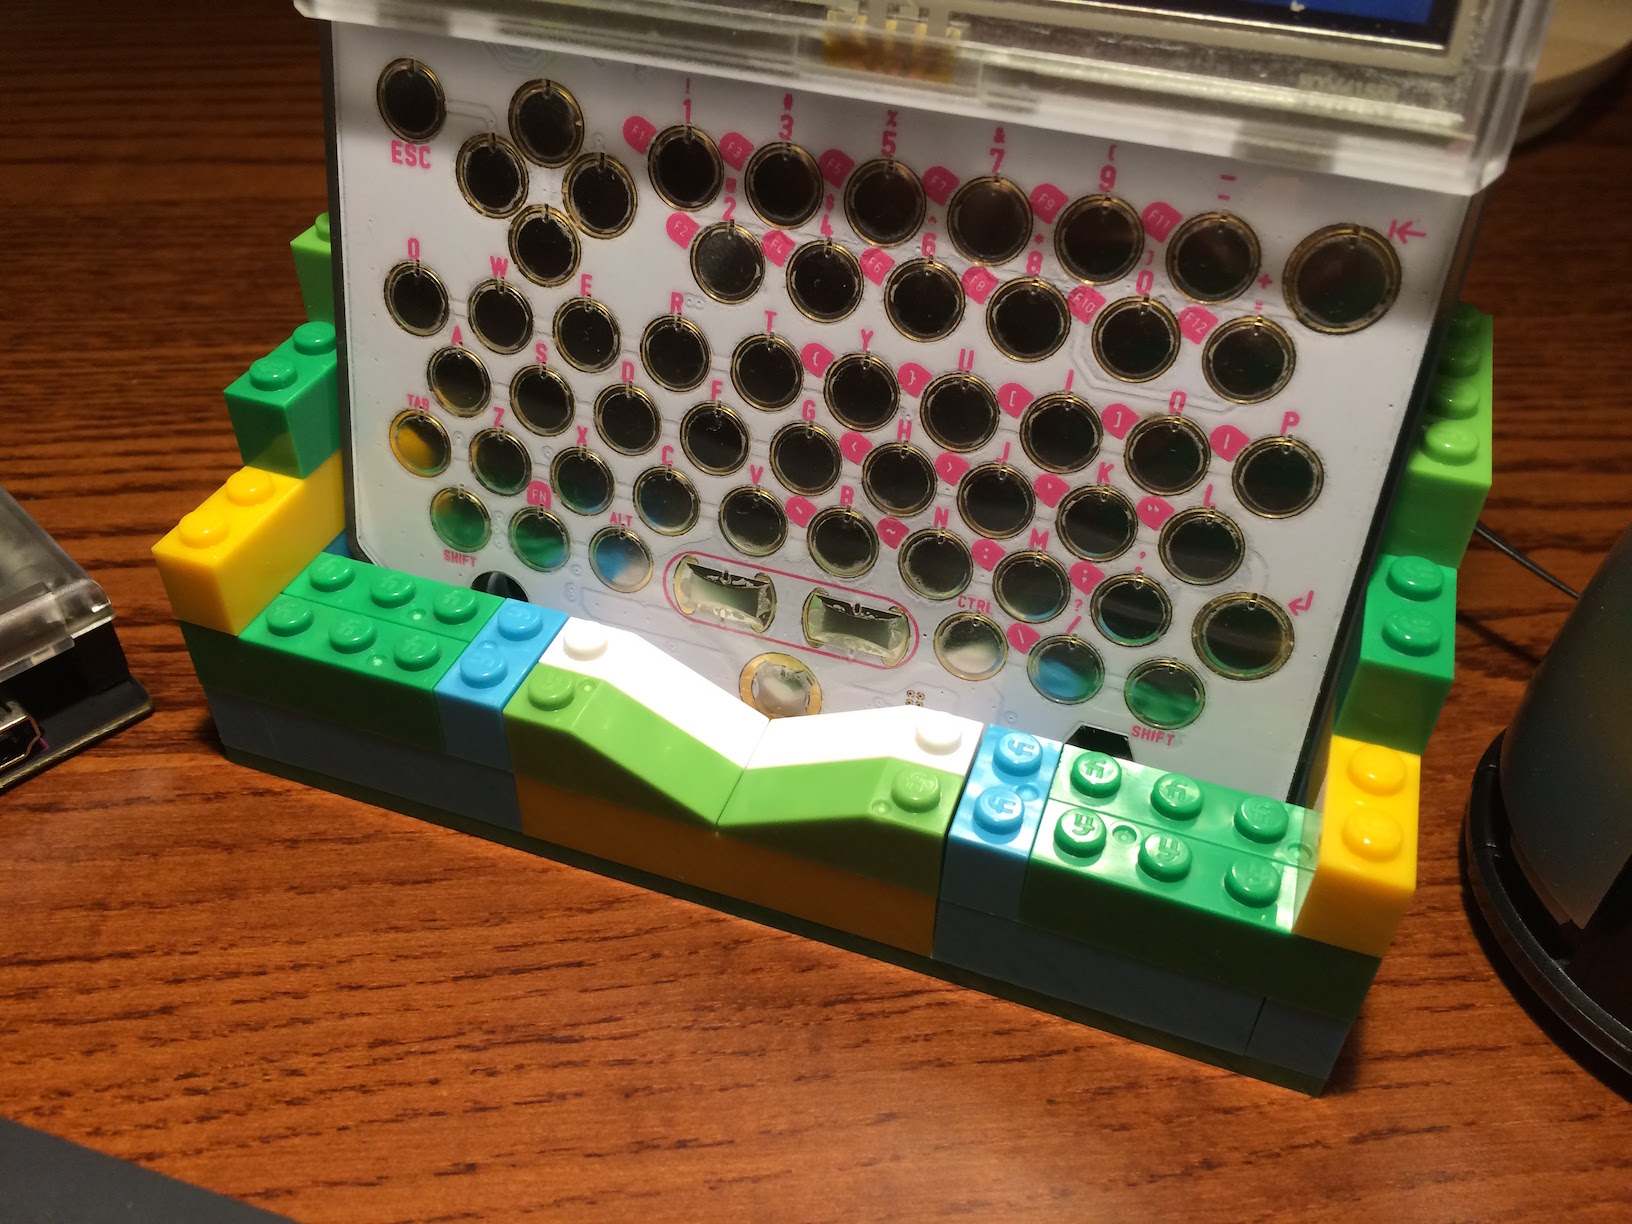
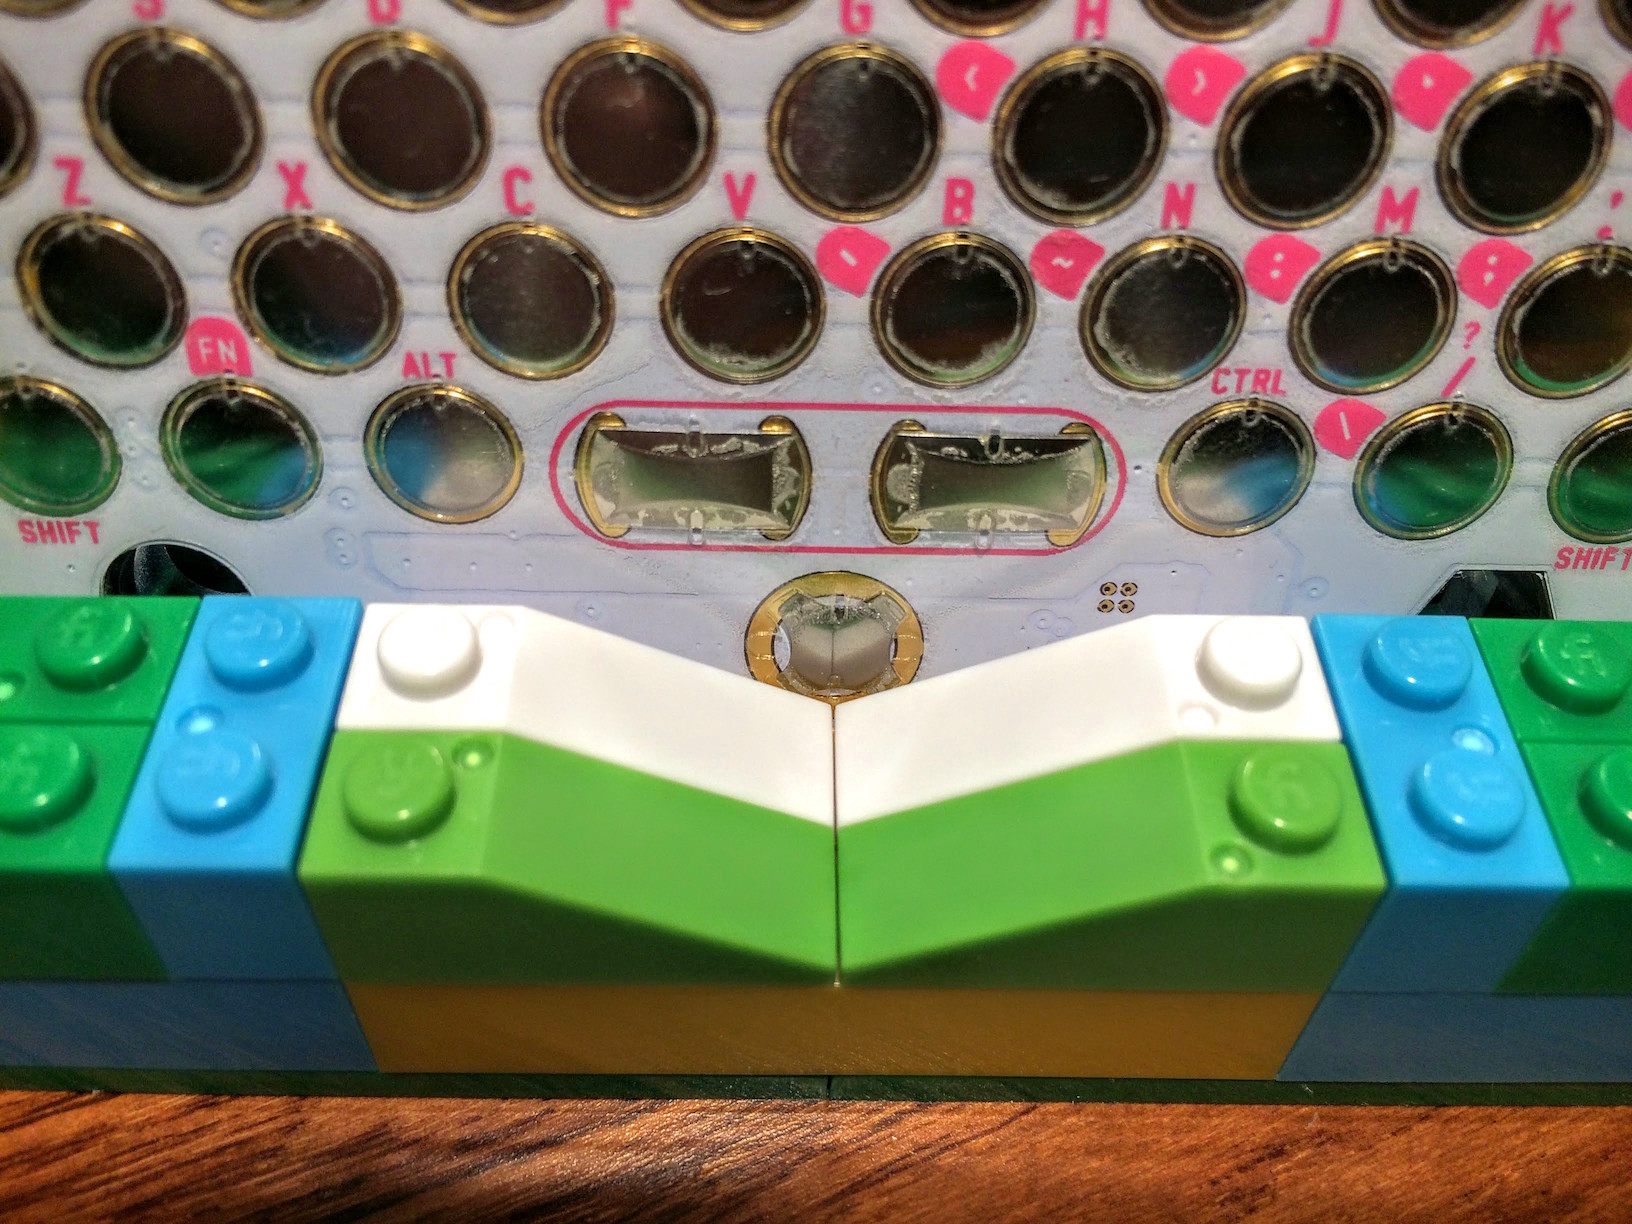 I built in an integrated V shape to provide access to, and visually point out, the home/power button.