Retro computing with a touch of modern and the home for all things, retroCombs (aka Steven Combs).
Disclosure Statement: When you click on links to various merchants on this site and make a purchase, this can result in this site earning a commission. Affiliate programs and affiliations include, but are not limited to Amazon, the eBay Partner Network, and/or others.

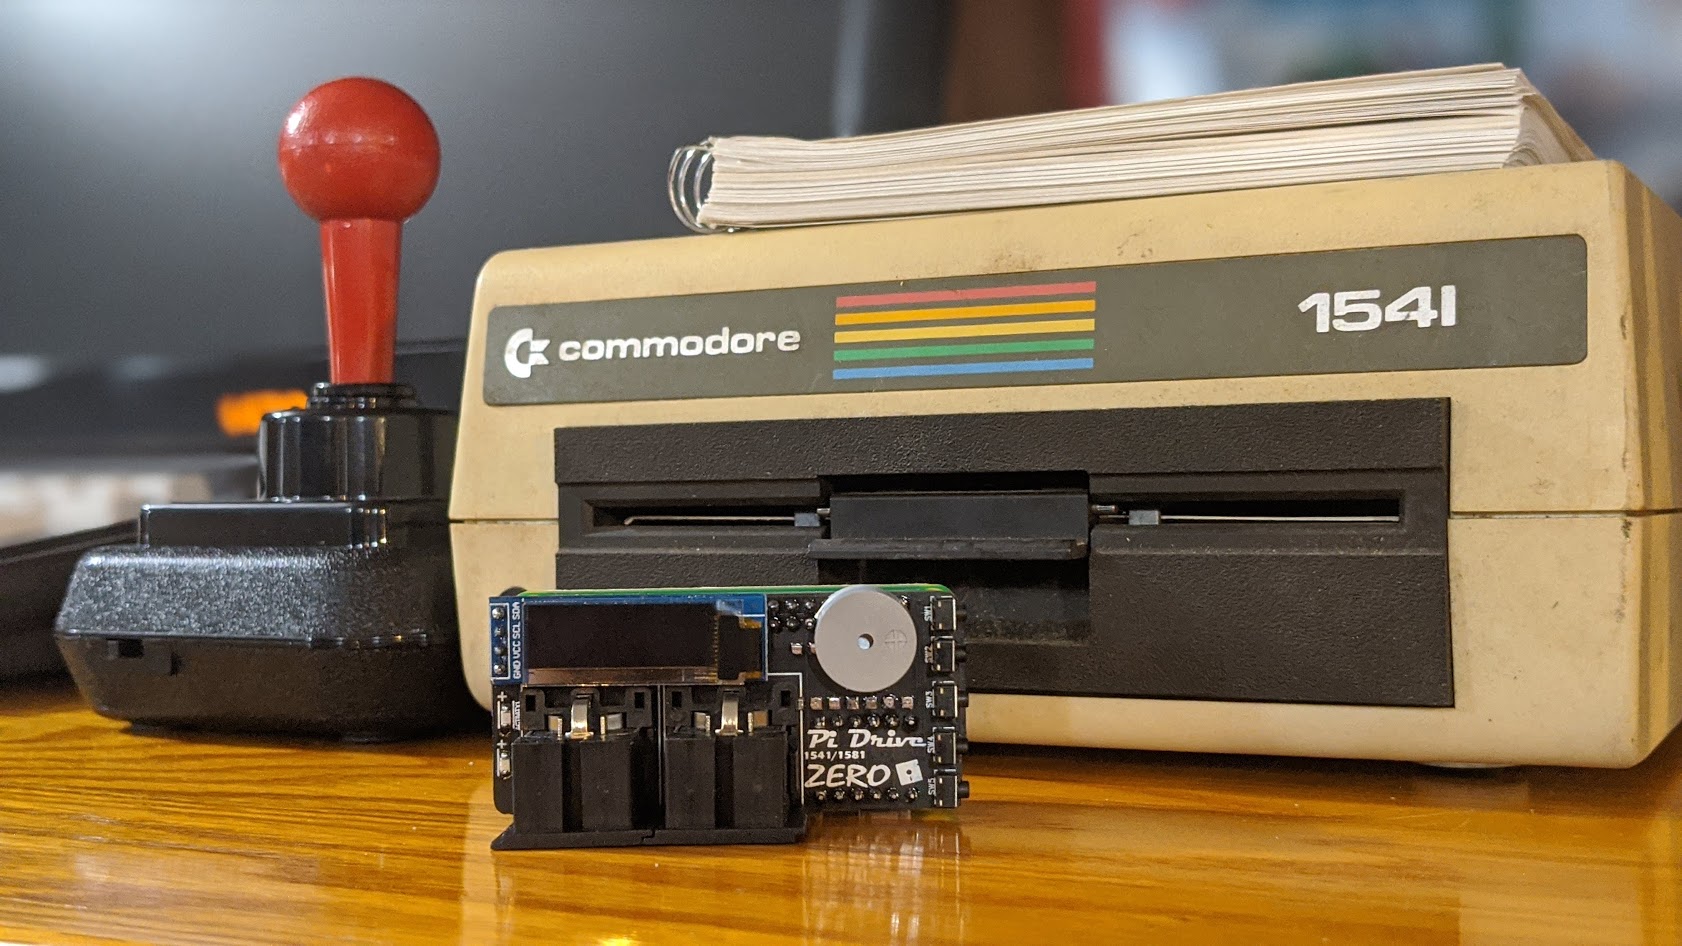
Pi1541 Resource Page
This is my resource page for the Pi1541. This page contains general information about the device as well as tips, tricks, and usage.
Key to Keys
Because the Commodore Plus/4 keyboard is so different from modern keyboards, I devised a modern key nomenclature to identify keystroke combinations as shown in the table below:
| Key | Description | Key | Description |
|---|---|---|---|
⇪ |
Caps Lock | F1 |
Function 1 |
C= |
Commodore | F2 |
Function 2 |
⌃ |
Control | F3 |
Function 3 |
⎋ |
Escape | F4 |
Function 4 |
⌂ |
Home | F5 |
Function 5 |
⌫ |
Insert Delete | F6 |
Function 6 |
⏎ |
Return | F7 |
Function 7 |
RS |
Run/Stop | F8 |
Help |
⇧ |
Shift | ␣ |
Space |
Links to Episodes
Below is a link to each blog post in the series. Each blog post contains the companion YouTube video and most include links to items or sites. This page captures a collection of all links mentioned.
-
Pi1541 Assembly and First Use’
In the episode, I solder a pin connector onto the Raspberry Pi Zero, solder and assemble a serial cable with two 6 pin DIN connectors, assemble the whole package, and start up the Pi1541 for a first use. For some extra fun, be on the lookout for a cameo appearance from Nikki and a former vice president!
-
Create a blank .c64 disk image for the Pi1541 or SD2IEC
The Pi1541 turned out to be a great device; if you have a bunch of disk images laying around your computer. As I began to prepare for my next using the Commodore Plus/4 episode, it became evident that I needed a blank disk image so I could save and load my own basic program and application files. I wasn’t sure you could do this with the Pi1541 by itself, so I began to look for hints online. Turns out, you cannot. You need to do this on a computer using some software. In this post and the accompanying video, I share that process as well as some other tips.