
What if your NABU could do 80 columns? I replaced its TMS9918ANL video chip with an F18A to find out. No, not that kind of F18A. This F18A is an FPGA board that adds 80-column mode to the NABU personal computer, and it keeps 40-column mode, too.
This post is the text companion to my video. It covers what the F18A is, why I wanted it, the tools you need, a step-by-step install (including the two pins that got in my way), and my tests: the NABU network, 40- and 80-column Cloud CP/M, an MSX ROM, a composite-versus-VGA comparison, and WordStar. Let’s dig in!
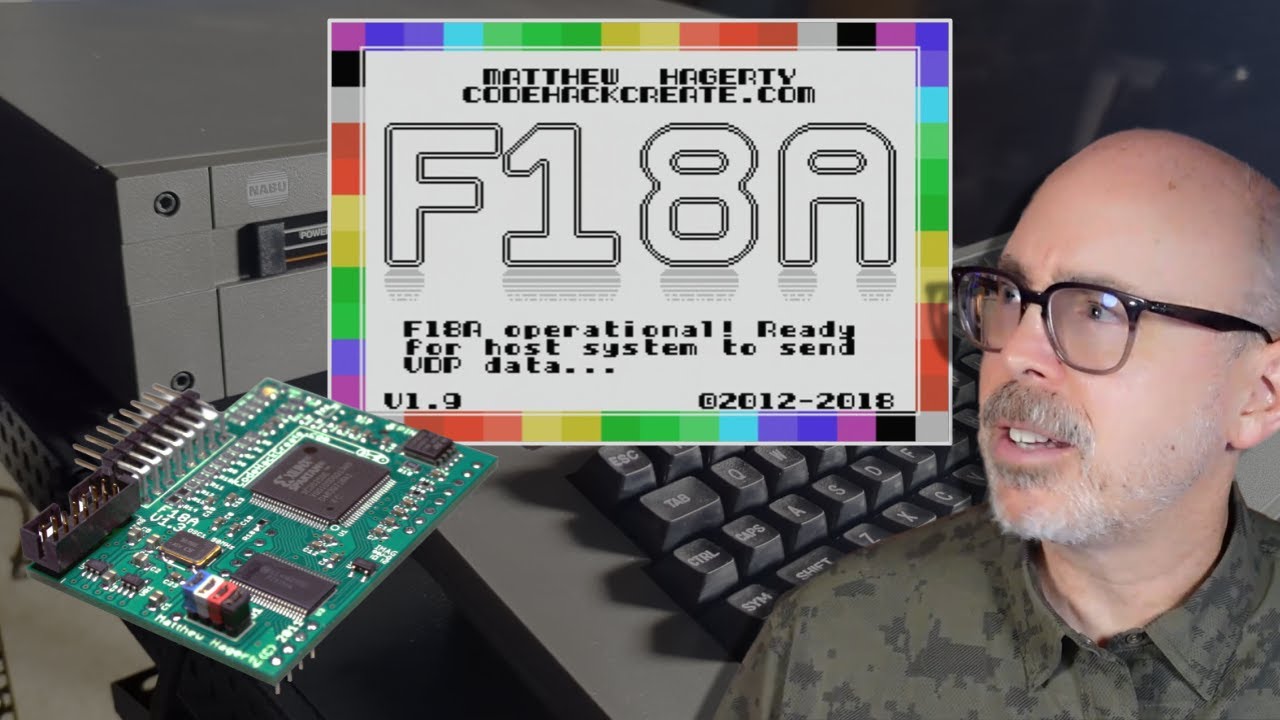
TABLE OF CONTENTS
- TABLE OF CONTENTS
- LINKS
- SUPPORT THE BLOG AND CHANNEL
- COMPANION YOUTUBE VIDEO
- VIDEO ERRATA
- WHAT IS THE F18A?
- WHY 80-COLUMN MODE?
- GETTING AN F18A
- TOOLS YOU NEED
- STEP 1: INSTALL THE BACKPLATE
- STEP 2: REMOVE THE TMS CHIP
- STEP 3: INSTALL THE F18A
- STEP 4: CONNECT THE CABLE AND A MONITOR
- VEVOR AND THE NABU
- TESTING THE F18A
- COMPOSITE VS. VGA
- 80-COLUMN MODE AND WORDSTAR
- CONCLUSION
LINKS
Video Mention Links
- 🧩 F18A introduction: https://dnotq.io/f18a/intro.html
- 🌐 NABU RetroNET: https://nabu.ca/
- 🌐 NABU Network: https://www.nabunetwork.com/
- 🖥️ NABU MAME emulator: https://gtamp.com/nabu/
- 🔌 Prebuilt NABU DIN5-to-RJ45 cable with DB9 adapter (Arcade Shopper): https://www.arcadeshopper.com/wp/store/#!/NABU-DIN5-RJ45-cable-with-DB9-adapter-for-RS422-connection-to-Nabu/p/530710449/category=144933272
- 📺 My Wimaxit monitor YouTube Short: https://youtube.com/shorts/i0osPNK4a2M
- 📹 More NABU videos: DJ Sures (@DJSures) and Rudy’s Retro Intel (@RudysRetroIntel)
- 📝 My earlier post: 10 Ways the NABU Surprised a Commodore Computer Enthusiast
Cool Stuff
- 📀 ClonerAlliance Box Pro: https://amzn.to/4qAOn3A
- 🕹️ Hyperkin Trooper Controller: https://amzn.to/3l1CHXj
- 📺 Prison TVs on eBay: https://ebay.us/jTv90O
Disclosure Statement: When you click on links to various merchants on this site and make a purchase, this can result in this site earning a commission. Affiliate programs and affiliations include, but are not limited to Amazon and the eBay Partner Network.
Sponsor disclosure: VEVOR sponsored this video and sent me the open-frame server rack you see in it.
SUPPORT THE BLOG AND CHANNEL
Check out the supporters page to learn about my supporters and how you can join our community. If this post saved you some time, you can also leave a tip.
COMPANION YOUTUBE VIDEO
| Title: _NABU Computer Mod | Add 80 column mode using a F18A board!_ |
 NABU Computer Mod | Add 80 column mode using a F18A board!
VIDEO ERRATA
- 12U or 15U? In the video, I call the VEVOR rack a 15U open-frame server rack. The video description says 12U. Check the size before you order.
- “FA18” (~0:40): I flipped the letters once. It’s the F18A, original and Mark II.
WHAT IS THE F18A?
The F18A is a pin-compatible replacement for the TMS9918A family of video display processors (VDPs), used in many retro computers and game consoles from the early-to-mid 1980s. The NABU uses that chip, as do the TI-99/4A and many MSX computers. The F18A’s main goal is pixel-perfect video output you can use directly with a computer display.
There are two versions. The F18A introduction page has the details.
- Original F18A: the one I installed. It has VGA out.
- F18A Mark II: HDMI out instead of VGA, and a smaller form factor. You’ll see why that smaller size matters during my install.
The F18A also offers more graphics modes. I don’t cover those here.
WHY 80-COLUMN MODE?
Cloud CP/M is available for the NABU in two versions: a 40-column version, and now an 80-column version that supports the F18A. If you’ve worked in CP/M or MS-DOS, you know 80 columns gives you more breathing room in text-based software.
With the 40-column version, you can get “sort of” 80 columns by pressing the page right and page left keys on the NABU keyboard. That scrolls the screen left and right, so you’re always trying to see what’s off to one side.
GETTING AN F18A
I filled out an interest form, I think back in 2022. In 2023, I believe in March, I got word that one was available. The F18A works in other computers, too, like the TI-99/4A. I have one, but I don’t cover it here. If you think I should, let me know in the comments below.
TOOLS YOU NEED
- A static-free work area. Some of you will want an anti-static wrist strap. I don’t use one. Tell me in the comments below why I should.
- A small flathead screwdriver to slowly pry the old chip out of its socket, or a chip puller
- A Phillips screwdriver. A precision screwdriver set is handy.
STEP 1: INSTALL THE BACKPLATE
I was feeling positive about this project, so I installed the backplate first. The F18A comes with a 3D-printed PLA backplate, which is a nice touch. You can do this step at the beginning or the end. I’m a glass-half-full kind of guy.
- Remove one of the blank plates from the back of the NABU. There are several. Pick a location.
- Put the PLA backplate in its place.
- Reuse the NABU’s original screws. They bite nicely into the PLA.
STEP 2: REMOVE THE TMS CHIP
The TMS9918ANL video display chip sits toward the back of the main board, left of center. Use a chip puller, or do what I did: use a very small flathead screwdriver to pry the chip out slowly and gently. Be very careful if you use that method.
STEP 3: INSTALL THE F18A
When I placed the F18A, two connector pins got in the way. To make room, I bent them back about 15 degrees toward the back of the case. I also relocated the header on one of the pins. After that, the F18A went into the socket easily. This is where the Mark II’s smaller size would have helped.
STEP 4: CONNECT THE CABLE AND A MONITOR
- Connect the cable to the F18A. Luckily, mine had an orientation warning printed right on it, so I knew which way was up.
- Route the VGA port on the other end of the cable to the backplate. It didn’t look half bad. I’m not sure I would have picked purple. I may reprint it in black or silver.
- Leave the top off the NABU until you’ve tested it.
- Plug the VGA port into a monitor. I used my handy-dandy little Wimaxit monitor. There’s a YouTube Short if you want to learn more about it.
VEVOR AND THE NABU
Thanks to VEVOR for sponsoring this video. VEVOR sent me an open-frame server rack to review and use in my studio. With some help from my assistant, retroPup, I got it put together.
You might think a server rack is only for servers, but it’s also a good way to organize a retro collection and keep it safe, thanks to its steel construction. My NABU had been sitting on a white IKEA table. Now it sits on the rack, and I can move it around the room when I want to make a video or play games. The space underneath holds accessories and fits the keyboard perfectly. There’s another shelf for a TI-99/4A or the Raspberry Pi I connect to the NABU, so I can reach the internet adapter from another computer in the house. The video mentions a price of $99.
TESTING THE F18A
Time to fire it up:
- NABU welcome screen: ✅ Check
- NABU network, 40-column original graphics: ✅ Check. The F18A emulates the original TMS chip.
- 40-column Cloud CP/M: ✅ Check
- NABU network: ✅ Check
- MSX ROM (Galaga): ✅ Check
Everything that worked with the original TMS chip still works, and the picture is cleaner.
COMPOSITE VS. VGA
Before the F18A, I captured video from the NABU’s RCA (composite) jack. With VGA, the display is much crisper, and the colors look sharper. I’m fortunate to have a ClonerAlliance Box Pro, which has both composite and VGA inputs, so the video shows the same screen captured both ways. There’s a marked improvement.
80-COLUMN MODE AND WORDSTAR {#80-column-test}
This is what I wanted the F18A for. I booted Cloud CP/M in its 80-column mode for the F18A, and there it was: 80 columns. Check.
Then I tried WordStar in 80 columns versus 40. It’s a much better experience. If I wanted to write my next blog post in WordStar on the NABU, I could. Hmm, that’s an idea.
With everything working, I put the cover back on the NABU and set it back on the VEVOR rack.
CONCLUSION
I’m very pleased with the F18A. It did everything it promised, it was a great purchase, and I recommend it for anyone with a NABU. If you can find the Mark II, you’ll get HDMI out and avoid the pin interference I ran into.
I know there’s more I could do with this FPGA on the NABU. NABUers, what am I missing? And if you have questions about the F18A, ask them. Let me know in the comments below. If this post helped, leave a tip.
That’s it for me, folks. 🕹️ retroCombs, OUT!
Comments
Comments use GitHub Discussions; sign in with GitHub to join in.