Retro computing with a touch of modern and the home for all things, retroCombs (aka Steven Combs).
Disclosure Statement: When you click on links to various merchants on this site and make a purchase, this can result in this site earning a commission. Affiliate programs and affiliations include, but are not limited to Amazon, the eBay Partner Network, and/or others.

Run a MEGA65 on your Chromebook using Xemu
by Steven B. Combs, Ph.D.
In the post Run a MEGA65 on your Mac using Xemu, I show how to install the XEMU emulator for the MEGA65, xmega65, on a Mac. It’s time to stretch my operating system’s legs and install it on another popular system. No, I’m not installing on Windows but on an operating system that may surprise many; ChromeOS!

The process to install Xemu on ChromeOS is, unsurprisingly, similar to the Linux version since I’ll use a Linux container on ChromeOS. But don’t let that scare you. The Linux container feature is now out of beta and it has never been easier to install Linux apps on your Chromebook. Xemu is ready to download as an easy to install .deb file for Intel-based ChromeOS devices. If you have an ARM-based ChromeOS device, I have you covered. It is a more involved process, but if you follow my steps closely, you will have the MEGA65 emulator up and running in no time. Let’s get started!
Table of Contents
- Table of Contents
- Support the Blog and Channel
- Companion YouTube Video
- Video Errata
- Links Mentioned in this Episode
- Identify ChomeOS Device Processor
- Create a Linux Container
- Share the Downloads Folder with Linux Container
- Install Xemu on ChromeOS Intel
- Install Xemu on ChromeOS ARM
- Download the MEGA65 ROM
- Update Files on SD card Image
- Using xmega65
- Limitations
- What’s Next?
- Join the Fun
Support the Blog and Channel
Check out the supporters page to learn about my amazing supporters and how you can join our community.
Companion YouTube Video
Title: Run a MEGA65 on your Chromebook in a Linux Container
Video Errata
2022-08-02:
- New recommendation from Gurcé in the Start xmega65 on ChromeOS ARM section.
- Developer Deft let me know that the C65 ROMs are available in the FREE version of Cloanto’s C64 Forever package!
Links Mentioned in this Episode
Below are the links I mention in this blog post and companion video. All Amazon links are affiliate links. I’d like to thank everyone for your support of the blog and the YouTube channel when you start your purchases here!
- Lenovo Duet 5 - ARM
- Google Pixelbook - Intel
- Google Pixel Slate - ARM
- Xemu page
- MEGA65 FilesHost
- Patch the Original Commodore 65 ROM for the MEGA65, Xemu, Dev Kit, or Nexys4
- TheC64 Joystick
- Hyperkin Tropper II Joystick
Identify ChomeOS Device Processor
If you are not sure if you have an Intel or ARM processor in your Chromebook, download Cog - System Info Viewer from the ChromeOS app store. Run to view the specifications of your device. Look under the second option, Platform to identify the processor.
Create a Linux Container
The process to create a Linux Container is the same for both Intel and ARM based ChromeOS devices and is necessary to install Linux apps on ChromeOS. The default ChromeOS container is a Debian distribution and since the Xemu package for Linux is based on Ubuntu, and Ubuntu is based on Debian, this allows Xemu to run on ChromeOS. Below are the steps to set up a Linux container on ChromeOS.
-
Use the Launcher and open the Settings app.
-
Use the settings search and type
Linux. The Turn on option will appear. -
Select the Turn On option.
-
Select Enable Linux. ChromeOS will create a Linux container and download the required files to install a Debian distribution.
-
Open the Launcher.
-
Select the newly created Linux Group.
-
Select the new Terminal entry. A terminal window will load. We will use this window several times to install the MEGA65 emulator.
The Linux container includes other options; however, they are beyond this post and we don’t need to change the default.
Share the Downloads Folder with Linux Container
By default and for security, ChromeOS folders, including the Downloads folder, are not available to the Linux containers. You must share them. This is an easy process.
-
Open the ChromeOS Files application.
-
Right-click on the Download folders in the left-hand quick access area and a menu will appear.
-
Select the Share with Linux option.
The Linux container can now access the contents of Downloads folder, but not in an easy to find location. We’ll locate the directory when we load the ROM file.
Install Xemu on ChromeOS Intel
With a Linux container created and a folder shared on ChromeOS Intel, Xemu installation is a breeze when you use a .deb installation file.
Download and Install Xemu on Chrome OS Intel
To install Xemu, use the steps below:
-
Visit the Xemu page. On the page, you will find two headings; Stable (“master” branch) releases and The ‘future next stable’ still unstable (“next” branch) builds.
-
Scroll down to the header The ‘future next stable’ still unstable (“next” branch) builds.
-
Click the Ubuntu Linux 20.04 64-bit DEB package option to download the
xemu_current_amd64.debfile. -
Open the Downloads folder using the ChromeOS File application and locate the
.debfile. -
Double-click the
.debfile. A dialog box will prompt to install the application. -
Click the INSTALL button.
With Xemu installed, we can now run it for the first time; however, don’t get excited yet! We have some work ahead.
Start xmega65 on ChromeOS Intel
Xemu installs several new entries in the Launcher. Other options include additional Commodore emulators. One interesting emulator is the Commodore LCD computer that was never released.
Double-click the xmega65 option. The application will start. The application window is tiny. Resize the window until it suits you. Prompts will ask you to make several decisions. I show these in the companion video but always use the default options OK and YES the first time you open the emulator.
We are now ready to install a ROM. Skip down to the Download the MEGA65 ROM section.
Install Xemu on ChromeOS ARM
There are two options to install Xemu on ChromeOS devices that use an ARM processor. We can build a machine specific .deb file and install as shown previously or we can build just the xmega65 emulator. The last option also requires us to tweak our system and create our own Launcher option.
Both solutions have their pluses and minuses. You will need to decide which is best for you. Personally, I only build the xmega65 emulator and create my own Launcher option.
Before we install using either option, we must first install required dependencies:
-
Using the Launcher, load the Terminal application.
-
Follow the series of Terminal commands below.
NOTE: Xemu includes several emulators; however, this process will only compile the MEGA65 emulator xmega65.
sudo apt update
sudo apt install git build-essential libsdl2-dev libgtk-3-dev libreadline-dev nano
Next, clone the Xemu GitHub repository using the commands below:
cd ~
git clone https://github.com/lgblgblgb/xemu.git
We will use these dependencies and the repository for both ChromeOS ARM options. Let’s start by building our own custom .deb install file.
Build and Install an XEMU .deb File for Chrome OS ARM
Use the Terminal commands below to create a .deb file:
cd ~/xemu
make deb
The process will take time, but in the end you will have a .deb in the ~/build/bin directory. Move the file to the home directory using the command below:
mv xemu_20220613133247_arm64.deb ~
Note the name of your file may be different with the date string based on the version of the Xemu repository.
The installation file is now accessible using the ChromeOS Files application. Install it using the steps below:
-
Open the Files application.
-
Choose Linux Files from the left-hand bookmarks. The installation file will appear.
-
Right-click on the file.
-
Choose the _Install with Linux Option.
-
Click the Install button. The file will install all Xemu emulators and place icons in the ChromeOS Launcher.
-
Select xmega65 from the Launcher to load the MEGA65 emulator.
You are now ready to install a ROM. Skip down to the Download the MEGA65 ROM section.
Build the xmega65 Emulator Only for ChromeOS ARM
If you want the xmega65 emulator, and not all Xemu emulators, use the Terminal commands below:
cd ~
make targets/mega65
The xmega65 is compiled and ready to run on the ARM ChromeOS device.
NOTE: You can make a
.debfrom this directory. Use the commandmake targets/mega65 deb.
Start xmega65 on ChromeOS ARM
In the Terminal use the command below to start xmega65:
./xemu/build/bin/xmega65.native
The emulator will start. If the window is too small, resize it. Prompts will ask you to make several decisions. I show these in the companion video but always use the default options OK and YES the first time you open the emulator.
Close the emulator. We make things easier for future launching and create a Launcher item.
Create a Launcher Entry
To launch xmega65 from anywhere within the Terminal, move the xmega65.native file to the bin folder using the command below:
sudo mv ~/xemu/build/bin/xmega65.native /bin/xmega65
</hr>
Developer and retroCombs supporter, Gurcé, made an excellent recommendation on my Discord Channel:
I had a thought for an alternate approach that might be worth sharing:
sudo mv ~/xemu/build/bin/xmega65.native /bin/xmega65As an alternative to this approach, you can try use a symbolic link (ln -s from to) instead:
sudo ln -s /home/stevencombs/xemu/build/bin/xmega65.native /bin/xmega65This has the advantage that if you ever want to grab the latest version of xemu from github, you’ll just need to do:
git pulland then amake -C targets/mega65(no need to do an extra mv step, as the symbolic link still points to your latest built binary)
</hr>
You can now launch the emulator anywhere within the Terminal using the simple command, xmega65.
Running xmega65 from the Terminal may not be everyone’s cup of tea. Installation on an Intel device using a .deb file automatically creates a Launcher entry. On ARM systems, this is not the case (for now). We can create a Launcher entry using the steps below:
-
Enter the command
mkdir ~/.local/share/applicationsto create a folder to contain a Linux.desktopfile. -
Enter the command
nano ~/.local/share/applications/xmega65.desktop. The nano text editor will load. -
Enter the following into the editor window:
[Desktop Entry] Name=xmega65 Exec=xmega65 Terminal=false Type=Application -
Tap CTRL + X to exit and save the file. A new xemga65 Launcher entry will appear in the Linux group.
-
Click it to load xmega65.
With the MEGA65 emulator installed and a Launcher entry created, it is time to install a ROM and start using the MEGA65 emulator.
Download the MEGA65 ROM
With xmega65 installed on both Intel and ARM processor ChromeOS devices, I can now merge the instructions.
Don’t let the glowing and text-filled xmega65 screen scare you. We don’t need to do anything other than install a ROM file from the MEGA65 FilesHost.
I’ve covered this in other posts and videos, but there is a closed ROM and an open ROM. The closed ROM is for those who own a MEGA65 Dev Kit or MEGA65. I’ll show that one in my example since I own both. If you don’t own either, you can legally download an original C65 ROM from the free version of the C64Forever Cloanto package. You can then patch it using the tools on the FileHost. I document this process in my Patch the Original Commodore 65 ROM for the MEGA65, Xemu, Dev Kit, or Nexys4 post and video.
If you have access, you can download the closed ROM here. On ChromeOS, the file will download directly to your Downloads folder.
Update Files on SD card Image
To load the ROM, follow the steps below:
-
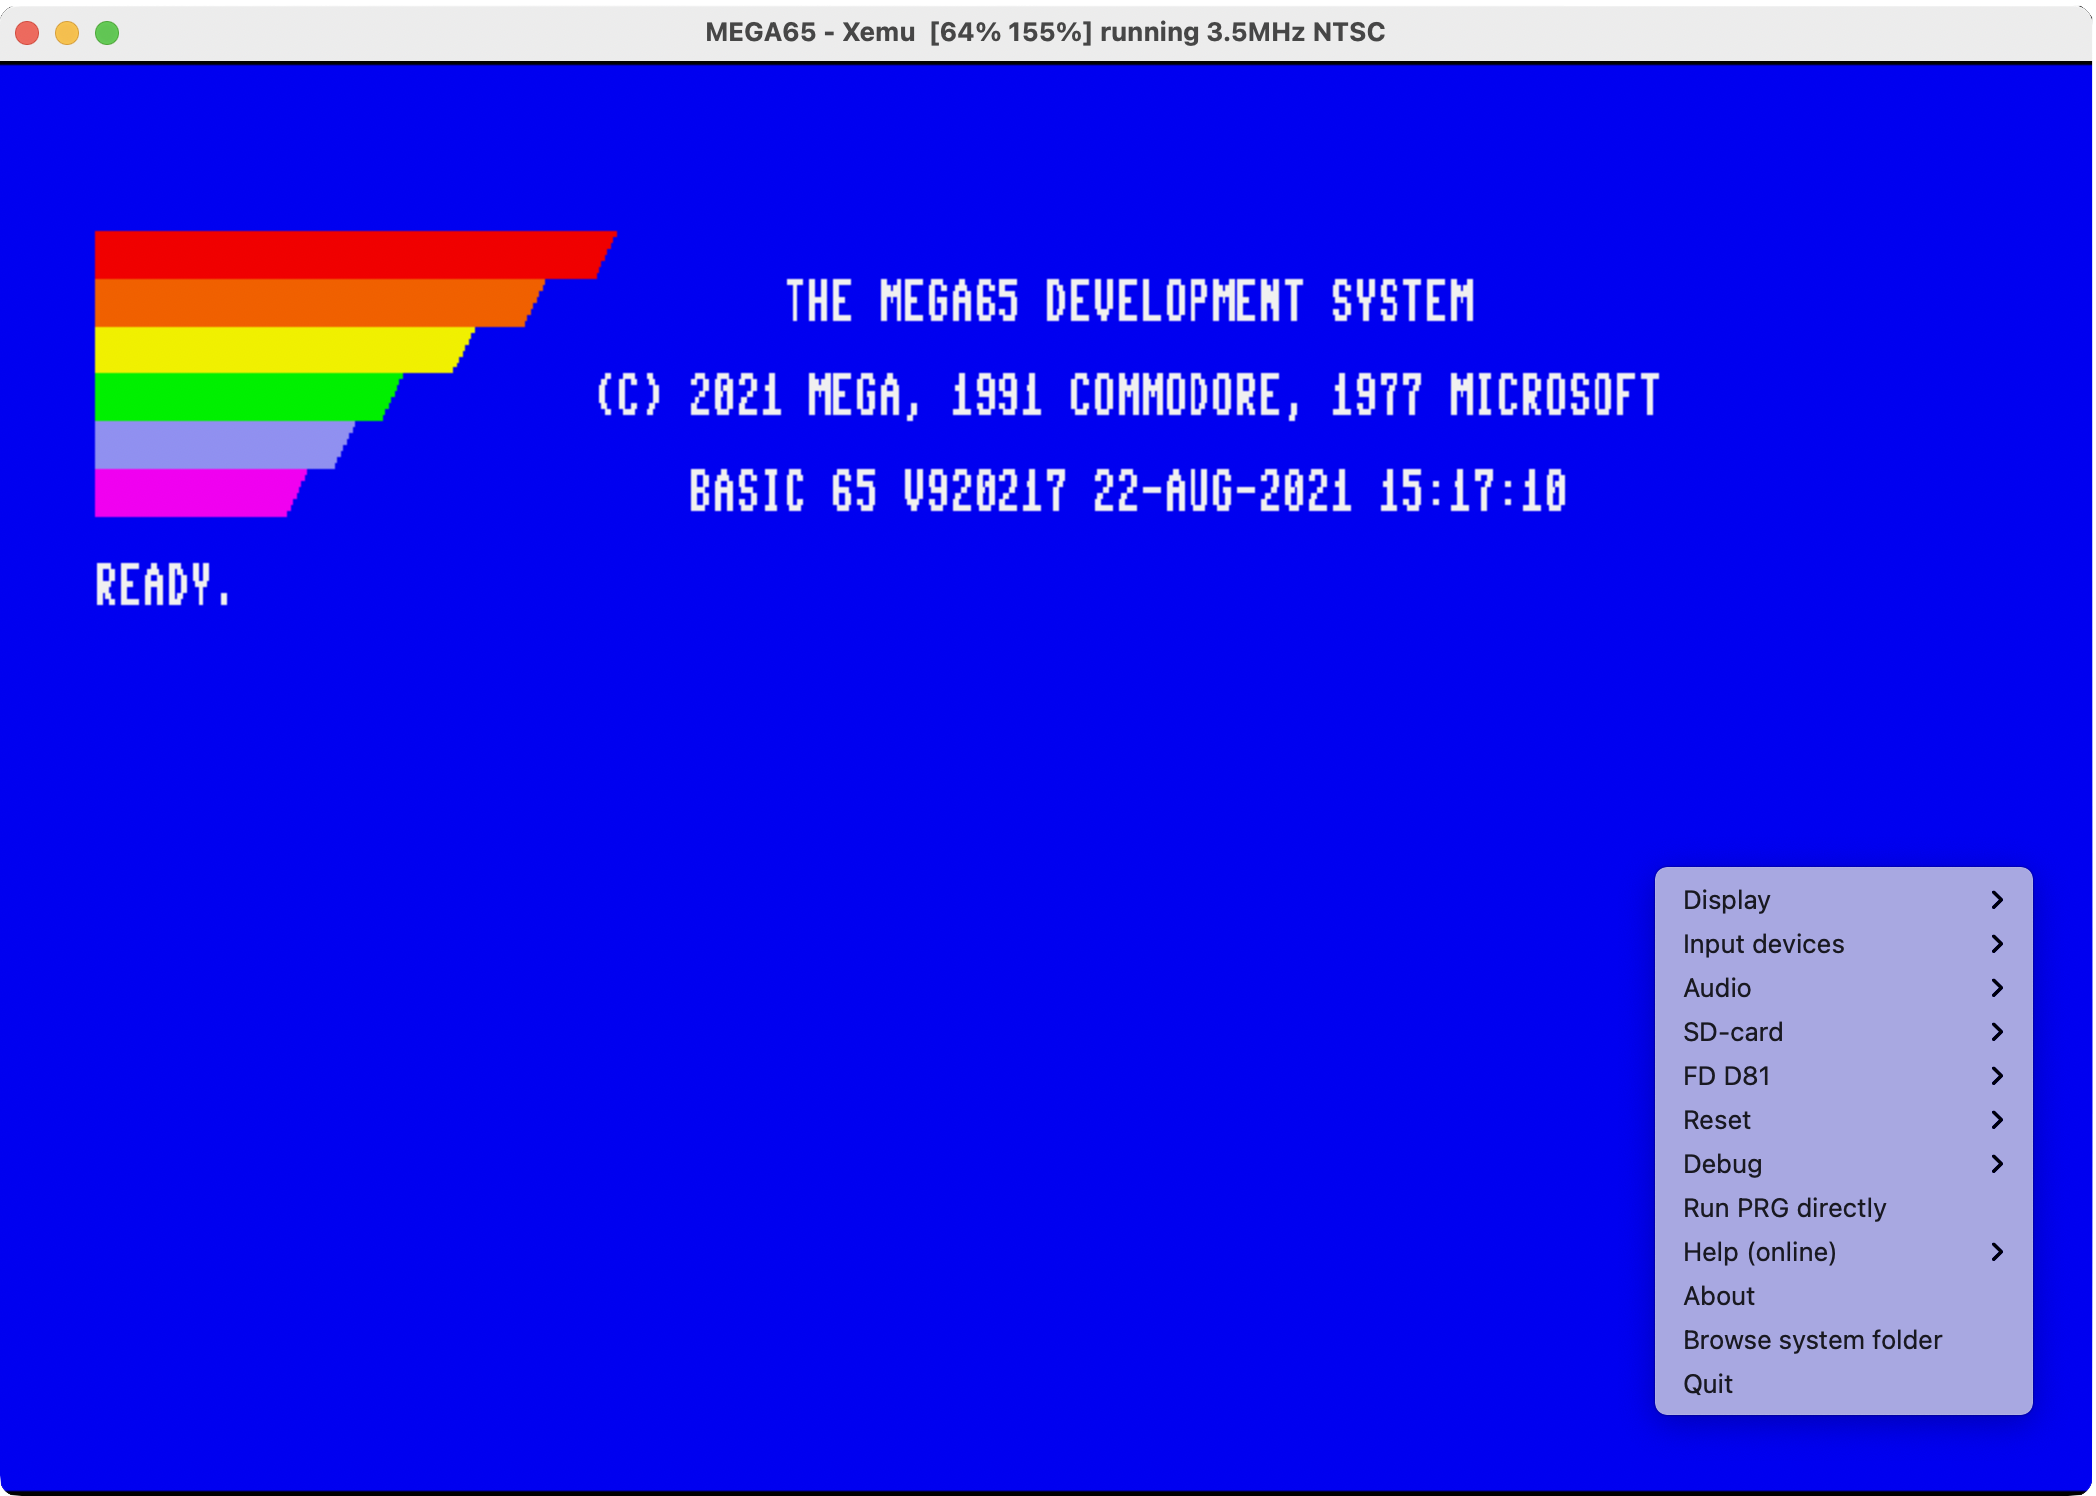
Right-click anywhere in the xmega65 application. A menu, like the one shown below from the Mac version, will appear:
-
Select Disks | SD-card | Update files on SD Image. A warning dialog will ask, “Use the previously installed ROM?”
-
Select the No option. A file selection dialog box will appear.
-
Select the ROM file downloaded previously and click OK. A dialog box will appear to verify an update to the contents of the SD card image.
-
Click the OK button. The emulator will reset with the new ROM.
When the MEGA65 team releases new ROMs, use this same technique to update the emulator.
Using xmega65
I won’t go into all the features of the emulator; however, below are a three things to get you started.
-
Type
INFOat the prompt. -
Try your own hello world program using the code below:
10 PRINT "HELLO WORLD "; 20 GOTO 10 -
Download my MEGA65 Colors BASIC Demo .D81 image file from the FileHost to the Downloads folder. Mount the image using the xmega65 menu. List the contents using the
DIRcommand and then use the/followed by ⏎ to run the program on the disk. No need to clean up the listing after the/character. The MEGA65 ROM takes care of that for you.
Want more? Time to begin your MEGA65 journey and you can start with my MEGA65 resource page.
Limitations
Since the developer does not support Xemu on ChromeOS, you need to know about these limitations:
-
I’ve not yet been able to get sound to work reliably. All settings in the emulator for sound are on and correct. A cursory online search leads me to believe this is not unique to XEMU.As of 2022-08-03, sound works. I cannot duplicate the issue with sounds shown in the video. -
In the Mac version of XEMU, I can drag and drop
.d81or.prgfiles from the Finder to XEMU to load them. This is not working from the ChromeOS files app to the XEMU running in the Linux container and not a surprise. I suspect that if I load a file manager in the Linux container, this will work. If someone gives this a try, or if I do, I’ll update this blog post. -
With other XEMU or Commodore emulator installs, I can plug in a THEC64 Joystick and everything works. Not with Chrome OS on Linux. The container does not recognize the USB device as an option I can allow access. It recognizes the SD card reader built into the USB hub, but not the controller plugged into the hub. I checked to see if TheC64 Joystick was working on the Chromebook with browser based Gamepad Tester and everything checked out. I’ll continue to research this one further.
-
If you are new to Commodore computer emulators, you may notice that several keys don’t match their position on the ChromeOS keyboard and there are keyboard combinations that are unavailable. Xmega65 uses a positional keyboard configuration based on an extended PC keyboard layout. Unless you have an extended ChromeOS keyboard, you will find you can’t enter certain symbols. Xemu can overcome this limitation by modifying a
keyboard.cfgfile. I’ll continue to work on this file to create something that makes using the ChromeOS keyboard functional and enjoyable. If anyone else wants to get ahead of me on this project, let me know.
I’ll continue to research all these important quirks to make using the Xemu emulator, _xmega65, on Chrome OS easier, more productive, and fun. Make sure you follow the blog and and subscribe to the channel.
What’s Next?
Chromebook devices are more popular than ever and now you can wow your friends and family by running the MEGA65 emulator, a modern retro computer recreation, on the device you use every day. Along this journey, you learned much more about using Linux containers to expand the capabilities of your ChromeOS device.
Earlier, I list three ways you can get started with the emulator; however, below are two additional recommendations from my blog and channel:
Join the Fun
Don’t miss the retro-computing fun. SUBSCRIBE to my YouTube channel and check out my other posts.
Help make this content better! Leave your comments, corrections, additions, and thoughts in the comments below. You can email me at retrocombs@icloud.com. Thanks for reading and if you are inclined, please let others know about the blog using the hashtag #retroCombs.
🕹️ retroCombs, OUT!