Twister OS is an alternative operating system for the Raspberry Pi. What caught my eye is that it gives you more out of the box. It includes tools I always end up installing by hand on Raspberry Pi OS, and it lets you theme the desktop to look like other operating systems.
I added a twist of my own. I didn’t use my Mac to make the SD card. I did everything on the Raspberry Pi 500 itself: downloaded Twister OS in Raspberry Pi OS, wrote it to an SD card, and booted it. Then I tried the themes and loaded a Commodore 64 emulator and a ZX Spectrum emulator.
This post is the text companion to that video on retroCombs Tech (@retroCombs-tech). It goes through the whole process step by step and points out what worked and what didn’t. Let’s dig in!
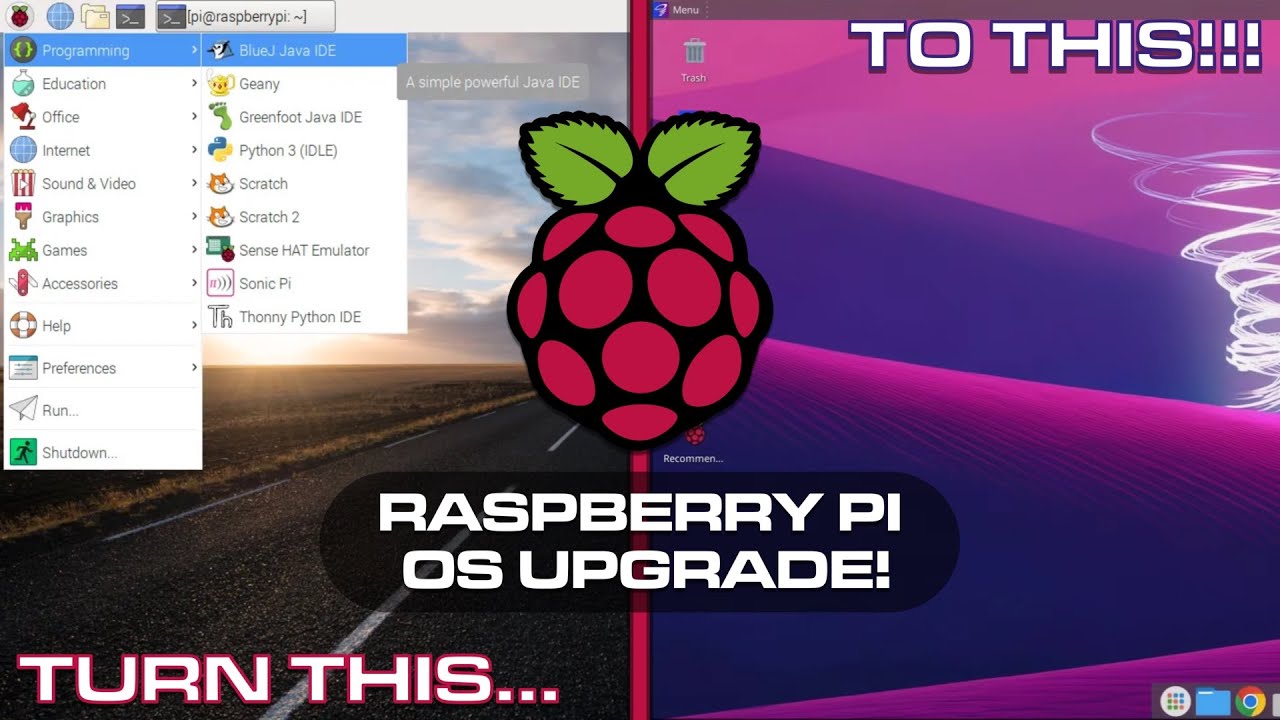
TABLE OF CONTENTS
- TABLE OF CONTENTS
- LINKS
- SUPPORT THE BLOG AND CHANNEL
- COMPANION YOUTUBE VIDEO
- VIDEO ERRATA
- WHAT YOU NEED
- A QUICK LOOK AT ARMBIAN
- PI-APPS AND PIKISS: MY MUST-INSTALL APPS
- STEP 1: DOWNLOAD TWISTER OS
- STEP 2: WRITE THE SD CARD WITH RASPBERRY PI IMAGER
- STEP 3: FIRST BOOT
- THE TWISTER OS DESKTOP
- THE WELCOME MENU
- TRYING THE THEMES
- WHAT’S INCLUDED
- RASPBERRY PI CONNECT: NOT YET
- RETRO EMULATORS WITH PIKISS
- CONCLUSION
LINKS
- 🌪️ Twister OS: https://twisteros.com/
- 🍓 Pi-Apps: https://pi-apps.io/
- ⌨️ Raspberry Pi 500: https://link.amazon/B0gdGnSDC
- 📝 My Pi 5 SSD build, which also uses Raspberry Pi Imager: Raspberry Pi 5 and an M.2 SSD Hat
Disclosure Statement: When you click on links to various merchants on this site and make a purchase, this can result in this site earning a commission. Affiliate programs and affiliations include, but are not limited to Amazon and the eBay Partner Network.
SUPPORT THE BLOG AND CHANNEL
Check out the supporters page to learn about my supporters and how you can join our community. If this post saved you some time, you can also leave a tip. And if you like this kind of tinkering, subscribe to @retroCombs-tech. Hooked on tech since ‘73.
COMPANION YOUTUBE VIDEO
Title: 🌪️ I Tried Twister OS On My Raspberry Pi 500 And WOW!
 I Tried Twister OS On My Raspberry Pi 500 And WOW!
VIDEO ERRATA
- “Shut down the Raspberry Pi 5” (~2:35): I meant the Raspberry Pi 500.
- Chapter title (1:56): “Preparing and SD Card” should read “Preparing an SD Card.”
WHAT YOU NEED
- A Raspberry Pi 500 running Raspberry Pi OS. I used the SD card that came with mine, after installing the updates.
- A second microSD card for Twister OS. Mine was a 32GB SanDisk.
- A USB SD card reader. Mine is an old Eye-Fi reader. It used to send photos from your camera to an online service over Wi-Fi, and I don’t think that service still exists, but it still works as a card reader. If you remember Eye-Fi, let me know in the comments below.
- A mouse. I almost bought the Raspberry Pi mouse, but I got one with LEDs you can change instead. It’s a good mouse.
- Paper and a pen to write down the default login.
My one disappointment with the Pi 500: it doesn’t support M.2 SSDs like the Pi 5 does. I think I saw online that somebody figured out how to solder on the connectors, but I’m not sure it would fit in the case. So we’re using SD cards.
A QUICK LOOK AT ARMBIAN
The card I wrote over had Armbian on it, so here’s a quick look first. Armbian is a more traditional Debian-based Linux environment. It includes Chromium and Firefox, FileZilla, PuTTY, and a full install of LibreOffice. It looks a little different from Raspberry Pi OS, and it took three boots to get through its first-time setup.
PI-APPS AND PIKISS: MY MUST-INSTALL APPS
On Raspberry Pi OS, I always install two apps. If you use the Pi desktop, you should too.
- Pi-Apps installs software and does all the tweaks so it runs correctly on your Pi. Many of its apps aren’t in the Raspberry Pi software store, or their Debian packages complain about missing dependencies. Pi-Apps handles that. Want Arduino or balenaEtcher? Pi-Apps loads the dependencies for you.
- PiKISS does the same kind of thing in a terminal menu, with sections for tweaks, games, emulators, multimedia, configuration, and internet. The emulator section includes scripts for Amiga, Amstrad, Box64, Dolphin, and more. Want VICE? Make a selection, click OK, and you’re off.
A big reason I wanted to try Twister OS is that it includes both, so I don’t have to load them by hand.
STEP 1: DOWNLOAD TWISTER OS
- In the browser on the Pi 500, go to twisteros.com and click Download Now. Twister OS works on other single-board computers too, not only the Raspberry Pi.
- Pick the version for your Pi. One image covers the Raspberry Pi 4, 400, 5, and 500.
- Write down the default username and password shown on the download page. You’ll need them if your Imager settings don’t take.
- Use the direct link or a mirror. The direct link took me about a minute.
STEP 2: WRITE THE SD CARD WITH RASPBERRY PI IMAGER
Raspberry Pi Imager is already on Raspberry Pi OS under Accessories. It’s also available for Mac, Windows, and Linux.
- Plug the card reader with your microSD card into the Pi 500.
- Open Raspberry Pi Imager and choose your device: Raspberry Pi 500. Imager narrows the OS list to what runs on the Pi 5, Pi 500, and Compute Module 5.
- Click Choose OS. It’s worth a look even if you won’t use it today. Besides Raspberry Pi OS, you’ll find general-purpose OSes like Armbian (that’s where I got it) and Alpine Linux, media players like Volumio, emulation OSes like Recalbox, and specific-purpose OSes for VEX robotics tournaments, digital signage, Kali Linux, Moodle, Home Assistant, and 3D printing, including OctoPi, which I used before I got my Anker 3D printer. RISC OS isn’t available for the Pi 500 yet, but you can run it on the 400 and the 4. Twister OS isn’t in the list, so:
- Scroll down and choose Use Custom. Imager opened my Downloads folder automatically. Select the Twister OS image.
- Click Choose Storage. Be careful here. Leave Exclude system drives checked, and you’re almost always safe. Mine showed only the card in the reader.
- Click Next. When it asks about OS customization settings, click Edit Settings. You can set the host name, username and password, wireless LAN, country, and time zone. Imager remembers what you used last time, so my host name still said Armbian. I changed it to Twister OS.
- On the Services tab, enable SSH with password authentication, then save.
- Apply the customization settings, confirm that the card will be erased, and enter your Pi password. Writing took about two or three minutes.
STEP 3: FIRST BOOT
Shut down Raspberry Pi OS, remove the card reader, and swap the Pi OS card for the Twister OS card. This is one of the reasons I like Raspberry Pis: keep a stack of microSD cards and flip between operating systems.
Like Armbian, the first boot took a couple of cycles. It showed Twister OS, shut off, and I had to power it on again. The next time, it rebooted on its own and went on configuring itself.
At the login, I tried the default credentials first. They didn’t work, because Imager had replaced them with my own username and password. My usual login worked, so the customization settings took. I’m plugged in with Ethernet, so I disconnected the Wi-Fi.
THE TWISTER OS DESKTOP
I already like this setup better than Raspberry Pi OS. It’s more modern and feels more like the Mac I’m used to:
- On-screen widgets for CPU usage per core, disk space, and what looks like a network monitor
- A trash can on the desktop
- A dock with an application launcher, the Thunar file manager, the Chromium web browser, Add/Remove Software, Mousepad, and Catfish file search, which was fast
- Installers for PiKISS and Pi-Apps. They aren’t installed by default. Run the installer, and the icon changes from the installer to the app itself. The first time, I had to mark each one executable.
- Neofetch already installed. It shows Xfce 4.18 and the Xfwm4 window manager, which is perfect for a lightweight system.
It feels faster than Raspberry Pi OS, though I don’t know why it would.
THE WELCOME MENU
The welcome menu walks you through:
- A basics guide and the Twister OS FAQ
- Community support and ways to get involved, both through the Twister OS Discord
- Raspberry Pi Configuration: time zone, language, Wi-Fi country, overscan, password, display, and interfaces like VNC and SPI. Imager already handled most of this for me. There’s also a performance option to speed things up. I don’t use it.
- Updates: mine was already up to date.
- Themes
TRYING THE THEMES
Each theme has a light mode and a dark mode, and changing themes means logging back in.
- Twister 95: It even has the Start button. It’s horrid, and it’s actually pretty cool. If you love Windows 95, this is for you. I needed some overscan work with this one.
- Twister XP: It even has the sidebar. XP was my favorite Windows interface, but not one I’d want to use again. I skipped the Windows 7 theme for fear it would crash my machine. (Little Windows dig there.) There are Windows 10 and 11 themes too.
- Twister X: This is the macOS look, my favorite. The menu bar is usually what other skins get wrong, and Twister OS even moves the app menus to the top of the screen. It’s like an older version of the Mac. There’s no genie effect, a running app doesn’t show an indicator in the dock, Chromium’s skin had a small break, and the About screen didn’t register my memory. Still, I could see myself using it because it’s close to what I use every day.
- Plasma (dark): I liked this one at first, but some menus opened below the panel instead of above it. I went back to the first theme in dark mode. Everything worked a little better there.
WHAT’S INCLUDED
- Add/Remove Software: a full Debian package manager. It doesn’t guarantee an app will run on the Pi, and VICE isn’t in it. That’s what Pi-Apps and PiKISS are for.
- Settings: network, appearance, Bluetooth, keyboard, mouse and touchpad, panel, Pi-Apps settings, Pi configuration, Twister themes, and window manager, all in one place. On some distributions, they’re all over the board.
- Accessories: archive manager, Catfish, calculator, menu editor, Pi-Apps, PiKISS, Raspberry Pi Diagnostics, Raspberry Pi Imager, and SD Card Copier, which is handy for backing up your card.
- Games: DOSBox
- Internet: the web browser only. That’s the one I use. I prefer it over Firefox.
- Multimedia: VLC
- Office: no LibreOffice, which I like because I can choose what I want.
- System: disk usage, htop, Neofetch (it errored when I launched it from the menu, but it runs in the terminal), and Wine with Winetricks. I’m not sure how well Wine will work on an ARM system. Let me know if you’ve tried it.
RASPBERRY PI CONNECT: NOT YET
Raspberry Pi Connect lets you reach your Pi from anywhere in the world through the desktop or SSH. I use it all the time, and it’s one of the first things I think everybody should set up. It isn’t included in Twister OS.
I installed it from the terminal with sudo apt install, and the instructions said to reboot to activate it. (To reboot in Twister OS, use Log Out. That’s where the restart option is.) The reboot was a little slower than Raspberry Pi OS but not bad. After the reboot, the terminal told me it couldn’t start Raspberry Pi Connect. I’ll have to work on that.
RETRO EMULATORS WITH PIKISS
Commodore 64: In PiKISS, open the emulators section and pick VICE. Because PiKISS does the install, it grabs the ROMs for you, which I couldn’t do with a manual install on the Pi. It runs a demo game right away. Press Fn+F12 on the Pi 500 for the VICE menu. There’s no GUI menu, but you can change video and sound settings. I turned off the CRT emulation, and the picture was cleaner. Save your settings if you want them to stick. Afterward, VICE shows up in the Games menu next to DOSBox.
Other emulators: PiKISS also offers Amiga, Amstrad, Box64, Dolphin, OpenMSX, an old AT-class PC emulator, PS1 (I’d love to play the whole Medal of Honor series on the PS1 again), RetroArch, and a ZX Spectrum emulator.
ZX Spectrum: For all my folks across the pond, I loaded the Spectrum emulator and tried one of its games. I had no idea how to jump, and it was game over fast. Afterward, it’s in the Games menu with 128K, 48K, and TR-DOS options and a tape loader. Escape brings up the menu.
CONCLUSION
I loaded Twister OS from Raspberry Pi OS using nothing but the Raspberry Pi 500, and I got Commodore 64 and ZX Spectrum emulators running. Pi Connect still needs work, and a couple of theme quirks remain, but I’m digging it.
Are you running Twister OS or sticking with Raspberry Pi OS? Where do you fall on light mode versus dark mode? Let me know in the comments below. If this post helped, leave a tip.
That’s it for me, retroCombs, out.
Comments
Comments use GitHub Discussions; sign in with GitHub to join in.