
Mr. Landfield, one of my supporters, handed me a dirty Commodore 64C at Vintage Computer Festival Midwest. I’d never done one of these videos before: take a dirty computer, clean it up, and put it back to work. After a journey of several months, I finally tore it down, cleaned it inside and out, and turned it into the C64 setup I’m now using as my Commodore test bed.
This post is the text companion to that video. It follows the job in the order I did it, lists the tools and gear I used, and shows how I ended up with four drives on a single 64C. Let’s dig in!
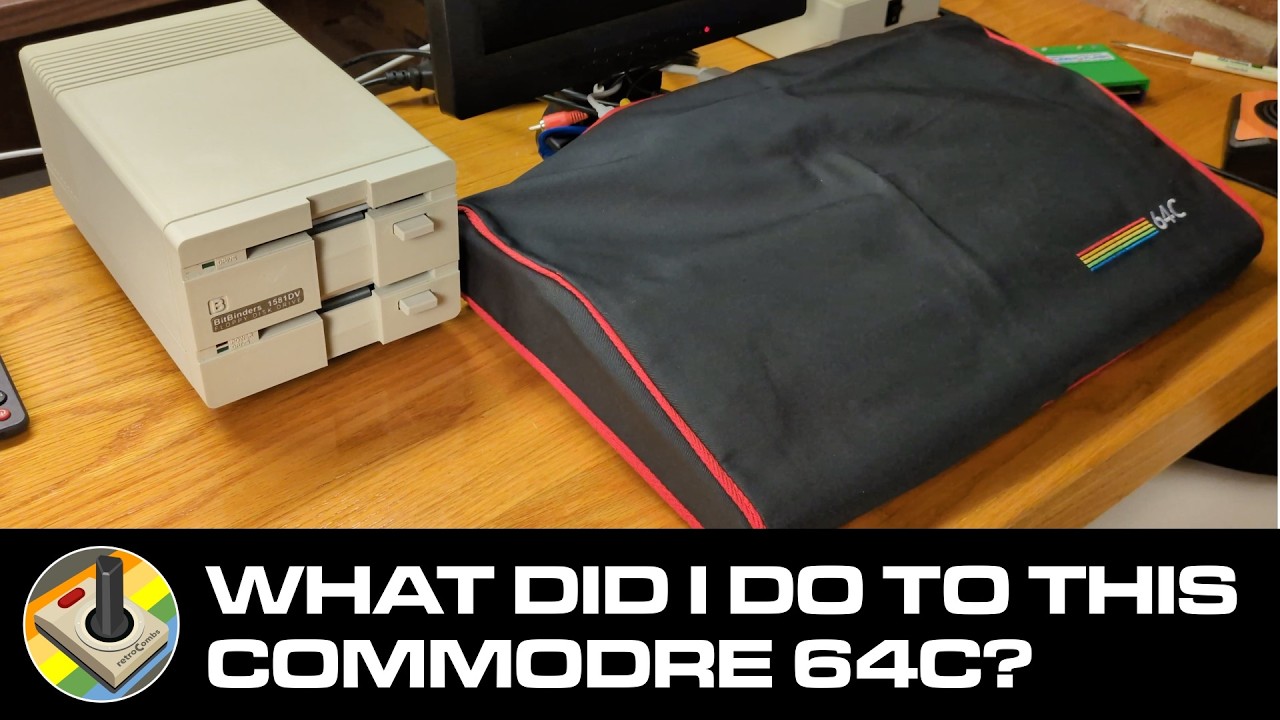
TABLE OF CONTENTS
- TABLE OF CONTENTS
- LINKS
- SUPPORT THE BLOG AND CHANNEL
- COMPANION YOUTUBE VIDEO
- VIDEO ERRATA
- FIRST, DOES IT WORK?
- OPENING THE 64C CASE
- REMOVING THE KEYBOARD AND RF SHIELD
- CLEANING THE CASE
- CLEANING THE KEYBOARD AND KEYCAPS
- CONNECTORS AND MOTHERBOARD
- HEAT SINKS INSTEAD OF THE SHIELD
- PUTTING THE KEYCAPS BACK
- 3D PRINTED KEYBOARD BRACKETS
- REASSEMBLY AND THE FIRST TEST
- BUILDING THE SETUP
- CONCLUSION
LINKS
Video Mention Links
- 🖨️ Commodore 64C keyboard brackets STL file (Thingiverse): https://www.thingiverse.com/thing:1561772
- 💾 Ultimate II+ cartridge: https://ultimate64.com/Main_products
- 🔌 Bitbinders (64 Power and the dual 1581 drive): https://bitbinders.com/
Gear I Used
- 📀 ClonerAlliance ViewLite AV: https://amzn.to/4gvGU14
- 👚 Sew Ready Covers (tell Maggie retroCombs sent you!): https://ebay.us/EFNZGp
Disclosure Statement: When you click on links to various merchants on this site and make a purchase, this can result in this site earning a commission. Affiliate programs and affiliations include, but are not limited to Amazon and the eBay Partner Network.
SUPPORT THE BLOG AND CHANNEL
Check out the supporters page to learn about my supporters and how you can join our community. If this post saved you some time, you can also leave a tip.
COMPANION YOUTUBE VIDEO
Title: Transforming A Dirty Commodore 64C Into The Ultimate Retro Setup!
 Transforming A Dirty Commodore 64C Into The Ultimate Retro Setup!
VIDEO ERRATA
- Monitor size: The video description lists an Eyoyo 14” monitor. In the video, I call it a 15-inch, 4:3 monitor, and the chapter title says 15” too. Check the size before you buy one.
- “1028 by 768” (~28:20): I meant 1024 by 768.
FIRST, DOES IT WORK?
Before I cleaned anything, I wanted to know whether I had a working machine. The 64C arrived under a Sew Ready cover, and cosmetically it was in good shape. It just had a few spills, some dirt, and some grime.
I powered it with the 64 Power from Bitbinders. Craig at Bitbinders sent it to me, so thank you, Craig. For video, I used my Wimaxit 10.1-inch monitor, which has all the connectors you need for retro computers, and a video cable with RCA plugs.
To test a drive, I used an SD2IEC. Plug it into the IEC port first, then power it by plugging the blue plug into the user port. Make sure you get that orientation right. It powered up, and I loaded the directory from the SD card. We had a working C64!
OPENING THE 64C CASE
The case had sticker residue, dirty sides and back, and two rubber feet missing from the back of the bottom. The fingernail technique didn’t touch the residue, so that had to wait for something more industrial.
The 64C case is held on by three Torx screws, all along the front edge of the bottom. A Torx #3 from my collection fit. With the screws out, I worked my way around the seam with a small spudger. This case isn’t like a breadbin case, so take your time. I learned that if I’d just slid the top backward a little, it would have popped right off.
Be careful with the power LED. It’s attached to the top half of the case, so unplug it before you set the top aside.
Inside, it was cleanup on aisle three. I started with a household vacuum and an adapter to get the big stuff out before the detail work.
REMOVING THE KEYBOARD AND RF SHIELD
Store your screws as you go. I promise you’ll lose them if you don’t.
The keyboard comes off with a handful of screws. They’re easy to tell apart, so you’ll know where they go when you put them back. The keyboard connects with a plug, not a ribbon cable, which is a nice touch.
You need a Phillips screwdriver and the Torx to remove the metal plates that hold the keyboard and the aluminum RF shield. Every time I thought I had all the shield screws out, there was another one. I counted seven. That’s one reason I decided not to put the shield back.
The board itself was in good shape, so I didn’t replace any capacitors. I kept the metal shield on the bottom because it helps support and protect the motherboard in the case. I did find a little rust inside, which tells me some liquid or moisture got in there at some point.
CLEANING THE CASE
I know some folks throw these cases in the dishwasher. I was scared it would get too hot and warp the plastic, so I went old school: Dawn Extra grease-cutting dish soap, a light kitchen pad, and barely warm water. Paper towels picked up the dirt I missed while drying.
The vents and the recess around the LED were the hardest parts. A paper towel couldn’t reach the dirt in the vents, so I came back later with alcohol on a toothbrush.
CLEANING THE KEYBOARD AND KEYCAPS
Always use a keycap removal tool. I can tell you from experience that I’ve broken a keyboard plunger by not using one. Under each keycap is a small spring, and those things fly everywhere, so keep them separate as you go. It gets easier as you get the hang of it.
Under the keycaps was 40 years of dirt. I lightly sprayed the bare keyboard with water to get the big stuff, dried it with paper towels, and let it sit for a couple of days before I put the keycaps back on.
I sorted the keycaps from the springs. The keycaps went in a container with lukewarm water and Dawn, and then I gave them a good shake. A big thank you to retroPup for the use of her kibble bowl. We went from kibbles to keys. I found one broken spring with rust on it, more evidence of water damage.
I didn’t retrobrite anything. The keys didn’t need it, and I’m just not interested in retrobriting this machine.
CONNECTORS AND MOTHERBOARD
For the edge connectors, I used a connector cleaner from The Future Was 8-bit, which is basically a nice eraser, followed by alcohol on a cotton ball. For the motherboard, I used alcohol and my workbench toothbrush. (No, not the one I use in the morning.)
I put the bottom shield back, then the motherboard and its screws. Don’t forget the one up front like I almost did.
HEAT SINKS INSTEAD OF THE SHIELD
I removed the old thermal paste from the chips that touched the RF shield. Then, as a stopgap, I put small stick-on heat sinks on those three chips, about three heat sinks per chip. After some research, I added a few to the PLA too, since it can generate some heat.
This isn’t the best scenario. The best one would be heat sinks matched to these particular chips, and I’ll swap them when I find larger ones that fit.
PUTTING THE KEYCAPS BACK
Put the spring on first, then the keycap, and push until you hear a snap.
Two keys need extra care:
- Function keys: There are two pegs and two peg holders under each one. Make sure the far-right one is on its peg, or you’ll have trouble putting the top of the case back on.
- Space bar: Besides the spring, there’s a bar you clip into small holders. Get the guides into the holes, then guide the keycap onto the plunger over the spring. It’s tricky, but follow along in the video and you’ll get it.
3D PRINTED KEYBOARD BRACKETS
Without the RF shield, I also lost the brackets that hold the top of the keyboard in place. The upper-left corner moved when I pressed it, and I didn’t like that.
On Thingiverse, I found C64C keyboard mounts by Flower King. Thank you, Flower King! The download includes three STL files. One holds both brackets, but they weren’t grounded at the bottom where I needed them, so I imported the two separate bracket files into the slicer for my AnkerMake 3D printer, put them at the same Z height, added the automatic supports, and printed.
Is it just me, or does anyone else find removing support material satisfying? Let me know in the comments below.
To install the left bracket, I removed one screw, then the back screw too, so I could lift the board enough to hook the bracket over the screw support. The right bracket sits over the joystick port and needs just one screw removed. With both in place, the keyboard doesn’t flex at all.
REASSEMBLY AND THE FIRST TEST
I clipped the top back on, then remembered I’d forgotten to plug the LED back in. How many times has that happened to you? After that, the three bottom screws went back in.
Two clear rubber feet from my spare parts replaced the missing ones. They don’t match exactly and they’re a little taller than the originals, which tilts the keyboard up a bit. It doesn’t slide on the bench.
For the first test, I used my Competition Pro joystick, which stays with this machine, and a cartridge game. I had the RCA plugs swapped at first, but once I fixed that, it booted on the first try. Anything working on the first attempt is a success for me! All the keys worked too.
BUILDING THE SETUP
A Bigger Monitor
The Wimaxit is too small for a permanent setup, so I moved to an Eyoyo 4:3 monitor with a 1024 x 768 resolution and a remote. It has built-in sound, and the remote makes color, picture, and sound changes easy. I wish it were an IPS display. The viewing angles from the sides are tough, but when you sit right in front of a Commodore 64, the image is very good.
Bitbinders Dual 1581
Out went the 1541, and in came the Dual Drive 1581 from Bitbinders, another gift from Craig. It comes with utility disks. I first set it up as drives 8 and 10 and loaded a directory with no trouble.
Ultimate II+ Cartridge
The Ultimate II+ cartridge has a lot of features I’ll save for a future video. Loading games from virtual disks on its SD card was fast, so that’s how I’ll work with disk images from now on. Mine needed an update before I started.
Screen Capture With the ClonerAlliance ViewLite AV
This is the secret to my setup. The ClonerAlliance ViewLite AV captures my Commodore 64’s output to a USB drive. One button press records video or grabs a screenshot, and the USB drive’s light flashes when it does. You can play back what you captured on its small built-in screen. Connected as a pass-through, it lets you switch the big monitor between the C64 and your captures and then switch right back. It’s great for those high scores and interesting moments.
Four Drives on One 64C
Here’s the surprise. I set the Ultimate II+ virtual drives to 8 and 9, the top Bitbinders drive to 10, and the bottom drive to 11. That’s four drives on a single 64C: two virtual and two physical, and I can use any of them at any time. I believe four is the max. If I’m wrong, tell me in the comments below.
CONCLUSION
Thanks again to Mr. Landfield. This 64C went from dirty and grimy to my Commodore test bed. Whenever I find a new modern device or want to load an old game or application, this is where I’ll try it first.
What are your favorite C64 accessories? Let me know in the comments below. If this post helped, leave a tip.
That’s it for me, folks. 🕹️ retroCombs, OUT!
Comments
Comments use GitHub Discussions; sign in with GitHub to join in.